The Okta/Slido Admin SAML integration currently supports the following features:
For more information on the listed features, visit the Okta Glossary.
Save the following Metadata file. You will need this for both types of configurations Admin and Participant:
Sign into the Okta Admin dashboard to generate this value.
Log in to your Slido.com account.
Select Organization settings in the top-right in your profile menu:
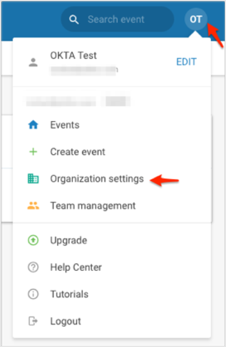
Click Admin SAML SSO:

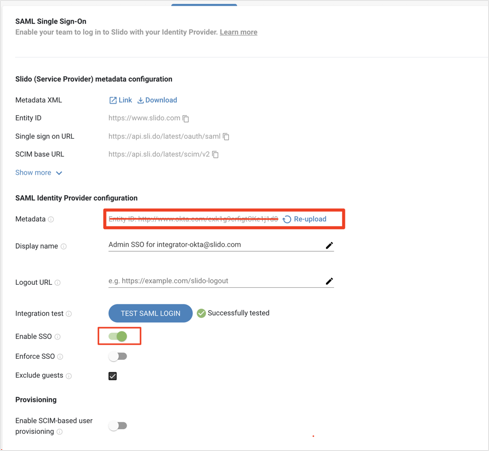
Enter the following:
Metadata: Locate and upload the file you saved at the beginning of these Configuration Steps:
Click TEST SAML LOGIN.
Enable SSO: Switch this on.
Done!
Log in to your Slido.com account.
Select Organization settings in the top right in your profile menu:
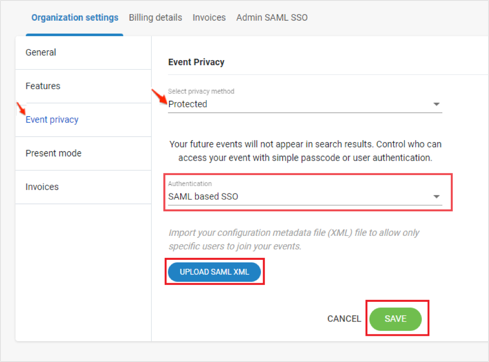
Navigate to Event Piracy.
Set your event to Protected, then follow the steps below:
Select SAML based SSO from the Authentication dropdown menu.
UPLOAD SAML XML: Locate and upload the file you saved at the beginning of these Configuration Steps:
Click SAVE:
Done!
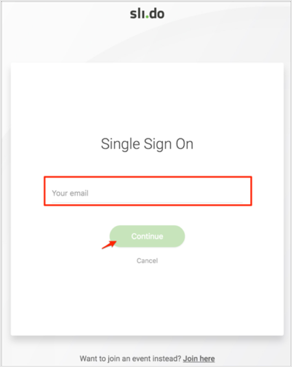
Enter your email address, then click Continue:
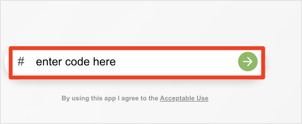
Go to: https://app.sli.do/
Enter the Event Code (provided by Slido), then click the arrow: