The Okta/Five9 Plus Adapter for Zendesk SAML integration currently supports the following features:
For more information on the listed features, visit the Okta Glossary.
Make a copy of the following Sign On URL value, you'll need it several times during the following configuration steps:
Sign into the Okta Admin Console to generate this variable.
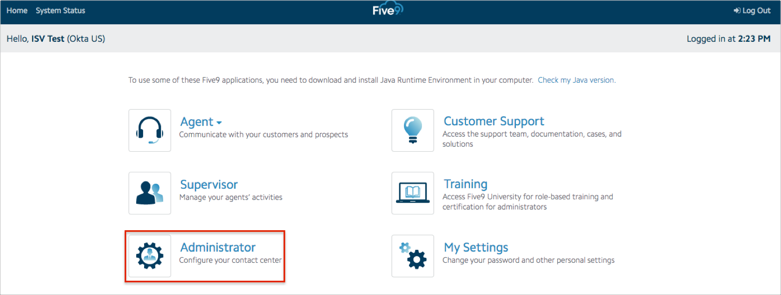
Login to the Five9 Virtual Contact Center.
Select Administrator:
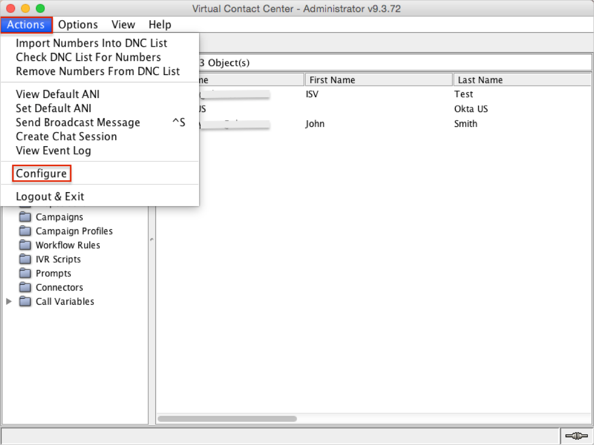
In the VCC Administrator application, go to Actions > Configure:
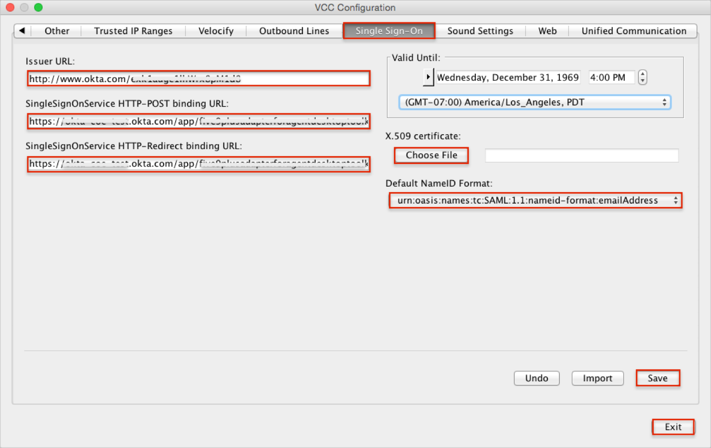
Select the Single Sign-On tab, then enter the following:
Issuer URL: Copy and paste the following:
Sign into the Okta Admin Console to generate this variable.
SingleSignOnService HTTP-POST binding URL: Copy and paste the value you saved in step 1 into this field.
SingleSignOnService HTTP-Redirect binding URL: Copy and paste the value you saved in step 1 into this field.
x.509 certificate: Download and save the following file, then click Choose File to locate and select that file to upload to Five9:
Sign into the Okta Admin Dashboard to generate this variable.
Click Save, then Exit.
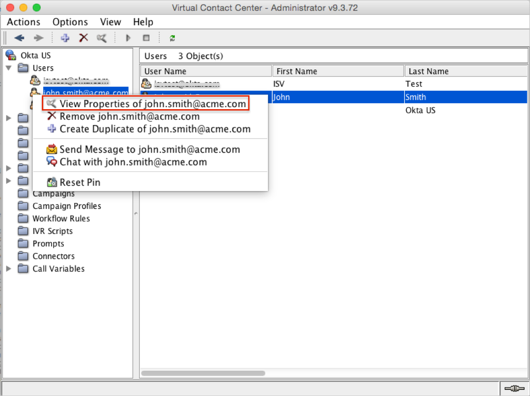
Go to Users, then right-click on the user you want to configure SSO Federation ID.
Click View Properties of [username] (john.smith@acme.com in our example):
In the Federation ID field under the General tab, enter a name for the agent. You can use the agent's Five9 username, or another name reserved for single sign-on.
Click Apply, then Save:

Login to your Zendesk instance.
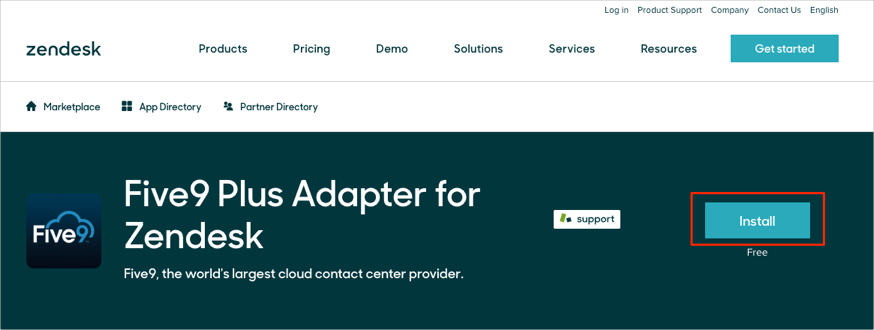
Install the following Five9 Plus Adapter for Zendesk app:
https://www.zendesk.com/apps/five9-plus-adapter-for-zendesk/?source=app_directory
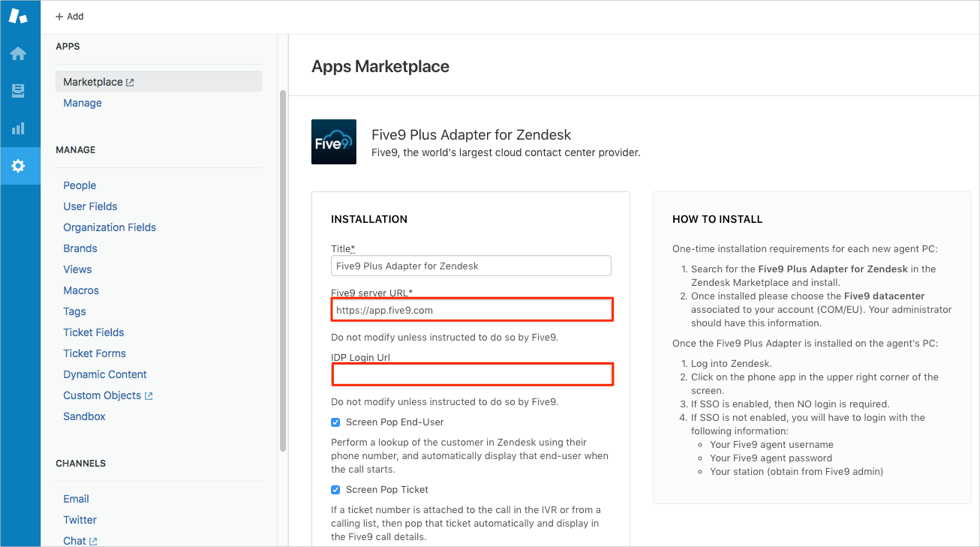
On the app installation screen, do the following:
Check the Five9 server URL value. It should be https://app.five9.com for the Five9 US Datacenter or https://app.five9.eu for the Five9 EU Datacenter.
IDP Login Url: Copy and paste the value you saved in step 1 into this field.
Scroll down to the bottom of the configuration and click Install:
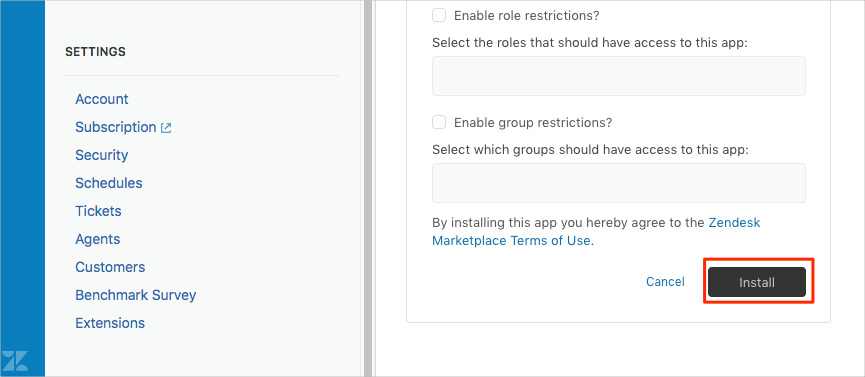
Done!
Login to the Zendesk instance.
Click on the Five9 Plus Adapter for Zendesk application icon in Okta.
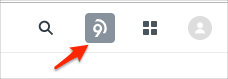
Select the Five9 application icon on the top right corner of the Zendesk page:
Login to the Zendesk instance.
Select the Five9 application icon on the top right corner of the Zendesk page and click SSO Login: