The Okta/Tiled SAML integration currently supports the following features:
For more information on the listed features, visit the Okta Glossary.
Sign in to Tiled as an Account Owner.
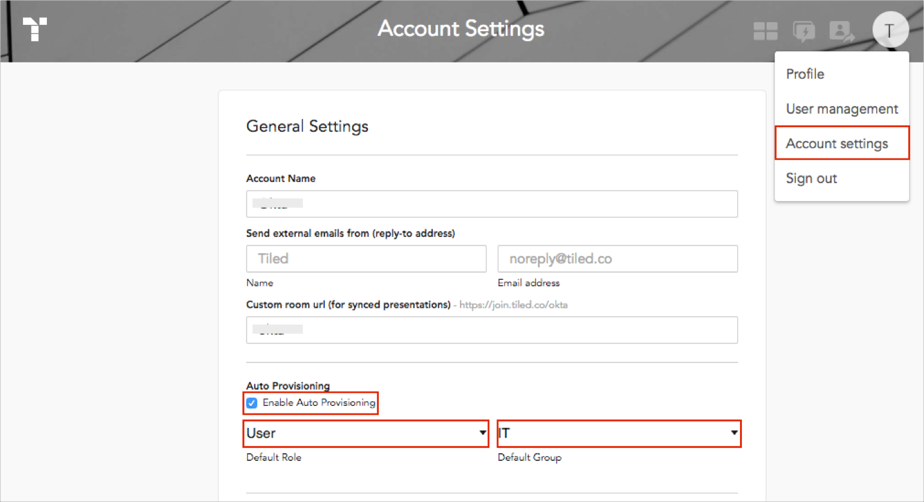
Navigate to Account Settings.
Under General Settings, scroll down to the Auto Provisioning section.
Select a required Default Role and Default Group for new users.
Check the Enable Auto Provisioning box:
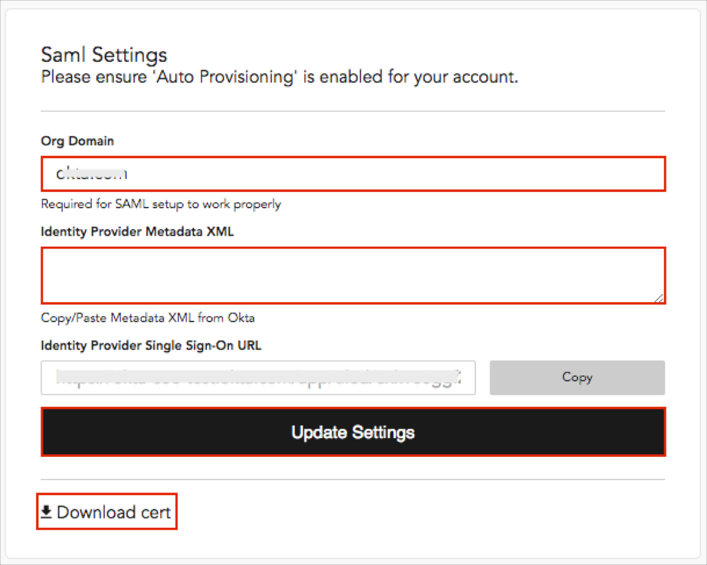
Scroll down to the Saml Settings section.
Note your Org Domain value.
Identity Provider Metadata XML: Copy and paste the following:
Sign in to Okta Admin app to have this variable generated for you.
Click Update Settings.
Click Download cert in order to download and save the encryption certificate.
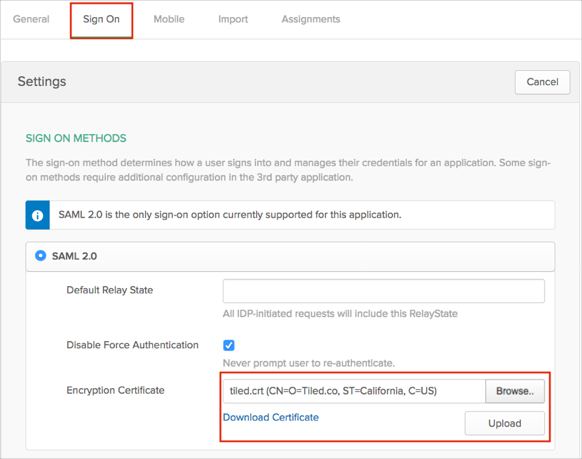
In Okta, select the Sign On tab for the Tiled app, then click Edit.
Encryption Certificate: Upload the certificate you downloaded in step 10.
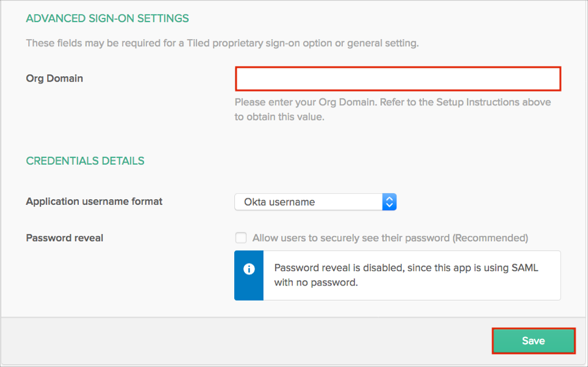
Scroll down to the ADVANCED SIGN-ON SETTINGS section.
Enter the Org Domain value you made a note of in step 7 into the corresponding field.
Click Save.
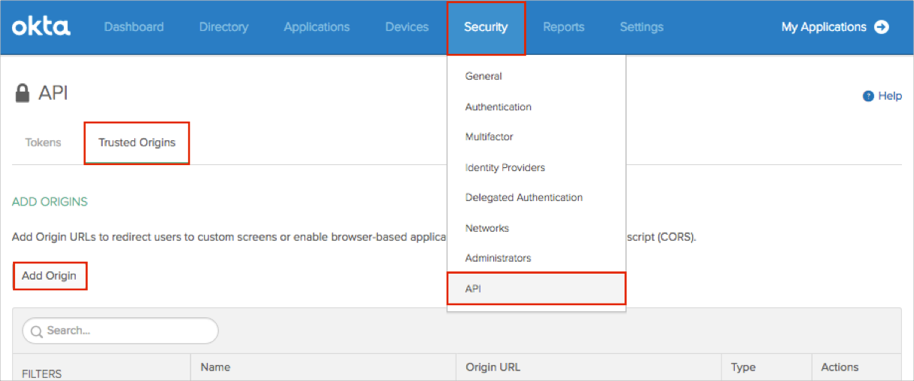
Still in Okta, navigate to Security > API > Trusted Origins.
Click Add Origin:
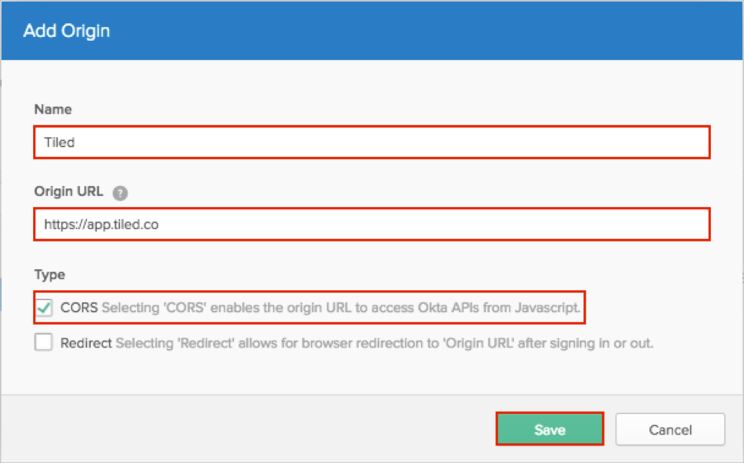
Name: Enter Tiled.
Origin URL: Enter https://app.tiled.co URL.
Type: Select CORS.
Click Save:
The following SAML attributes are supported:
| Name | Value |
|---|---|
| name | user.firstName user.lastName |
| user.userName |
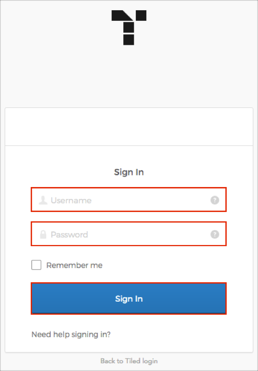
Open the https://app.tiled.co/login URL.
Click the Login with SSO link:
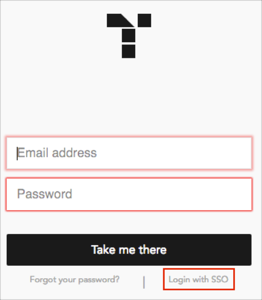
Enter your email domain value.
Click Next:
Enter your Okta credentials.
Click Sign In: