
The Okta/Octiv SAML integration currently supports the following features:
For more information on the listed features, visit the Okta Glossary.
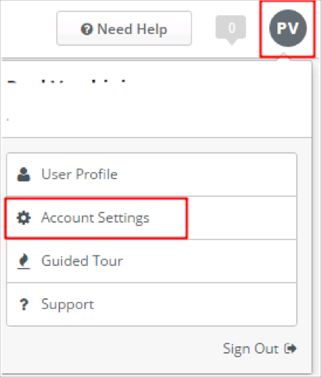
Sign in to your Octiv instance.

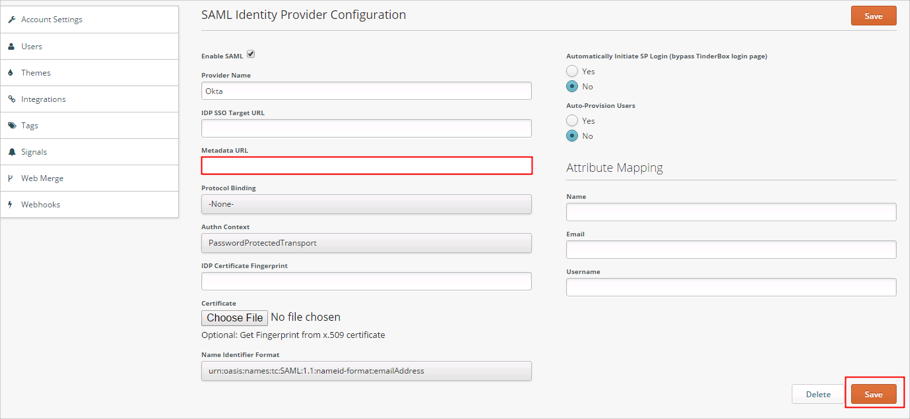
Go to Integrations > SAML, then enter the following:
Check Enable SAML.
IDP SSO Target URL: Leave this blank.
Metadata URL: Copy and paste the following:
Sign into the Okta Admin dashboard to generate this value.
Protocol Binding: Select None.
Authn Context: Select PasswordProtectedTransport.
IDP Certificate Fingerprint: Leave this blank.
Certificate: Leave the default value: No file chosen.
Name Identifier Format: Select urn:oasis:names:tc:SAML:1.1:nameid-format:emailAddress.
Click Save.

Make sure that you enter the correct value in the SubDomain field under the General tab in Okta. Using the wrong value will prevent you from authenticating via SAML to Octiv.
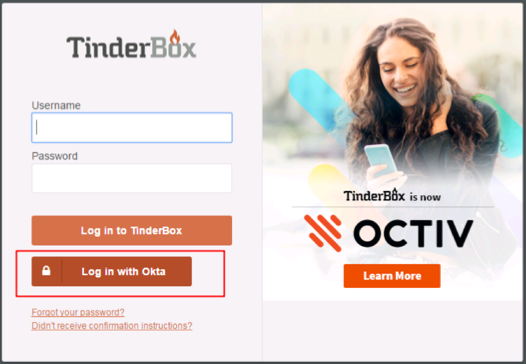
Go to https://[your-octiv-subdomain].octiv.com
Click Log in with Okta:
