Enabling SAML will affect all users who use this application, which means that users will not be able to sign-in through their regular log-in page. They will only be able to access the app through the Okta service.
Backup URL
New Relic does not provide backup log-in url where users can sign-in using their normal username and password. You can call New Relic support to turn off SAML, if necessary.
The Okta/New Relic SAML integration currently supports the following features:
For more information on the listed features, visit the Okta Glossary.
Sign in to New Relic as a user with rights to edit SAML configurations.
In the top right corner, click on your name, then select Account settings from the dropdown menu:
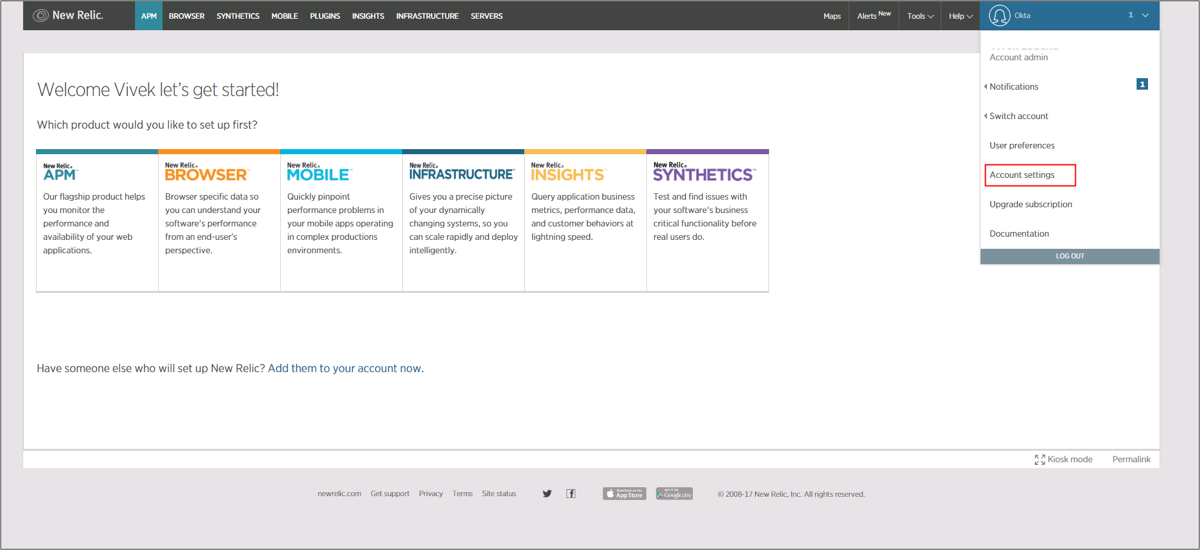
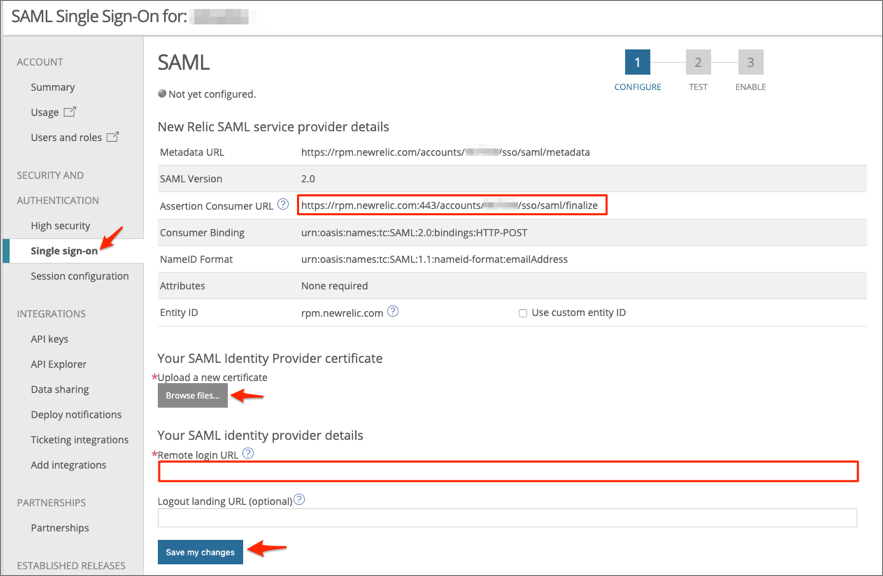
Select Single sign-on, then do the following:
Assertion Consumer URL: Make a copy of this value. This is your Login URL.
Your SAML Identity Provider certificate: Download the following, then click Browse files to locate it and upload it to New Relic:
Sign in to the Okta Admin app to have this variable generated for you.
Remote Login URL: Copy and paste the following;
Sign in to the Okta Admin app to have this variable generated for you
Click Save my changes:
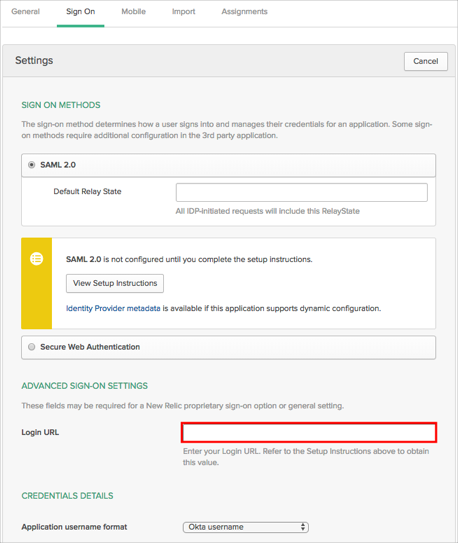
In Okta, select the Sign On tab for the New Relic SAML app, then click Edit.
Enter the Login URL value you made a copy of in step 3 into the corresponding field.
Click Save.
Go back to the New Relic SAML settings page. Click Test SAML Login:
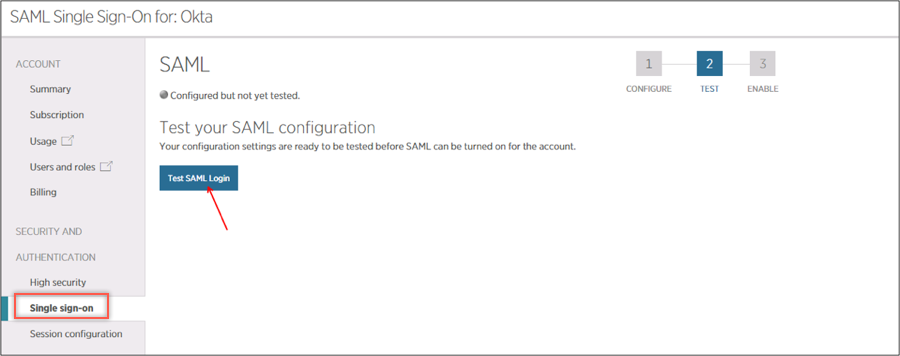
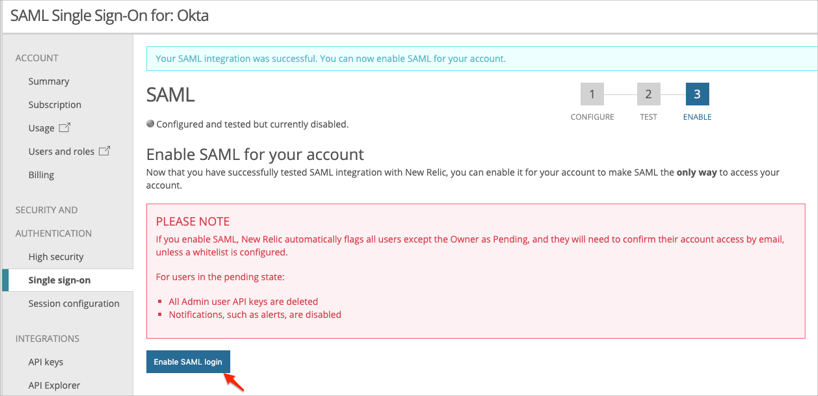
Once the test is complete, click Enable SAML Login:
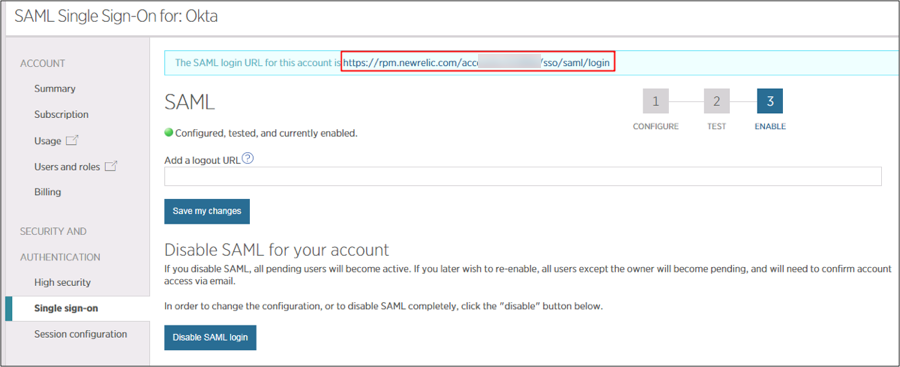
This is the SAML Login URL you use for an SP-initiated flow, make a copy of it:
Go to the SAML Login URL you made a copy of in step 7 above.