Read this before you enable SAML
Enabling SAML will affect all users who use this application, which means that users will not be able to sign in through their regular sign-in page. They will be able to access the app through the Okta service.
Backup URL
BitSight doesn't provide a backup sign-in URL where users can sign in using their regular username and password. You can contact BitSight Support to turn off SAML, if necessary.
The Okta/BitSight SAML integration currently supports the following features:
Log in to your BitSight account as an administrator.
In the top right corner of your homepage, click the wheel Settings icon, then select SAML from the drop-down menu.
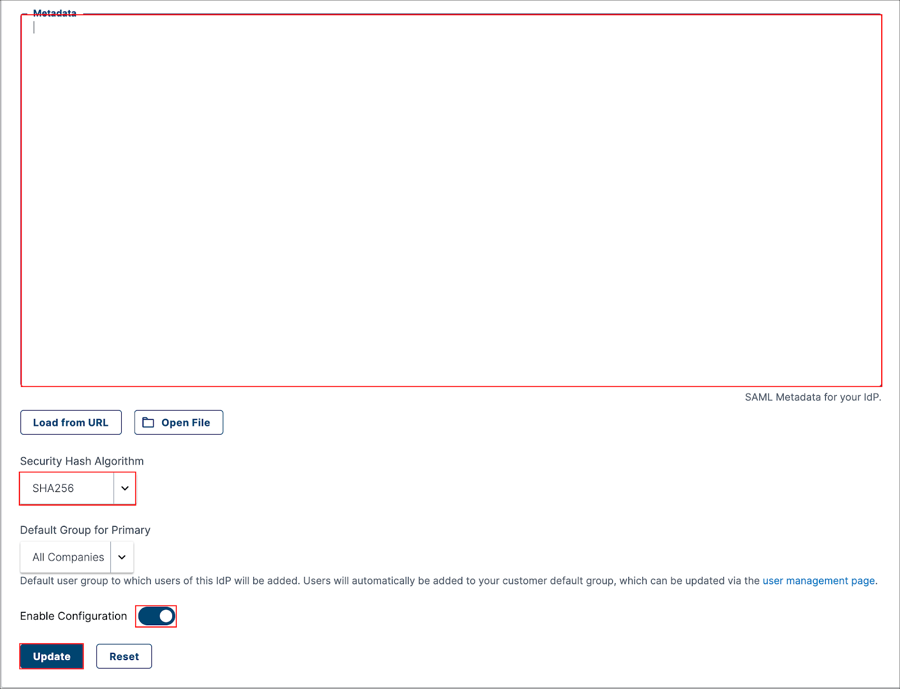
On the next page, scroll down to the Your SAML Identity Provider (IdP) Settings for Primary section and follow the instructions below:
In the Metadata text field, copy and paste the following:
Sign in to Okta Admin app to have this variable generated for you.
Security Hash Algorithm: Select SHA256.
Enable Configuration: Click on this toggle.
Click Update.
Refresh the page. Under BitSight SAML Service Provider (SP) Details, make a note of your Entity ID and Assertion Consumer Service URL.
Under Your SAML Identity Provider (IdP) Settings for Primary, make a note of your BitSight SP-initiated login URL.
(Optional) Toggle the Auto provision users setting if you want to enable Just In Time Provisioning.
In Okta, select the Sign On tab for the BitSight SAML integration, then click Edit.
Scroll down to Advanced Sign-on Settings.
Enter the Entity ID and the Assertion Consumer Service URL values you noted in Step 4 into the corresponding fields.
Click Save.
You can now start assigning users to the application.
Done!
The following SAML attributes are supported:
| Name | Value |
|---|---|
| urn:oid:2.5.4.3 | user.firstName |
| urn:oid:2.5.4.4 | user.lastName |
| urn:oid:0.9.2342.19200300.100.1.3 | user.userName |
Go to the BitSight SP-initiated login URL that you copied in step 5.