The Okta/Zoho One SAML integration currently supports the following features:
Download and save the following certificate as okta.cert:
Sign into the Okta Admin Dashboard to generate this variable.
Login to Zoho Accounts at https://accounts.zoho.com/ as a user with administrative rights.
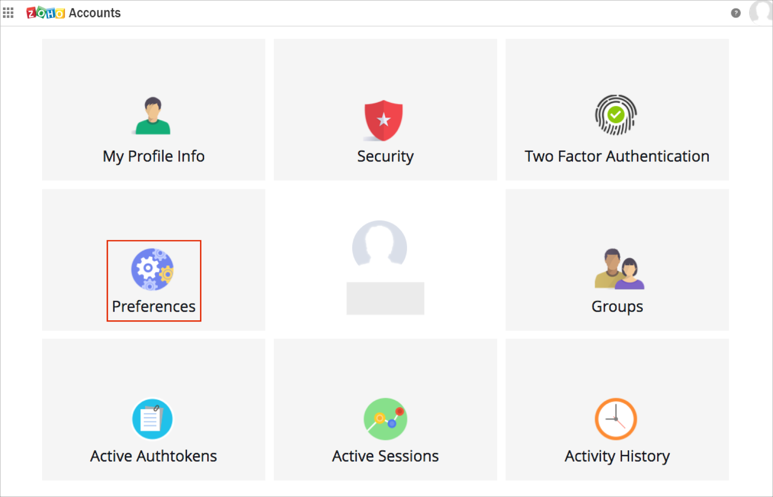
Select Preferences:
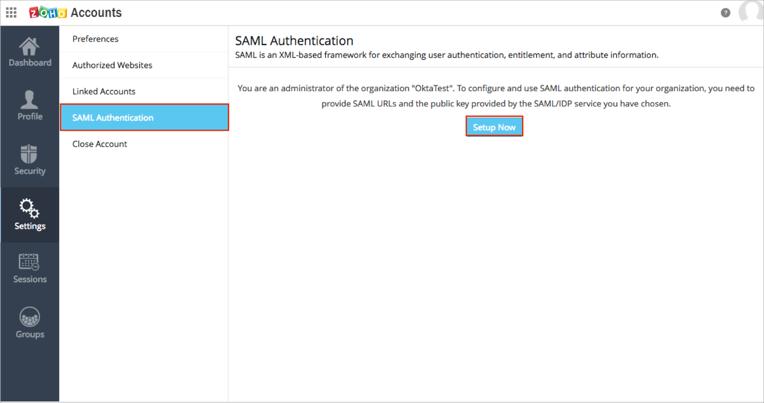
Select SAML authentication, then click Setup Now:
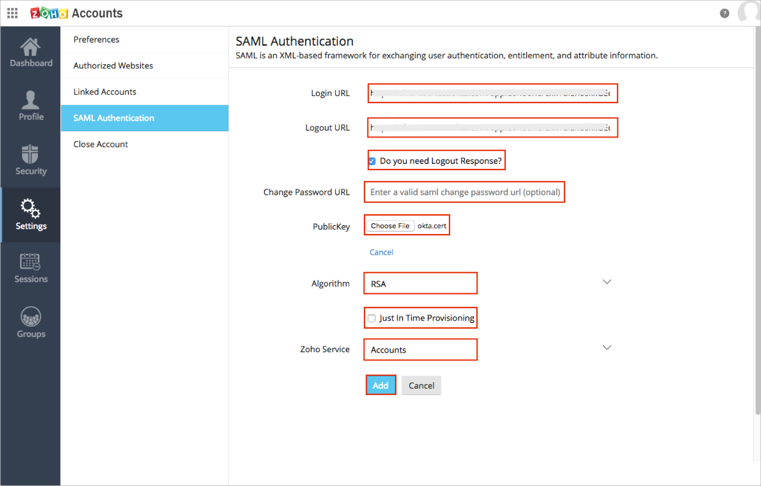
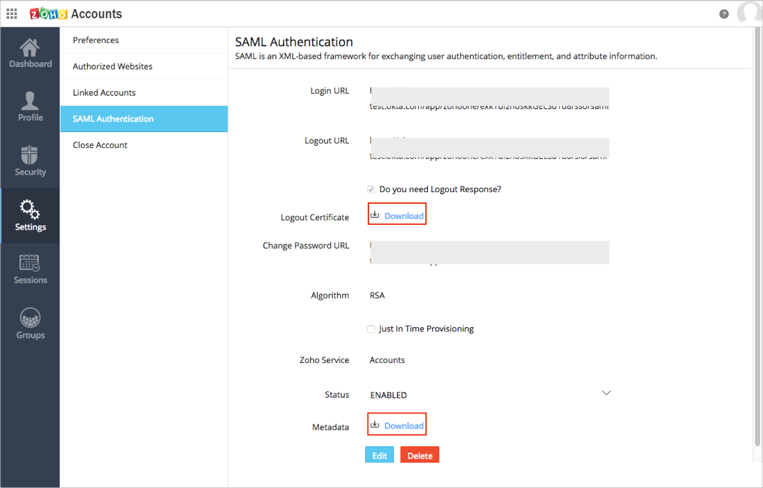
Enter the following (see screenshot at end of step for reference):
Login URL: Copy and paste the following:
Sign into the Okta Admin Dashboard to generate this variable.
Logout URL: Copy and paste the following:
Sign into the Okta Admin Dashboard to generate this variable.
Do you need Logout Response?: Check this box.
Change Password URL: Leave this blank.
Public Key: Click Get Key from file link, then use the Choose File button to locate and upload the okta.cert file you saved in step 1.
Algorithm: Leave RSA in this field.
Just In Time Provisioning: Uncheck this box. Just In Time Provisioning is currently not supported by Zoho One.
Zoho Service: Leave Accounts in this field.
Click Add.
Click Download to save the Logout Certificate.
Click Download to save the Metadata file.
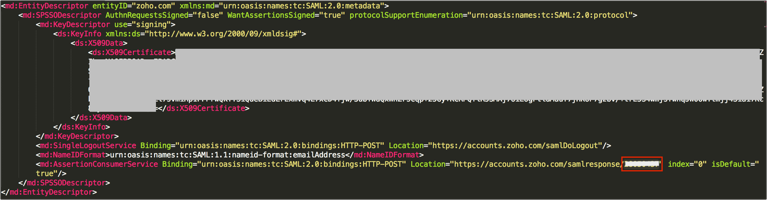
Open the Metadata file you just downloaded (step 7) in a text editor.
Search for the AssertionConsumerService parameter.
Save the last part of the URL in the Location attribute. This is your Domain value.
For example, if your AssertionConsumerService URL is is https://accounts.zoho.com/samlresponse/123456, then your Domain value is 123456.
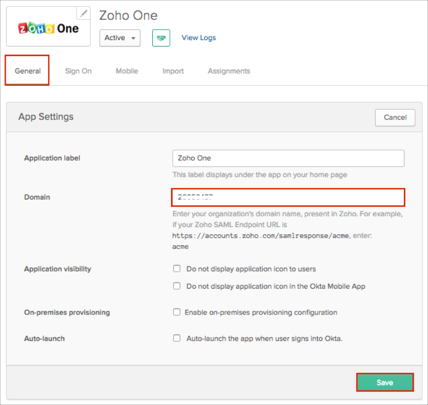
In Okta, select the General tab for the Zoho One app, then click Edit.
Enter your Domain value (step 8) into the corresponding field.
Click Save.
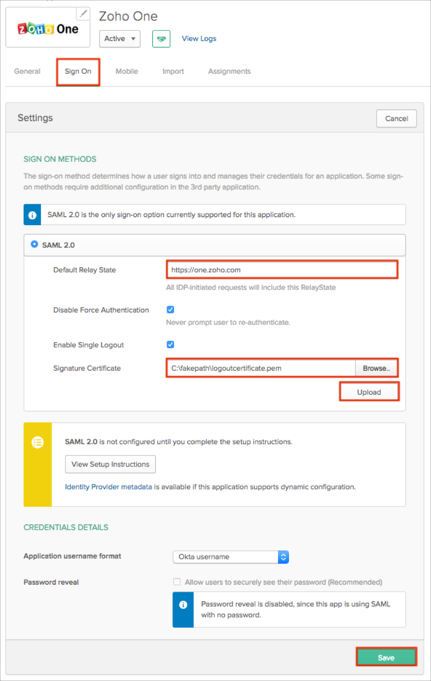
Still in Okta, select the Sign On tab for the Zoho One app, then click Edit.
Default Relay State: Enter https://one.zoho.com.
Enable Single Logout: Check this box.
Signature Certificate: Click Browse to locate the Logout Certificate you downloaded in step 6, then click Upload.
Click Save.
Done!
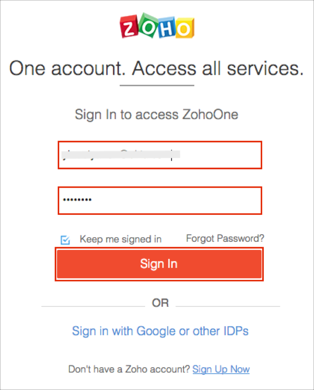
Open the following URL: https://www.zoho.com/one/.
Click Login.
Enter a valid Email ID and password.
Click Sign in.