Enabling SAML will affect all users who use this application, which means that users will not be able to sign-in through their regular log-in page. They will only be able to access the app through the Okta service.
Backup URL
ZenQMS does not provide backup log-in URL where users can sign-in using their normal username and password. You can call ZenQMS support (help@zenqms.com) to turn off SAML, if necessary.
The Okta/ZenQMS SAML integration currently supports the following features:
For more information on the listed features, visit the Okta Glossary.
Contact the ZenQMS Support team (help@zenqms.com) and request that they enable SAML 2.0 for your account.
Save, then attach the following Metadata file to your request:
Sign into the Okta Admin dashboard to generate this value.
The Support team will process your request. After receiving a confirmation email, you can start assigning people to the application.
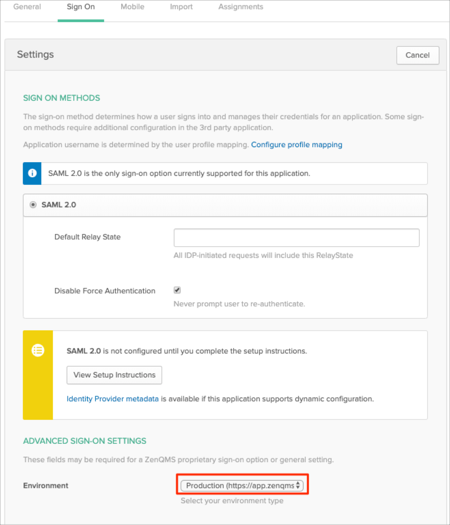
In Okta, select the Sign On tab for the ZenQMS SAML app, then click Edit:
Select your Environment type:
Guidelines for your Environment:
https://test.zenqms.com, select Test
https://sandbox.zenqms.com, select Sandbox
https://app.zenqms.com, select Production
Click Save:
Done!
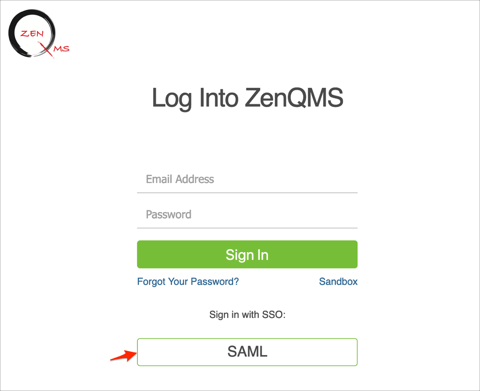
Go to: [your-environment-type] URL
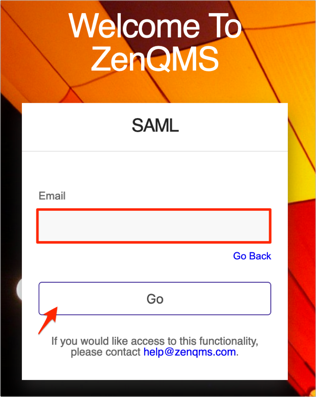
Click SAML:
Enter your email, then click Go: