The Okta/Xactly SAML integration currently supports the following features:
For more information on the listed features, visit the Okta Glossary.
Sign in to Xactly as a user with administrative rights.
Go to Setup > Manage Certificate, then do the following:
Download and save the following certificate as okta.cer:
Sign into the Okta Admin Dashboard to generate this variable.
Click Import and upload the certificate you just downloaded. Make a note of the serial number for the certificate.
Note: You might see a message if this certificate has already been uploaded. This means that you can continue using the existing certificate as your primary certificate (later in this procedure).
Go to Setup > Customize > SAML integration, then enter the following:
SAML Version: Select 2.0
Entity Id: Copy and paste the following:
Sign into the Okta Admin dashboard to generate this value.
SAML Issuer URL: Copy and paste the following:
Sign into the Okta Admin Dashboard to generate this variable.
Custom Error URL: Leave this blank.
Primary Certificate: Select the certificate you uploaded in step 2.
Secondary Certificate: Leave this blank.
(optional) Expiry Reminder: Enter the number of days (between 1 and 999) prior to a certificate expiring that Incent should send an expiry notification email to the designated address.
Note: Incent only sends notifications for the primary and secondary certificates. By default, Incent does not send an expiry reminder.
(optional) Notification Email: Enter the email address of the person who should receive an expiry notification for any loaded SAML certificates.
Enable SP-initiated SSO: Check this box.
Single Sign-on Service URL: Copy and paste the same value for SAML Issuer URL, above.
SAML Binding Type: Select POST.
Signature location in SAML Response: Select Assertion.
Enable SP-initiated SLO: Leave this unchecked.
Single Logout Service URL: Leave this blank.
Click Save.
Refresh the page. The ShareKey Attribute field populates with the SharedKey. Make a copy of this value. You will need it in step 4 below.
Click the SAML 2.0 link (near the bottom of the screen) to download the Xactly metadata.
Note: This metadata is unique for each business and is created when you click Save on the SAML Integration screen.
Open the downloaded file and locate the entityID tag. Copy the URL without quotes. You will need it in step 4 below.

In Okta, select the Sign On tab for the Xactly SAML app, then click Edit:
Default Relay State: Enter https://[podname].xactlycorp.com/iam/v1/idp/handler
Where [podname] is the name of your Xactly server.
For example, if you’re using Secure 3, enter the following URL: https://secure3.xactlycorp.com/iam/v1/idp/handler
Enter your SharedKey and Entity ID values (step 3) into the corresponding fields.
Click Save.
In Xactly Incent, go to Setup > Users, then do the following:
Go to a required user, then click Edit.
In Account Settings select SAML from the Login Profile drop-down menu.
Click Save & Close.
Note: Do not select SAML Login Profile for your Admin user. It will disable username/password authentication. Select SAML and Xactly Login Profile for Admin users.
Enable the SAML integration:
As an administrator logged into Incent, open a new tab and enter the following URL in the new tab:
https://[podname].xactlycorp.com/xicm/icmadvanced/api/saml/config/idp/enable
Where [podname] is the server name that your business is using.
You'll receive the following message upon success:
{"result": true}Done!
The following SAML attributes are supported:
| Name | Value |
|---|---|
| user.userName | |
| SharedKey | Comes from Shared Key field (Configuration Steps, step 4) |
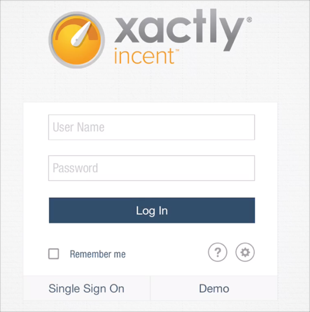
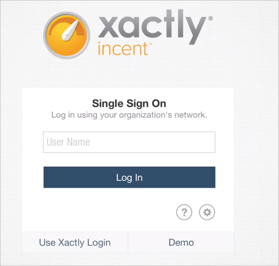
Go to the URL found in the Custom Logout URL field under Download the Xactly Incent application in Okta Mobile. Once Xactly Incent is downloaded, click the application icon on the iOS home screen. Note: Xactly currently only supports opening the native application from the iOS home screen. Select the Single Sign On link: Enter your User Name, then click Log In:
Mobile iOS App