Before you enable SAML
The Okta/Wrike SAML integration currently supports the following features:
For more information on the listed features, visit the Okta Glossary.
Log in to your Wrike account as an administrator.
In your Wrike workspace, click your profile picture in the upper-right corner and select Settings.
In the left panel, go to Account management > Security.
Scroll down to the SAML SSO section, click Setup SAML SSO, then follow the steps below::
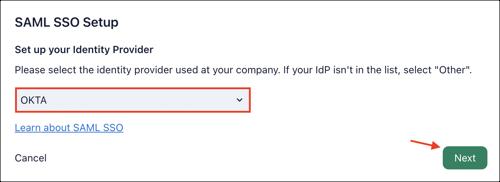
Set up your Identity Provider: Select OKTA, then click Next.
Click Proceed in the next window.
In the next step, select the Enter XML option, then copy and paste the following IDP metadata:
Sign into the Okta Admin dashboard to generate this value.
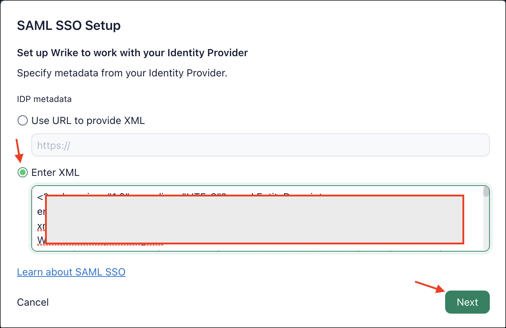
Click Next.
In the next step, click Enable SAML settings.

You'll receive an email from noreply@wrike.com with a verification code. Enter the code in the confirmation box in Wrike, then click Confirm.

In the next step, click Save SAML settings.
Your SAML SSO is now configured in Optional mode. Users that sign in from the login.wrike.com page will still be signing in with their Wrike password. To test SAML SSO use IDP-initiated flow or use https://login.wrike.com/sso login page.
If the test results are successful, update the enforcement option to Users with approved domains only or For all users according to your needs.
Done!
The following SAML attributes are supported:
| Name | Value |
|---|---|
| firstName | user.firstName |
| lastName | user.lastName |
Go to: https://login.wrike.com/
Enter your email, then click Log In.