Contact the WorkRamp Support team (support@workramp.com) and request that they enable SAML 2.0 for your account.
Optional: Request that they configure your Workramp instance to accept the Groups attribute.
Attach the following information to your request:
Identity Provider Single Sign-On URL: Copy and paste the following:
Sign in to the Okta Admin app to have this variable generated for you.
Certificate: Copy and paste the following certificate:
Sign into the Okta Admin Dashboard to generate this variable.
The WorkRamp Support team will process your request. After receiving a confirmation email, you can start assigning people to the application.
Optional: If you have requested that your Workramp instance be configured to accept the group attribute (step 2):
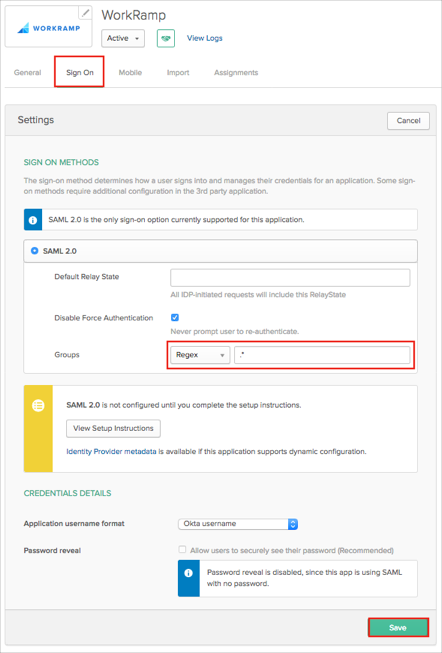
In Okta, select the Sign On tab for the Workramp app, then click Edit.
Select your preferred group filter from the dropdown list (the Regex rule with the value ".*" in order to send *all* groups to the Workramp instance we used in our example).
Click Save:
Done!
Notes:
IDP-initiated flows and SP-initiated flow are supported.
Just In Time (JIT) provisioning is not supported.
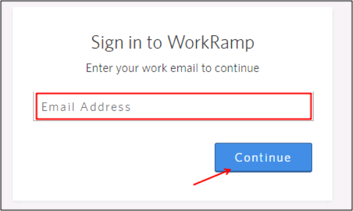
Go to: https://[your-workramp-subdomain].app.workramp.com/login.
Enter your Email Address, then click Continue: