The Okta/Wootric SAML integration currently supports the following features:
For more information on the listed features, visit the Okta Glossary.
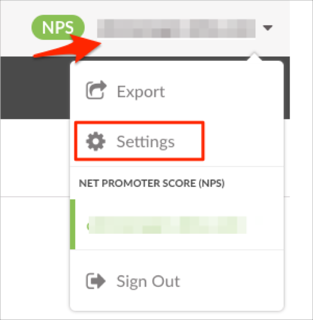
Login to Wootric as an administrator.
Click on your user name, then select Settings:
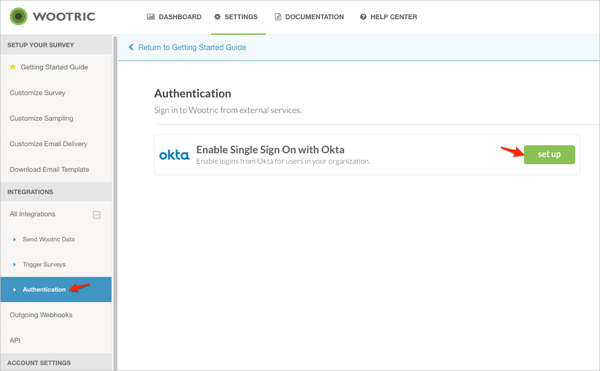
In the INTERGRATION section, select Authentication, then click set up for Enable Single Sign On with Okta option:
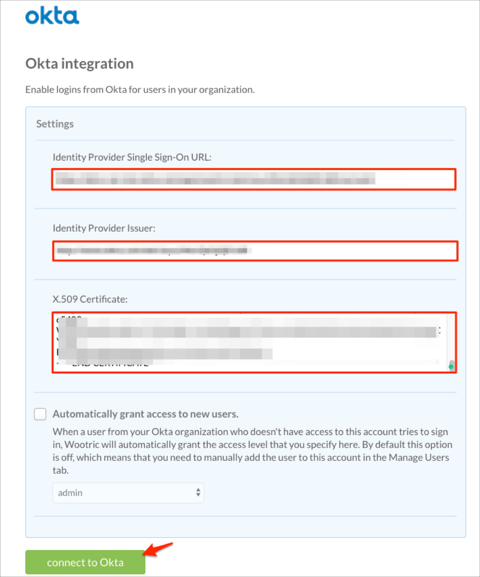
Enter the following:
Identity Provider Single Sign-On URL: Copy and paste the following:
Sign into the Okta Admin Dashboard to generate this variable.
Identity Provider Issuer: Copy and paste the following:
Sign into the Okta Admin Dashboard to generate this variable.
X.509 Certificate: Copy and paste the following:
Sign into the Okta Admin Dashboard to generate this variable.
Automatically grant access to new users: Optional. Check this option to enable JIT (Just In Time) Provisioning.
Click connect to Okta:
Done!
The following SAML attributes are supported:
| Name | Value |
|---|---|
| id | user.id |