The Okta/Whistic SAML integration currently supports the following features:
For more information on the listed features, visit the Okta Glossary.
Contact the Whistic Support team (support@whistic.com) and request that they enable SAML 2.0 for your account. Also, ask them to provide you with SSO URL and SP Entity ID values.
Include the following Metadata URL with your request:
Sign into the Okta Admin dashboard to generate this value.
The Whistic Support team will process your request and will provide you with SSO URL and SP Entity ID values.
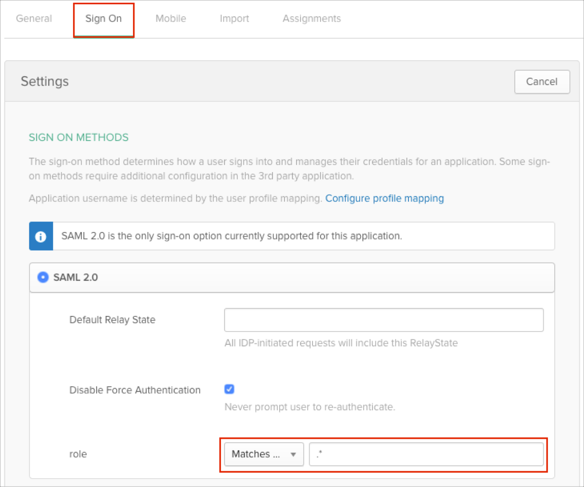
In Okta, select the Sign On tab for the Whistic app, then click Edit.
[OPTIONAL: GROUPS]:
Select your preferred group filter from the role dropdown list (use the Matches Regex rule with the value ".*" in order to send *all* Okta groups to the Whistic instance we used in our example) for the attribute:
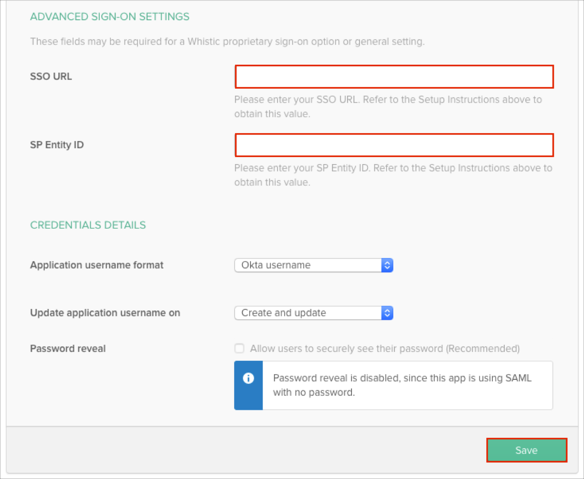
Scroll down to the ADVANCED SIGN-ON SETTINGS section.
Enter the SSO URL and SP Entity ID values from step 3 into the corresponding fields.
Click Save:
Done!
The following SAML attributes are supported:
| Name | Value |
|---|---|
| firstName | user.firstName |
| lastName | user.lastName |
| role | This is configured in the app UI; see GROUPS instructions above. |
Open: https://[your-subdomain].whistic.com.
Click LOGIN: