Read this before you enable SAML
Enabling SAML will affect all users who use this application, which means that users will not be able to sign in through their regular log in page. They will only be able to access the app through the Okta service.
Backup URL
Go to https://secure.virtru.com/dashboard and request a one time verification link by entering your email address.
The Okta/Virtru SAML integration currently supports the following features:
For more information on the listed features, visit the Okta Glossary.
Contact your Account Representative to enable SAML support.
Your Account Representative will process your request and will provide you with the Organization ID value.
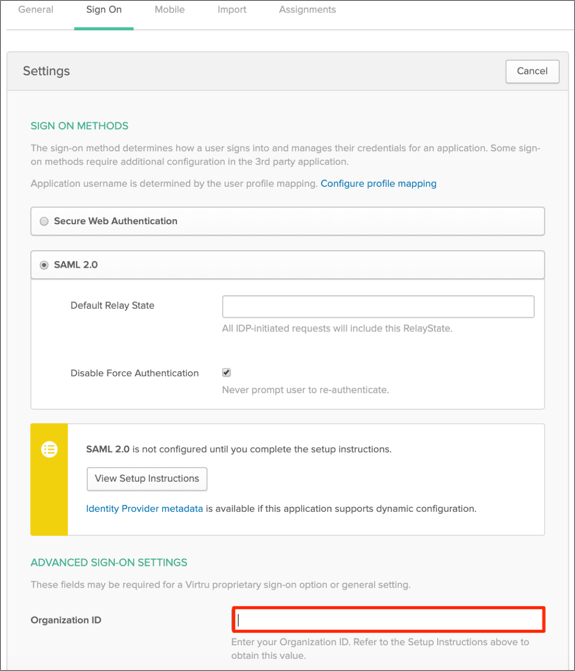
In Okta, select the Sign On tab for the Virtru SAML app, then click Edit.
Enter your Organization ID provided to you by Virtru into the corresponding field.
Click Save:
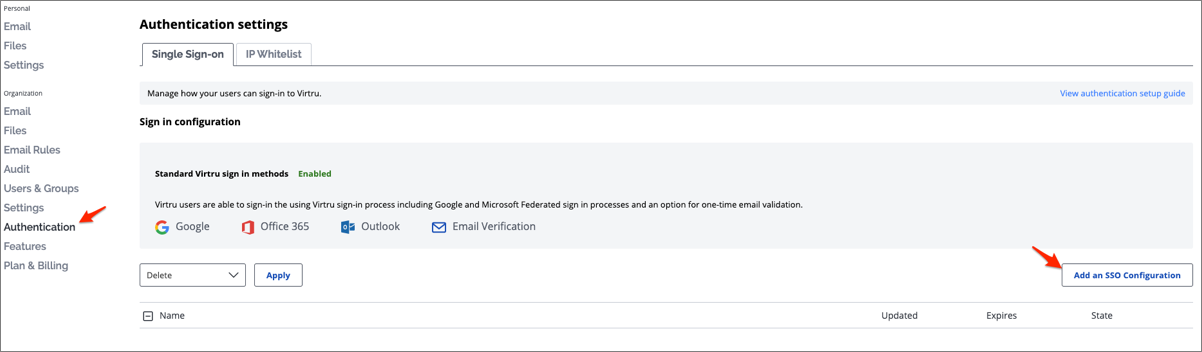
Log in to Virtru as administrator
Navigate to Authentication, then click Add an SSO Configuration:
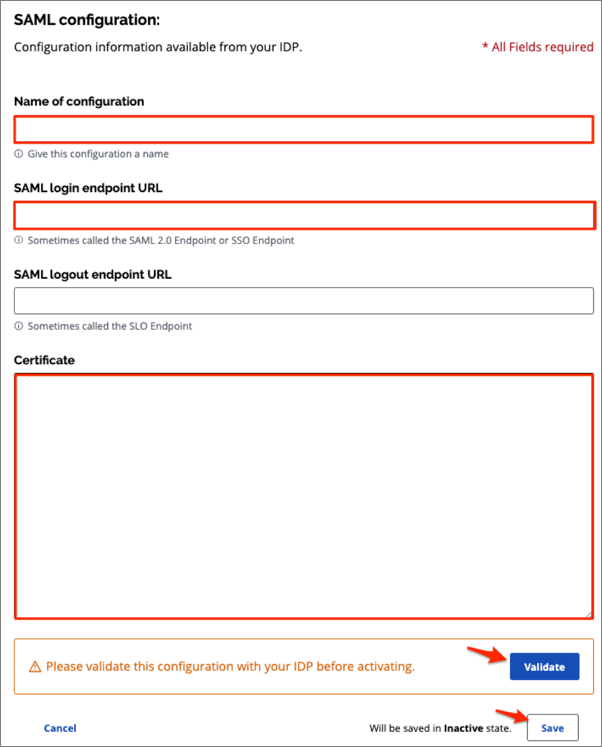
Enter the following:
Name of configuration: Enter an appropriate name.
SAML login endpoint URL: Copy and paste the following:
Sign into the Okta Admin Dashboard to generate this variable.
Certificate: Copy and paste the following:
Sign into the Okta Admin Dashboard to generate this variable.
Click Validate to validate your configuration.
If the configuration is correct you will see a Configuration validSave:
Check your configuration, select Activate from the dropdown menu, then click Apply:

Done!
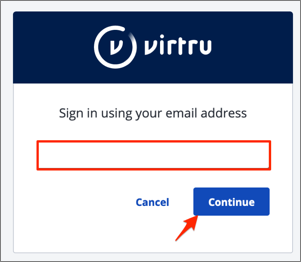
Click Use Single Sign-on (SSO):
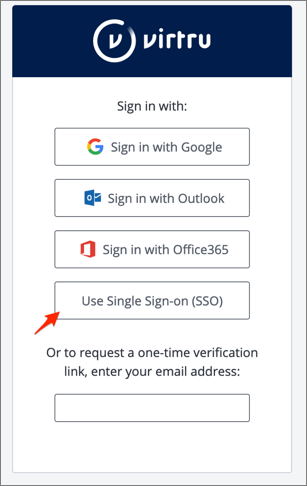
Enter your email, then click Continue: