The Okta/Viima SAML integration currently supports the following features:
For more information on the listed features, visit the Okta Glossary.
Log in to your Viima account as an administrator.
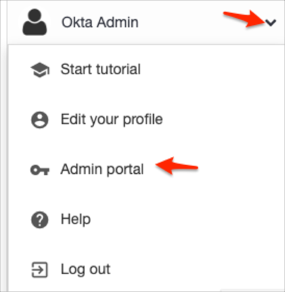
Click on your account, then select Admin portal:
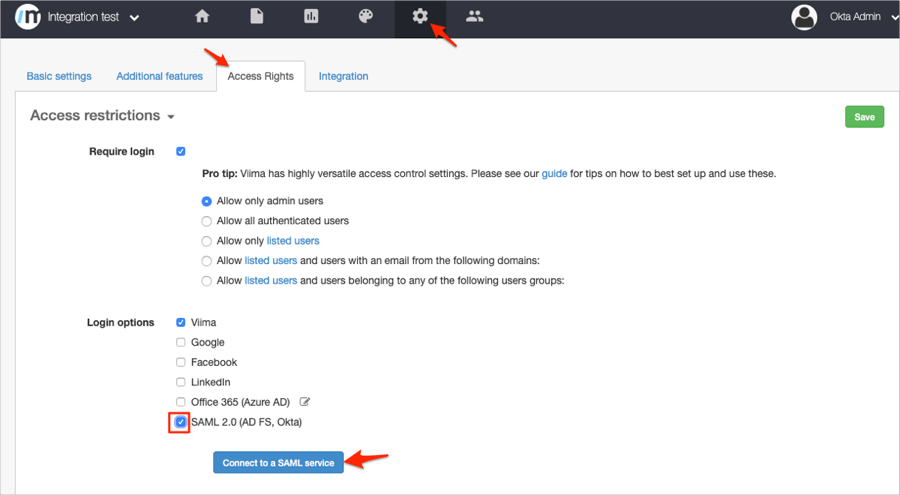
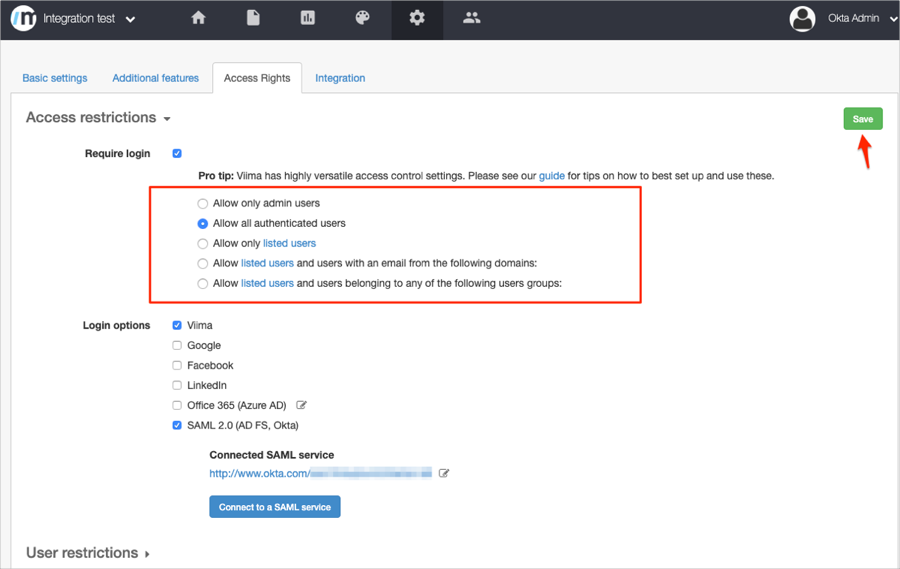
Navigate to Settings > Access Rights > Access restrictions, select SAML 2.0 (AD FS, Okta) from Login options, then click Connect to a SAML service:
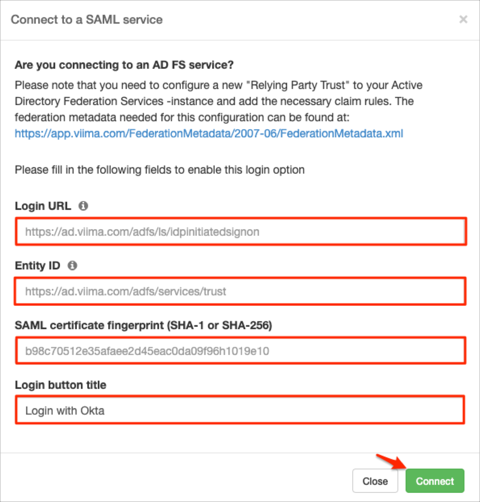
Enter the following:
Login URL: Copy and paste the following:
Sign into the Okta Admin Dashboard to generate this variable.
Entity ID: Copy and paste the following:
Sign into the Okta Admin Dashboard to generate this variable.
SAML certificate fingerprint (SHA-1 or SHA-256): Copy and paste the following:
SHA-256:
Sign into the Okta Admin Dashboard to generate this variable.
Login button title: Enter Login with Okta.
Click Connect:
Still on the Viima page, select the appropriate access rights, then click Save:
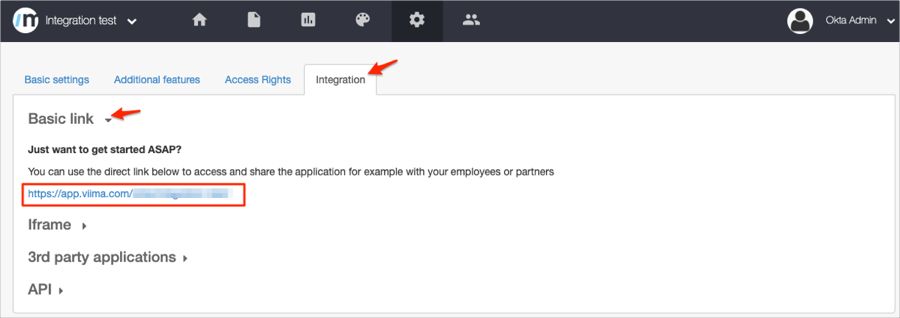
Navigate to Integration > Basic link and make a copy of the URL marked in red below:
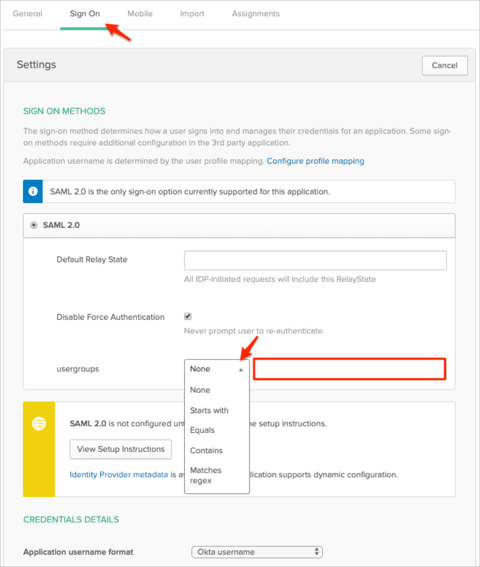
Optional: Group Attribute Steps: To send groups as a part of SAML assertion, in Okta select the Sign On tab for the Viima app, then click Edit.
Select the appropriate filter from the usergroups drop down menu, then enter a preferred value.
Click Save.
Note: To send all groups a user is assigned to, select Regex and enter .* (dot and asterix).
Done!
The following SAML attributes are supported:
| Name | Value |
|---|---|
| givenname | user.firstName |
| surname | user.lastName |
| emailaddress | user.userName |
| upn | user.userName |
| usergroups | This is configured in the app UI; see Group Attribute Steps (step 7) above |
Go to the URL you made a copy of in step 6.
Click Login with Okta: