
Please Contact Veeva Customer Support to enable SSO in your vault. Once they have done so, you can begin configuring SSO. You will need Vault Admin access in order to configure SSO in Veeva Vault. Please refer to Configuring Single Sign-On on Veeva Vault for further details.
The Okta/Veeva Vault SAML integration currently supports the following features:
For more information on the listed features, visit the Okta Glossary.
Login to Veeva Vault as an administrator.
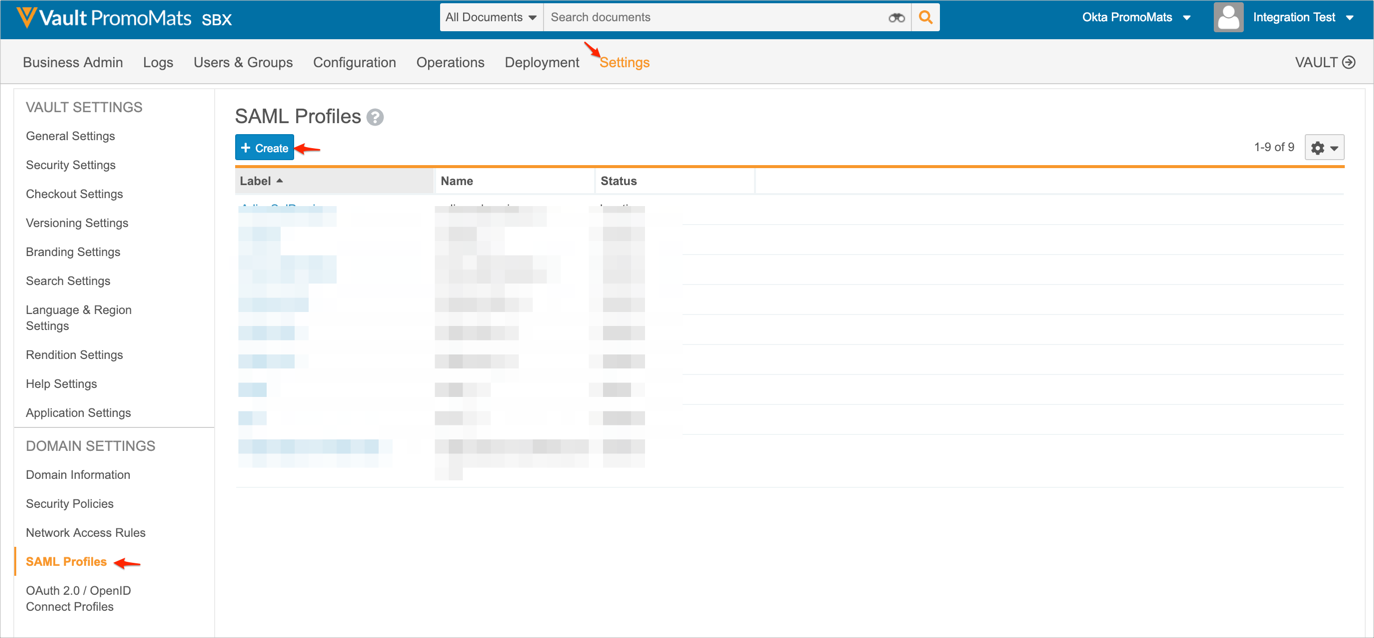
Navigate to Admin > Settings > SAML Profiles, then click Create:
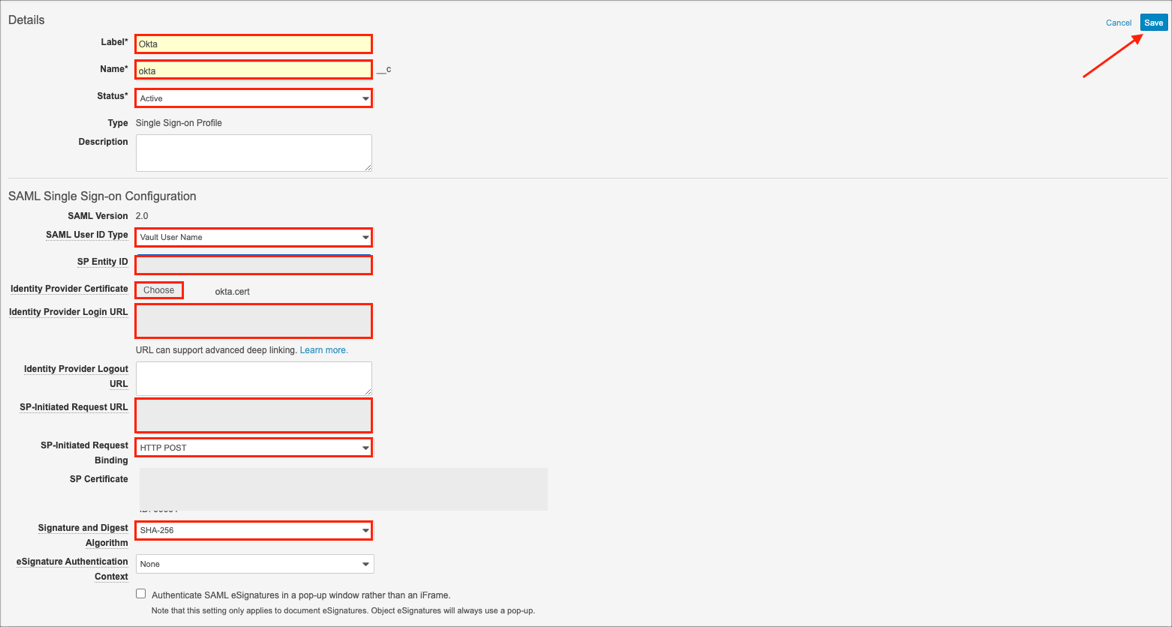
Enter the following:
Details
Label: Enter Okta.
Name: Enter okta.
Status: Select Active.
SAML Single Sign-on Configuration
SAML User ID Type: Select a required value. We used Vault User Name in our example.
SP Entity ID: Copy and paste the following:
Sign in to the Okta Admin app to generate this variable.
Identity Provider Certificate: Download, save, then click Choose to locate and upload the following certificate to Veeva Vault:
Sign in to the Okta Admin app to generate this variable.
Identity Provider Login URL and SP-Initiated Request URL: Copy and paste the following into both fields:
Sign in to the Okta Admin app to generate this variable.
SP-Initiated Request Binding: Select HTTP POST.
Signature and Digest Algorithm: Select SHA-256.
Identity Provider Button
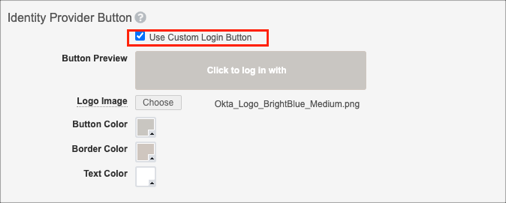
Check Use Custom Login Button.
Logo Image: Click Choose to locate and upload the Okta logo.
You can find the Okta logo here: https://www.okta.com/press-room/media-assets/logos/
Click Save:
Still, on the SAML Profiles page make a copy of your Vault SSO Login URL:

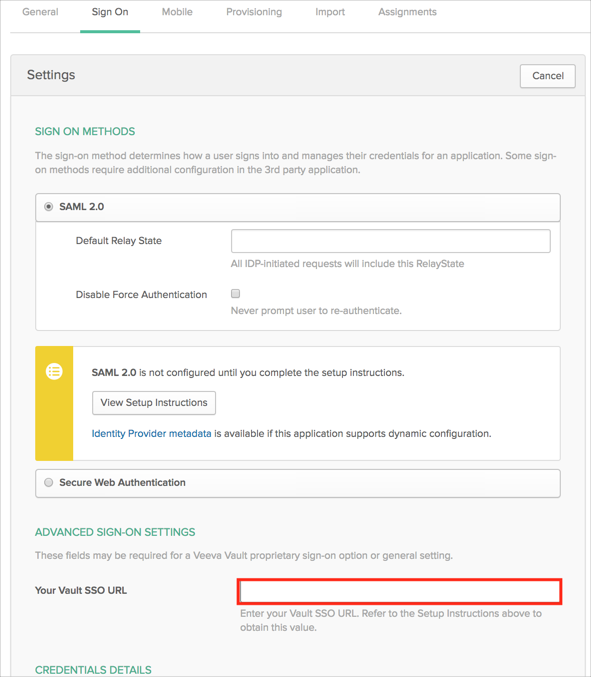
In Okta, select the Sign On tab for the Veeva Vault app, then click Edit:
Scroll down to the ADVANCED SIGN-ON SETTINGS section.
Enter the value you saved in step 4 into the Your Vault SSO URL field.
Click Save.
To complete SSO configuration, you must apply a security policy that enables user accounts to use SSO. For more information see here
Done!
Open your base URL. For example https://acme.veevavault.com.
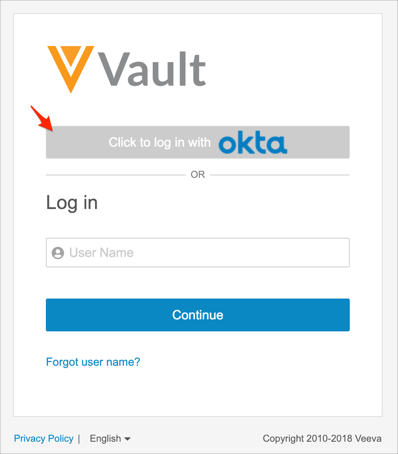
Click Click to log in with okta:
