Read this before you enable SAML
To complete this setup you'll need to have an administrator role that can manage applications and API tokens. For a list of administrator roles and what permissions they have, see Standard administrator roles and permissions.
The Okta/Vanta SAML integration currently supports the following features:
For more information on the listed features, visit the Okta Glossary.
You’ll need to create a new API token to configure the Vanta integration:
In the Okta Admin Console, go to Security > API.
Select the Tokens tab and click Create Token. Go through the token creation process and make a copy of your token once created.
Login to your Vanta account as an administrator.
On your Vanta home page, select the Integrations tab on the left-side menu.
Under the Identity Providers section, click Connect. Choose Okta, then click Connect to Okta.
Enter the following:
API token: Enter the token you created in step 1.
Okta domain: Enter your Okta domain (for example: acme.okta.com).
Click Validate and store.
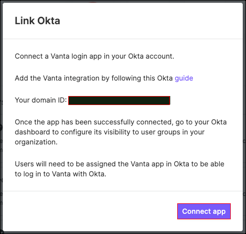
On the next popup, make a copy of Your domain ID.
In Okta, select the Sign On tab, for the Vanta SAML app, then click Edit.
Domain ID: Enter the Domain ID you made a copy of (step 6).
Region: Select the appropriate region for your Vanta application.
Click Save
In Vanta, click Connect App.
Done!
Go to: https://app.vanta.com/login
Click Continue with Okta.
Enter your username, then click Sign in with Okta.