The Okta/TriNet SAML integration currently supports the following features:
For more information on the listed features, visit the Okta Glossary.
Log in to TriNet as an employee with Integration Administrator role holder.
Select the Admin tab, then navigate to Integration Center:
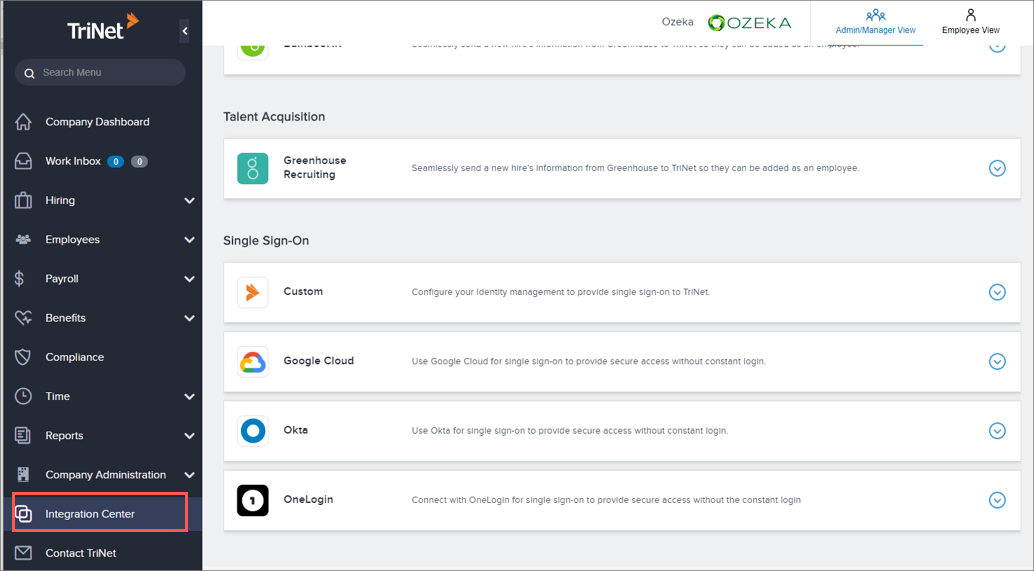
Locate the Okta app in the Single Sign-On section, then click Get Started:

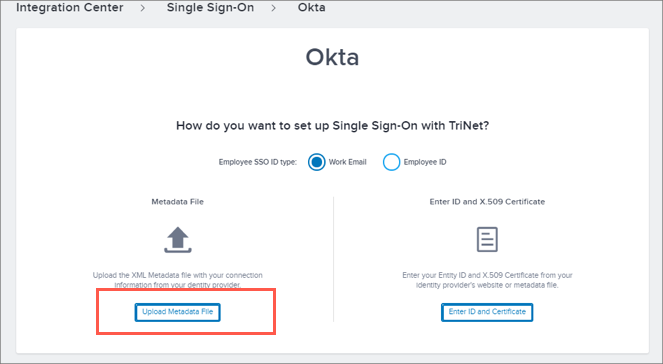
Click Upload Metadata File:
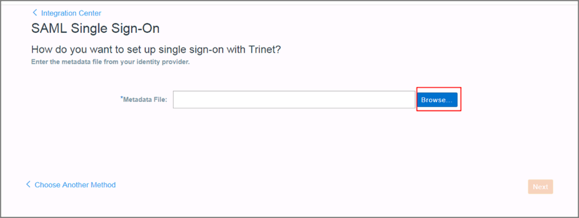
Click to download, then save the following metadata as metadata.xml, then click Browse to locate and upload it to TriNet:
Sign into the Okta Admin dashboard to generate this value.
Click Copy to make a copy of your TriNet (SP) Entity Id, then click Complete:

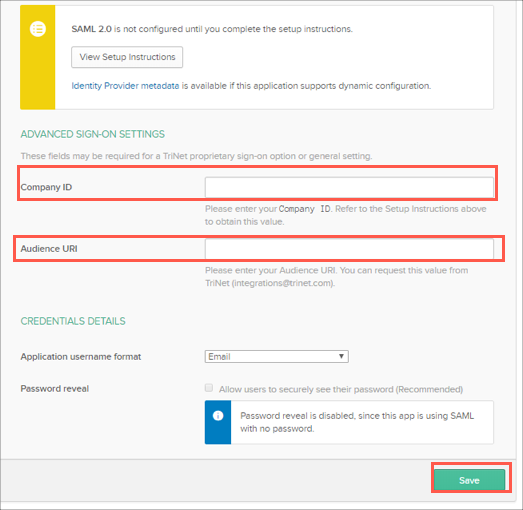
In Okta, select the Sign On tab for the TriNet app, then click Edit:
Scroll down to ADVANCED SIGN-ON SETTINGS.
Enter the Company ID value into the corresponding field. Contact TriNet Support if you do not know your TriNet Company ID.
Enter the TriNet (SP) Entity Id value (step 6) into the Audience URI field.
Click Save:
Done!
The following SAML attributes are supported:
| Name | Value |
|---|---|
| companyID | org.companyId |