The Okta/Syncplicity SAML integration currently supports the following features:
For more information on the listed features, visit the Okta Glossary.
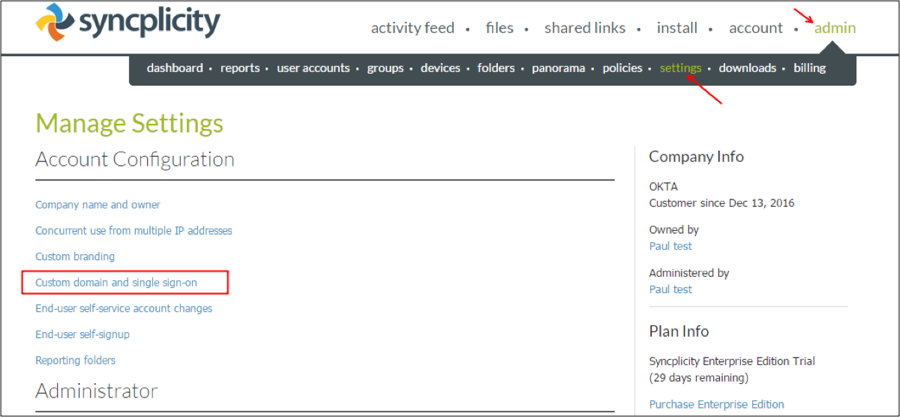
Login to your Syncplicity account as an administrator.
Navigate to Admin > Settings > Custom domain and single sign-on:
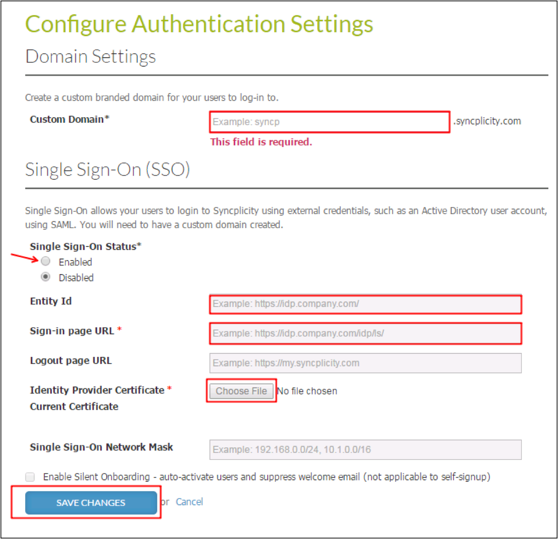
Enter the following (see screen shot at end of step for reference):
Custom Domain: Enter an appropriate domain name.
Single Sign-On Status: Check Enabled.
Entity Id: Enter http://www.okta.com.
Sign-in page URL: Copy and paste the following:
Sign in to the Okta Admin app to have this variable generated for you
Identity Provider Certificate: Copy and save the following as cert.pem. Click Choose File and upload the saved certificate.
Sign into the Okta Admin Dashboard to generate this variable.
Click SAVE CHANGES.
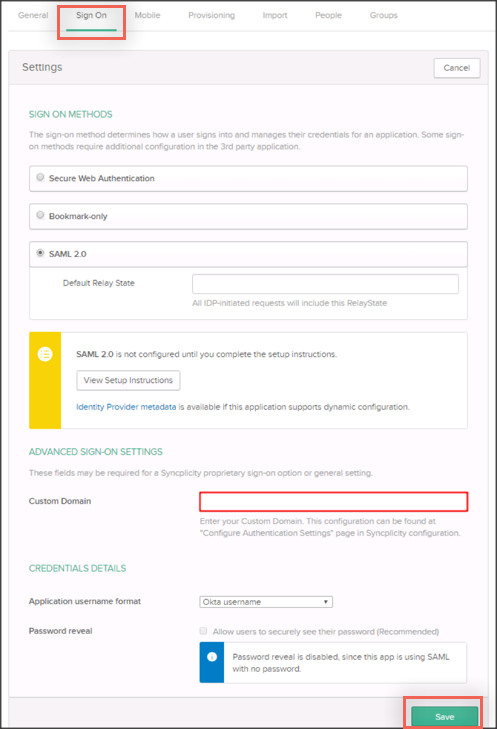
In Okta, select the Sign On tab for the Syncplicity app, then click Edit.
Enter [your-custom-domain] from step 3 above into the Custom Domain field.
Click Save.
Done!
For information on using the Bookmark App to simulate an IDP-initiated flow, see Simulating an IDP-initiated Flow with the Bookmark App.
Go to https://[your-custom-domain].syncplicity.com.