The Okta/Stormboard SAML integration currently supports the following features:
For more information on the listed features, visit the Okta Glossary.
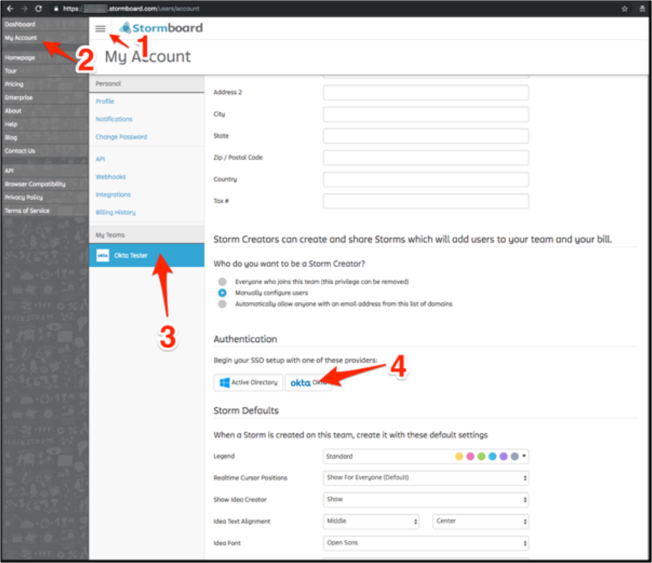
Log into Stormboard as an administrator.
From the menu icon, select My Account. Select your team, then scroll down to the Authenticationsection and select Okta.
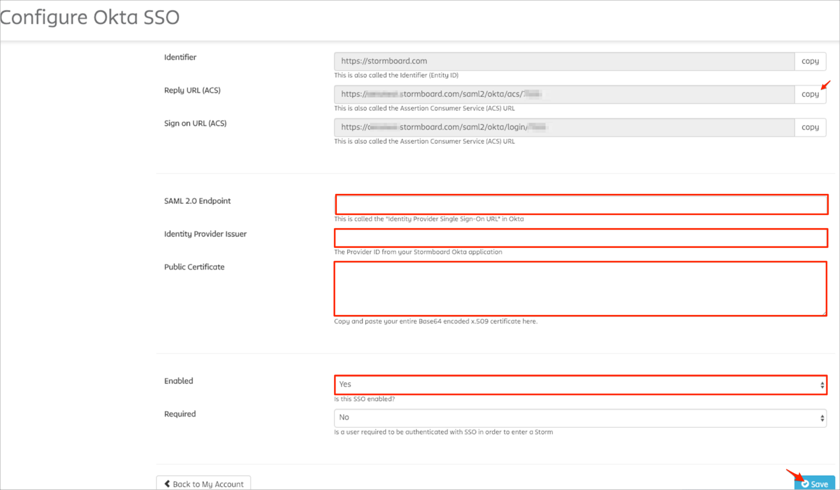
Do the following:
Reply URL (ACS): Make a copy of this value.
SAML 2.0 Endpoint: Copy and paste the following:
Sign into the Okta Admin Dashboard to generate this variable.
Identity Provider Issuer: Copy and paste the following:
Sign into the Okta Admin Dashboard to generate this variable.
Public Certificate: Copy and paste the following:
Sign into the Okta Admin Dashboard to generate this variable.
Enabled: Select Yes to enable SSO.
Click Save:
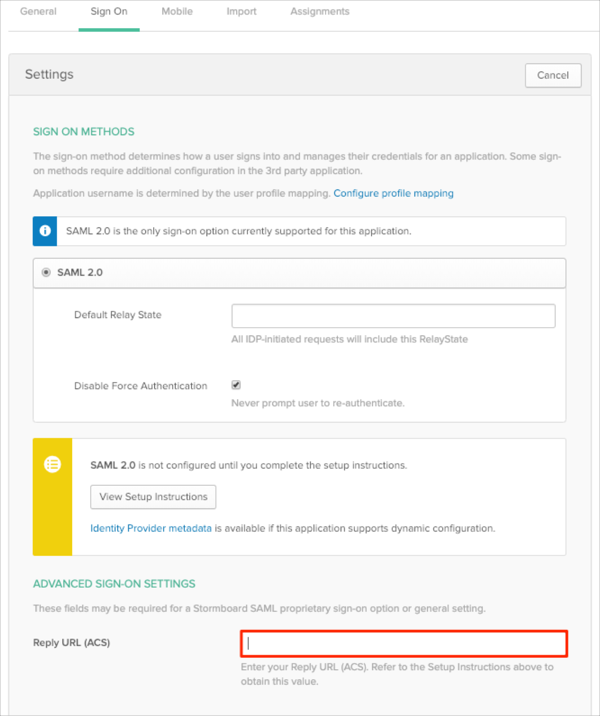
In Okta, select the Sign On tab for the Stormboard SAML app, then click Edit.
Enter your Reply URL (ACS) value you made a copy of in step 3 into the corresponding field.
Click Save.
The following SAML attributes are supported:
| Name | Value |
|---|---|
| FirstName | user.firstName |
| LastName | user.lastName |
| user.userName |
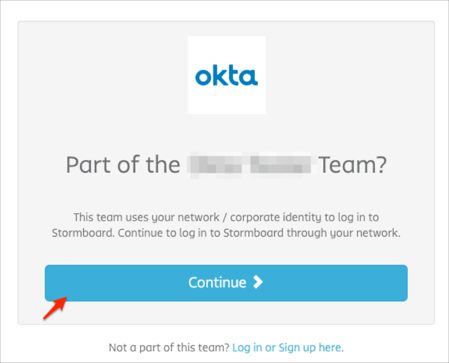
Go to https://[your-subdomain].stormboard.com/ URL.
Click Continue: