The Okta/SpringCM SAML integration currently supports the following features:
Sign into your SpringCM account as an administrator.
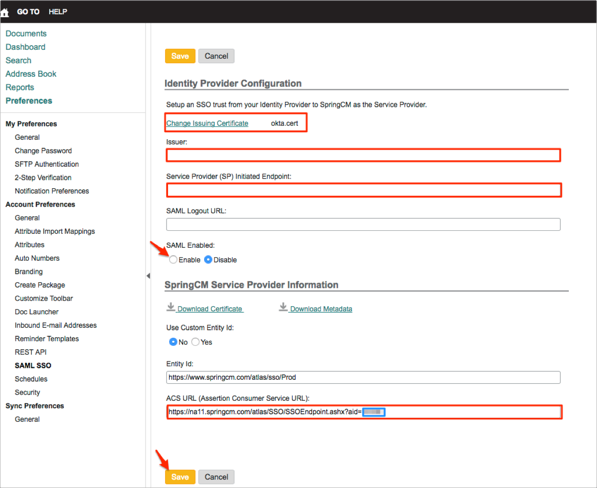
Navigate to Preferences > SAML SSO, then enter the following (see screen shot at end of step for reference):
Certificate: Download and save, then upload the following certificate:
Sign into the Okta Admin Dashboard to generate this variable.
Issuer: Copy and paste the following:
Sign in to the Okta Admin app to have this variable generated for you
Service Provider (SP) Initiated Endpoint: Copy and paste the following:
Sign into the Okta Admin app to have this variable generated for you.SAML Enabled: Select Enable.
ACS URL (Assertion Consumer Service URL): Make a copy of this value.
Make a copy of your Account ID. This value is part of the ACS URL value, shown in a blue box in the screen shot below.
Click Save.
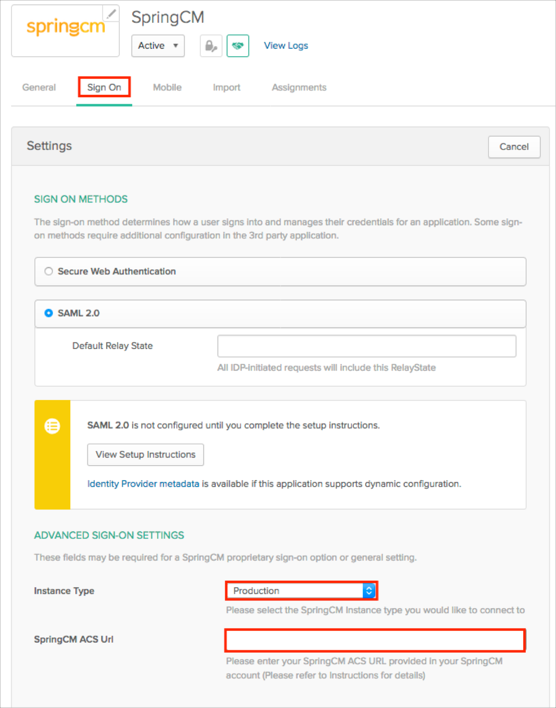
In Okta, select the Sign On tab for the SpringCM app, then click Edit.
Select your Instance Type.
Enter the ACS URL value you made a copy of in step 2 into the SpringCM ACS Url field.
Click Save.
Done!
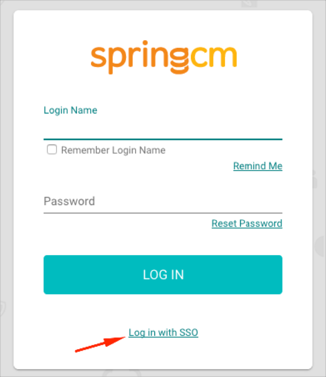
Go to: https://login.springcm.com/Login.
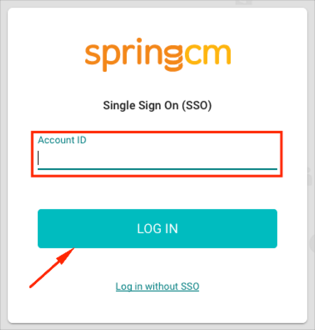
Click Log with SSO.
Enter your Account ID you made a copy of in step 2 above (Configuration Steps), then click LOG IN.