The Okta/Splunk Enterprise SAML integration currently supports the following features:
Contact the Splunk Enterprise Support team and request that they enable SAML 2.0 for your account.
Once SAML is enabled, open the following URL: [yourSiteUrl]/saml/spmetadata.
For example, if you log into https://acme.splunkcloud.com/, you should open this URL: https://acme.splunkcloud.com/saml/spmetadata.
The Splunk Enterprise metadata appears. From the metadata, capture the search head's certificate (masked out below) between the <ds:X509Certificate> and </ds:X509Certificate>, as shown below:
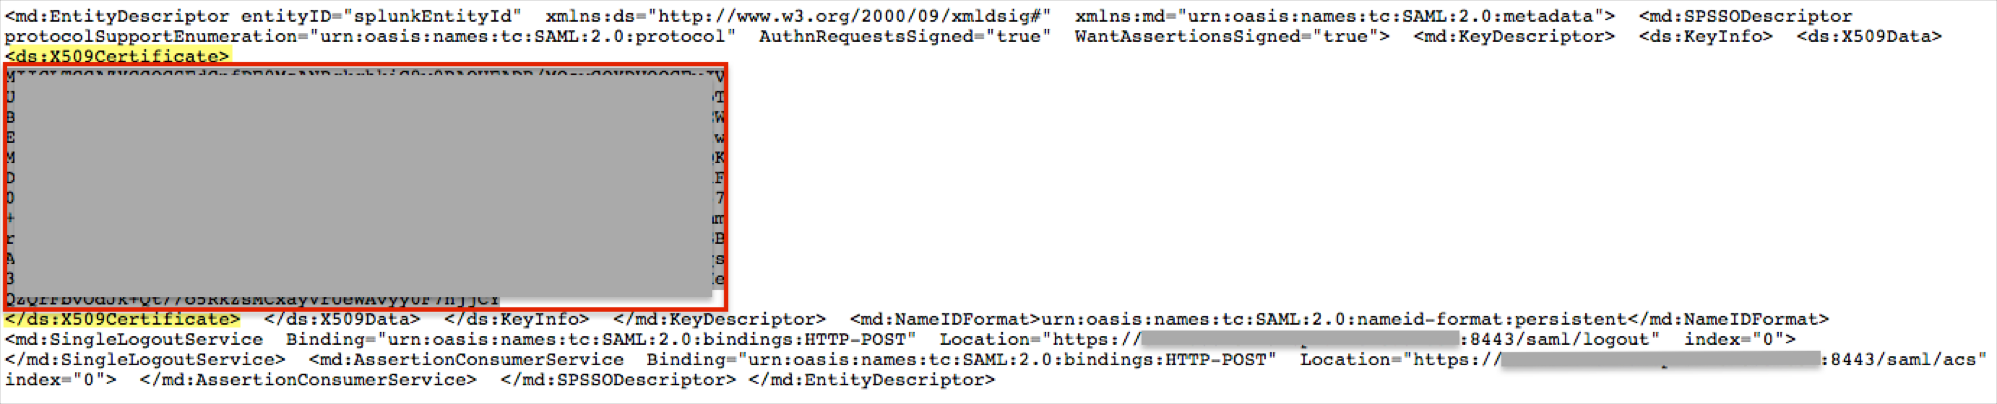
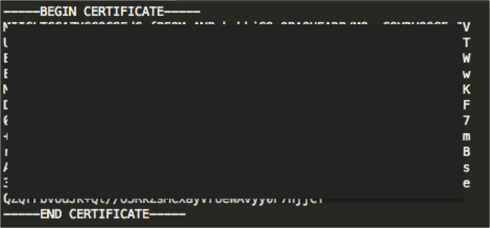
Save the certificate into a non-formatted text file (Notepad for example), and place a row above the certificate with the text -----BEGIN CERTIFICATE----- and a row below the certificate with the text -----END CERTIFICATE-----.
It should look something similar to:
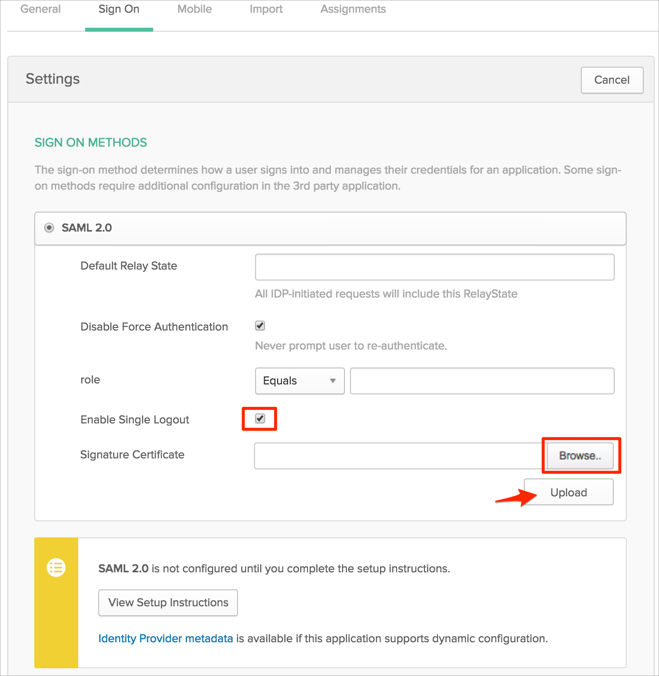
In Okta, select the Sign On tab for the Splunk Enterprise app, then click Edit.
Check the Enable Single Logout checkbox.
Click Browse and navigate to the splunkcloud.cert file you just saved (step 5, above), then click Upload to upload it to Okta.
Click Save:
Reload these Setup Instructions.
Login to Splunk Enterprise as an administrator.
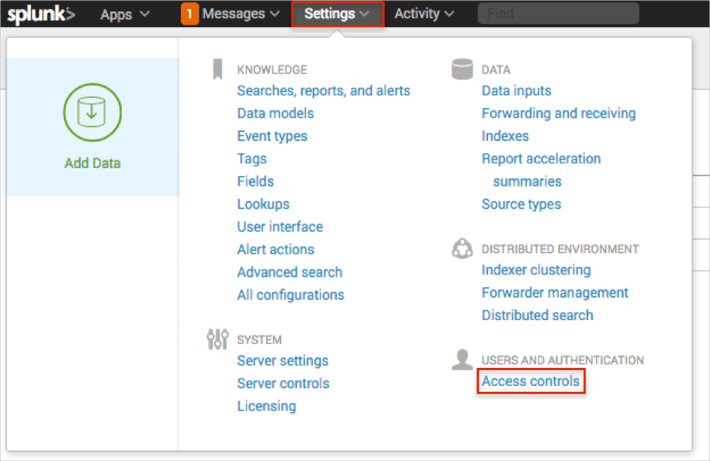
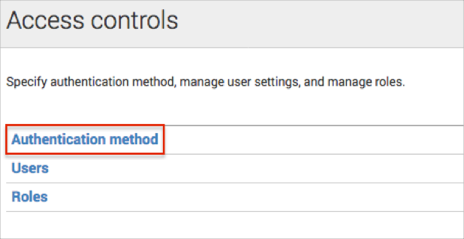
Navigate to Settings > Access controls:
Click the Authentication method link:
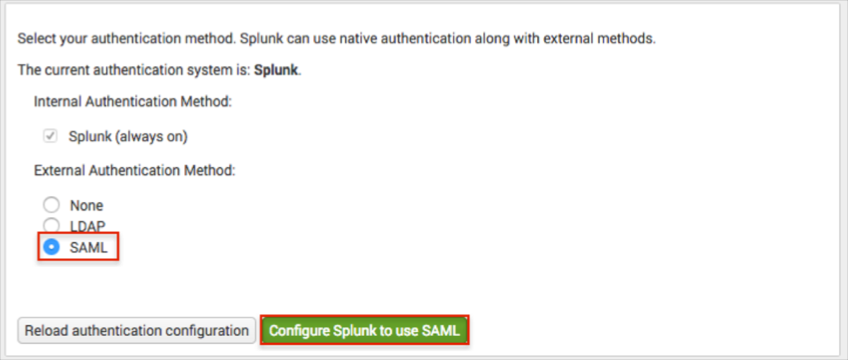
For External Authentication Method, select SAML, then click Configure Splunk to use SAML:
In the SAML Settings panel, click SAML Configuration in the upper right hand corner:

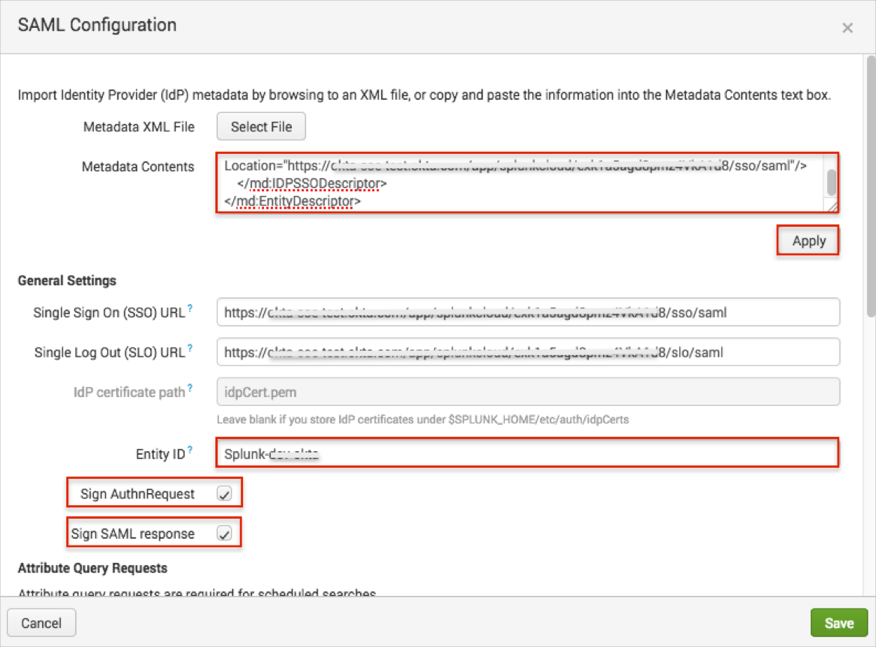
In the SAML Configuration page, enter the following (see screen capture at end of step for reference):
Metadata Contents: Copy and paste the following:
Sign in to Okta Admin app to have this variable generated for you.
Click Apply.
Entity ID: Use the following value: Splunk-[yourSplunkEnterpriseSubdomain].
For example, if you log into https://acme.splunkcloud.com/, use Splunk-acme as the Entity ID.
Note: This value is case sensitive so it should be typed in exactly as you are going to use in the Okta app (step 18).
Check Sign AuthnRequest and Sign SAML Response.
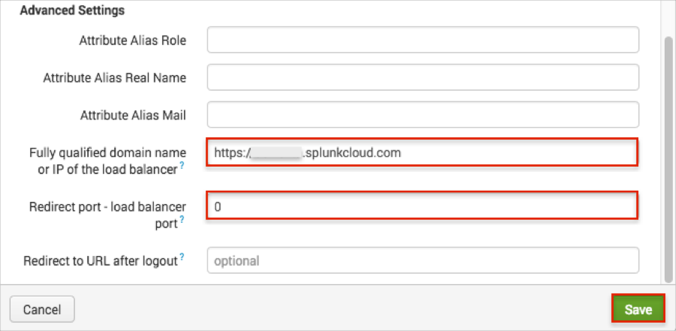
Scroll down to the Advanced Settings section and enter the following (see screen capture at end of step for reference):
Fully qualified domain name or IP of the load balancer of your instance: Enter [yourSiteUrl].
For example, https://acme.splunkcloud.com.
Redirect port – load balancer port: Enter 0 (zero).
Click Save.
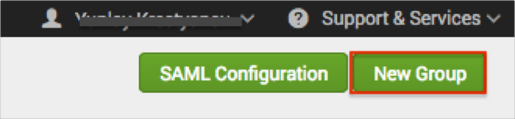
Back in the SAML Settings panel, click New Group in the upper right hand corner:
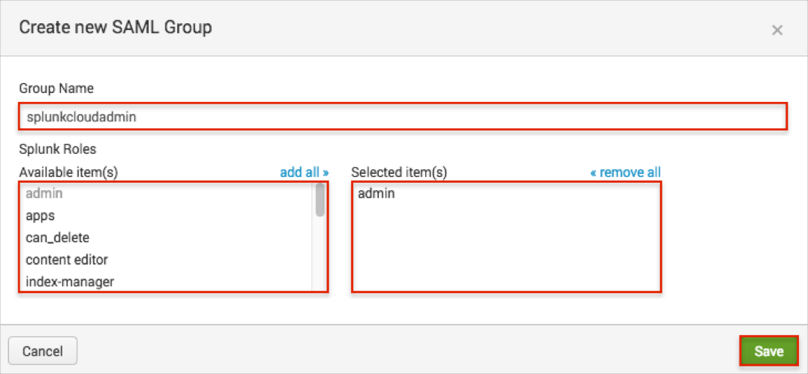
In the Create new SAML Group page, enter the following (see screen shot at end of step for reference):
Group Name: Enter a name. This name should be exactly the same value as user’s Group name in Okta.
We used splunkcloudadmin in our example.
Click on one or more roles in the Splunk Roles - Available item(s) selection list. The roles you select are copied over to the Selected Item(s) list.
Note that it can be a one to many relationship – you can have a group map to one or more Splunk Roles. In our example, we used the admin item.
Click Save to save your mapping(s).
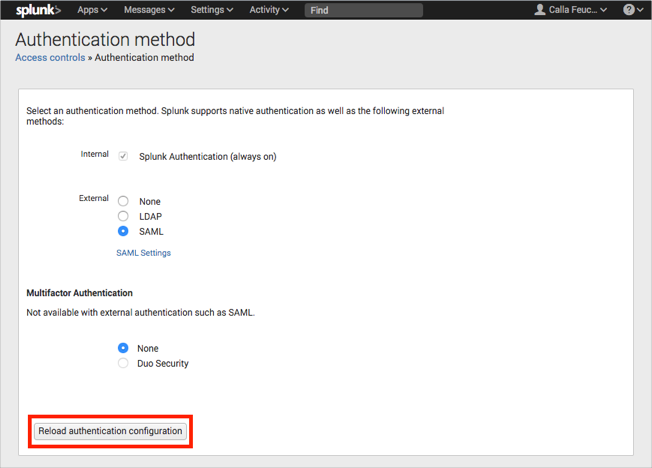
In Splunk, navigate to Settings > Access controls > Authentication method, then click Reload authentication configuration:
In Okta, select the Sign On tab for the Splunk Enterprise app, then click Edit.
Enter your Entity ID. This is the value from step 13.
Click Save.
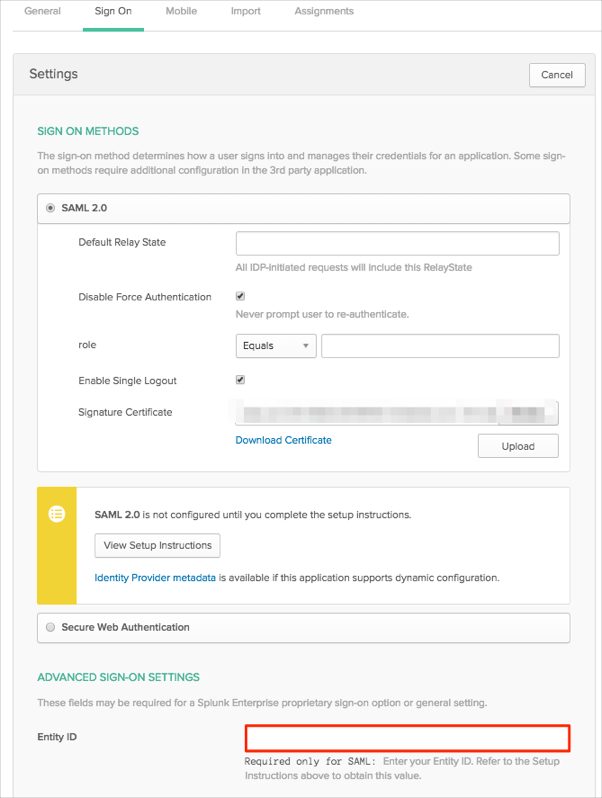
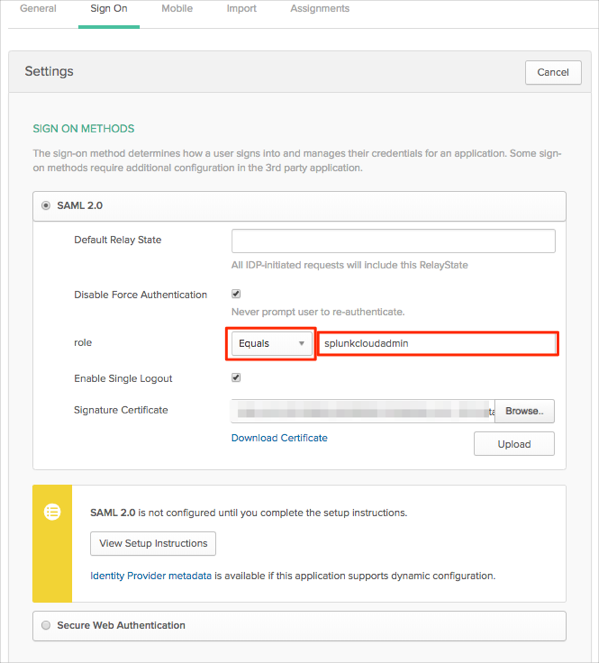
Still in Okta, select the Sign On tab for the Splunk Enterprise app, then click Edit.
Select a group filter and filter value for the role attribute. This filter and value should cover the required group(s) in Splunk Enterprise. Also, you need to have the same group(s) in Okta (assigned to your Splunk Enterprise application users).
In our example below we used Equals filter with the splunkcloudadmin value (step 16).Note: You can use the Regex filter with the value ".*" in order to send *all* groups to the Splunk Enterprise instance.
Click Save.
Done!
Make sure that you entered the correct value in the Your site URL field under the General tab in Okta. Using the wrong value will prevent you from authenticating via SAML to Splunk Enterprise.
The following SAML attributes are supported:
| Name | Value |
|---|---|
| user.email | |
| realName | user.firstName user.lastName |
| role | This will be configured in the app UI; see Group attribute instructions (step 19) above |
Go to your Splunk Enterprise Site URL.