The Okta/Splashtop SAML integration currently supports the following features:
For more information on the listed features, visit the Okta Glossary.
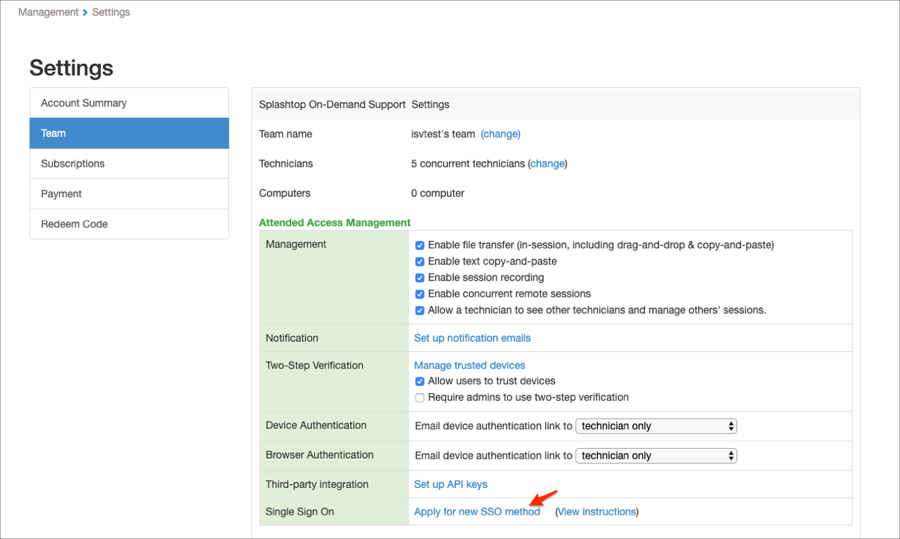
Log in to your Splashtop account as an owner.
Navigate to Management > Settings:

Click Apply for the new SSO method:
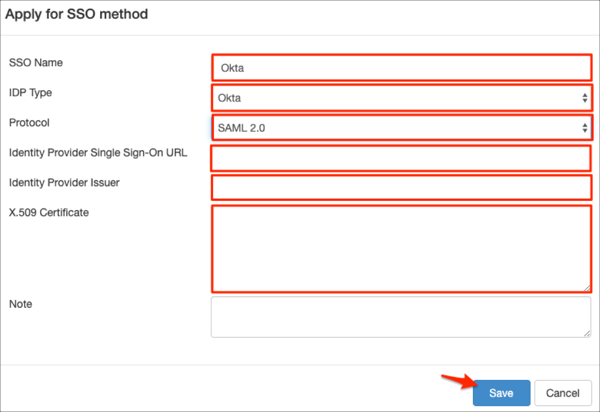
Enter the following:
SSO Name: Enter a preferred name.
IDP Type: Select Okta.
Identity Provider Single Sign-On URL: Copy and paste the following:
Sign into the Okta Admin Dashboard to generate this variable.
Identity Provider Issuer: Copy and paste the following:
Sign into the Okta Admin Dashboard to generate this variable.
X.509 Certificate: Copy and paste the following:
Sign into the Okta Admin Dashboard to generate this variable.
Click Save:
After clicking Save, the validation team will verify the information you entered, and will send you an email to verify the domain. Splashtop will activate the SSO method after verifying the domain:

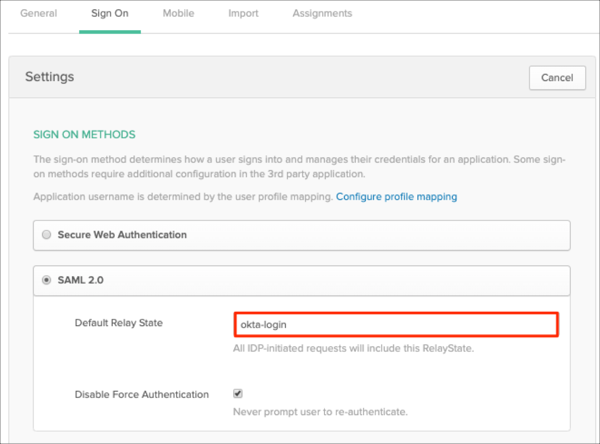
In Okta, select the Sign On tab for the Splashtop SAML app, then click Edit:
Default Relay State: Enter okta-login.
Click Save:
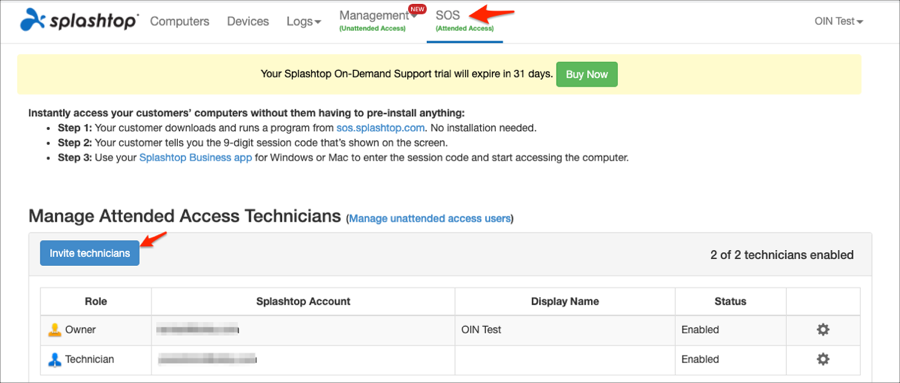
To invite an SSO account to your team: In Splashtop, go to the SOS page and click Invite technicians:
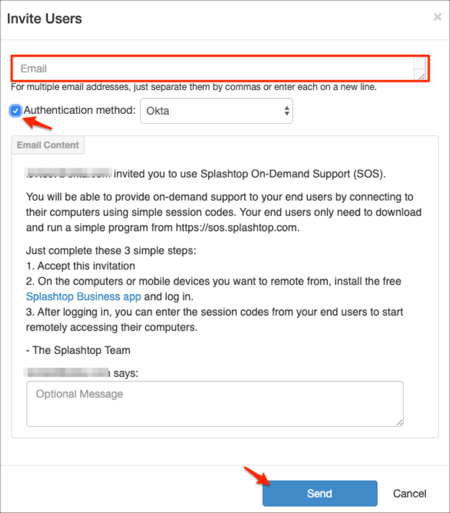
Enter the user’s email, select Okta as the Authentication method, then click Send:
Done!
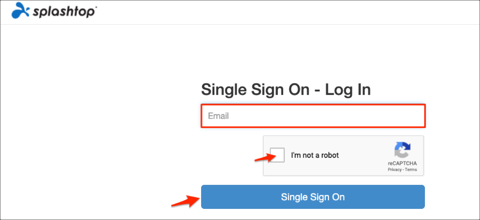
Enter your email, check the captcha box, then click Single Sign On: