The Okta/Skeddly SAML integration currently supports the following features:
For more information on the listed features, visit the Okta Glossary.
Save the following as metadata.xml:
Sign in to Okta Admin app to have this variable generated for you.
Login to Skeddly as an administrator.
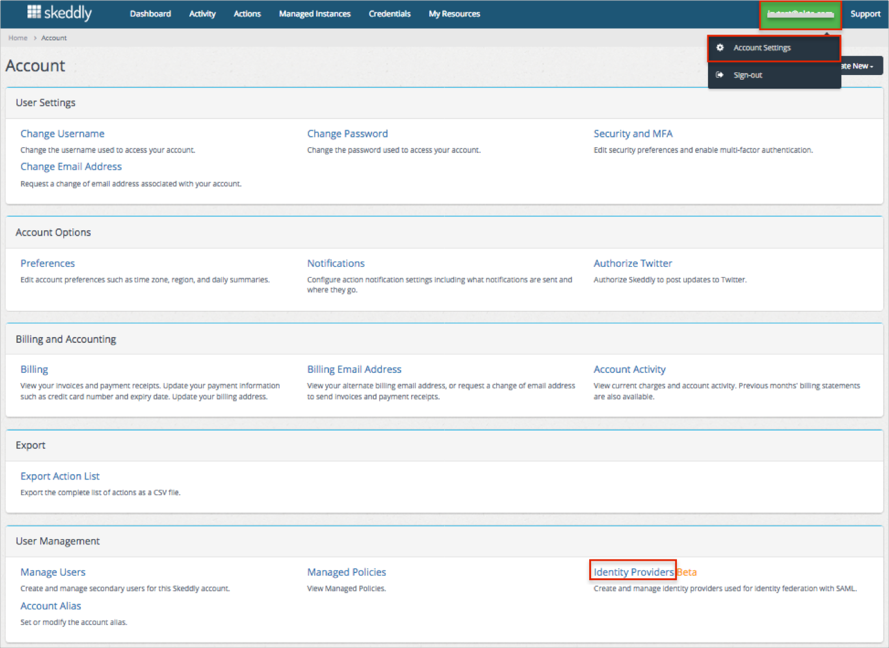
Click on your username at the top right of the page, then select Account Settings from the dropdown menu.
Scroll down and click the Identity Providers link in the User Management section:
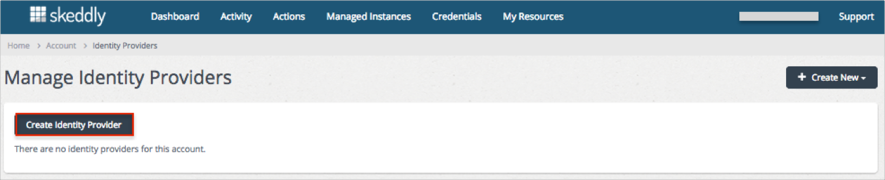
Click Create Identity Provider:
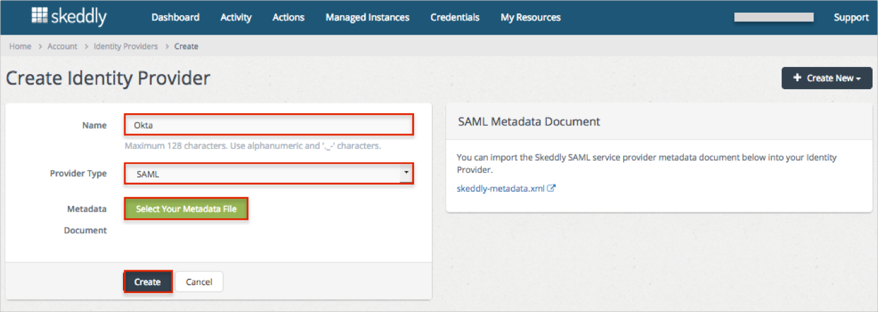
On the Create Identity Provider page, enter the following information (see screen shot at end of step for reference):
Name: Enter Okta.
Provider Type: Select SAML.
Metadata: Click Select Your Metadata File, and locate and upload the Metadata.xml file you saved earlier.
Click Create.
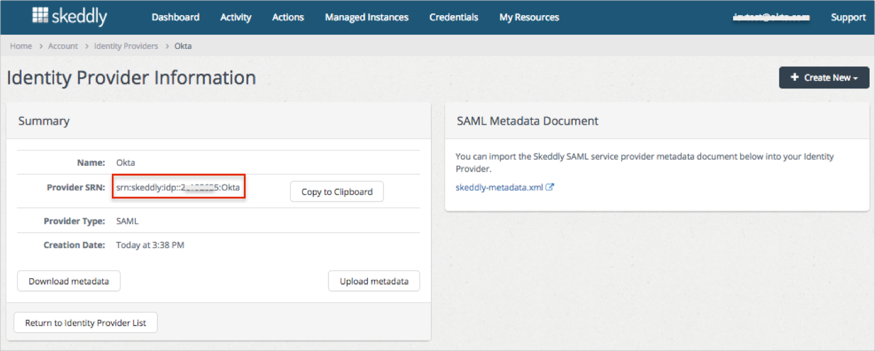
Once created, you will see details about the new Okta Identity Provider. Save the Provider SRN value:
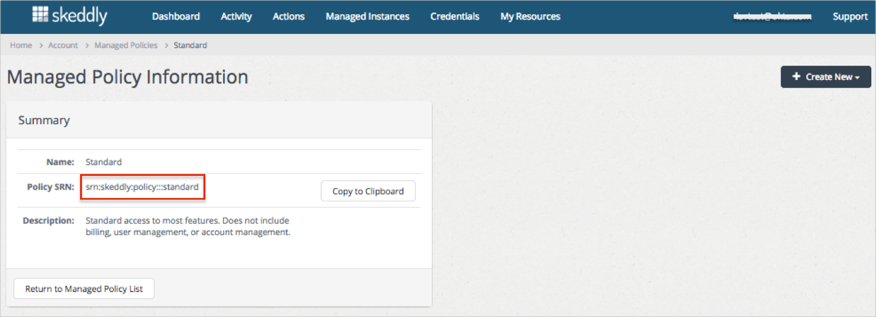
Navigate to Account Settings > Managed Policies (User Management section).
Click on the preferable Policy name (Standard in our example).
Save the Policy SRN value:
In Okta, select the Sign On tab for the Skeddly SAML app, then click Edit.
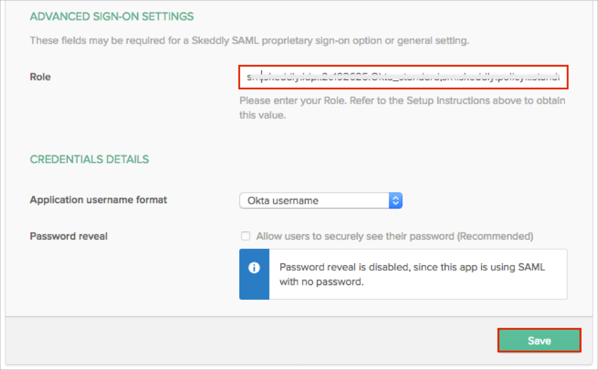
Scroll down to the ADVANCED SIGN-ON SETTINGS section.
In the Role field, enter the Skeddly Provider SRN (step 6) value, followed by a comma, followed by the Managed Policy SRN (step 9) of the policy to be applied to the user.
That is: Provider SRN,Policy SRN
For example: srn:skeddly:idp::123456:Okta,srn:skeddly:policy:::standard
Click Save.
Additional option: If you want to provide different users with different roles, you need to create a separate application instance in Okta and configure an additional identity provider in Skeddly.
Done!
The following SAML attributes are supported:
| Name | Value |
|---|---|
| https://skeddly.com/SAML/Attributes/Roles | org.role |