The Okta/Service Desk InvGate SAML integration currently supports the following features:
For more information on the listed features, visit the Okta Glossary.
Log in to your Service Desk account.
Click on the SETTINGS gear in the left menu:

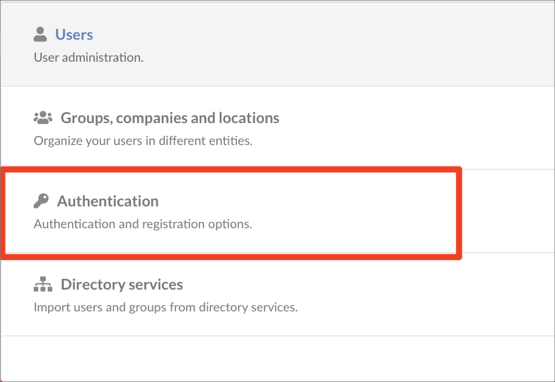
On the Settings page, select the Users tab:

On the Users page, select Authentication:
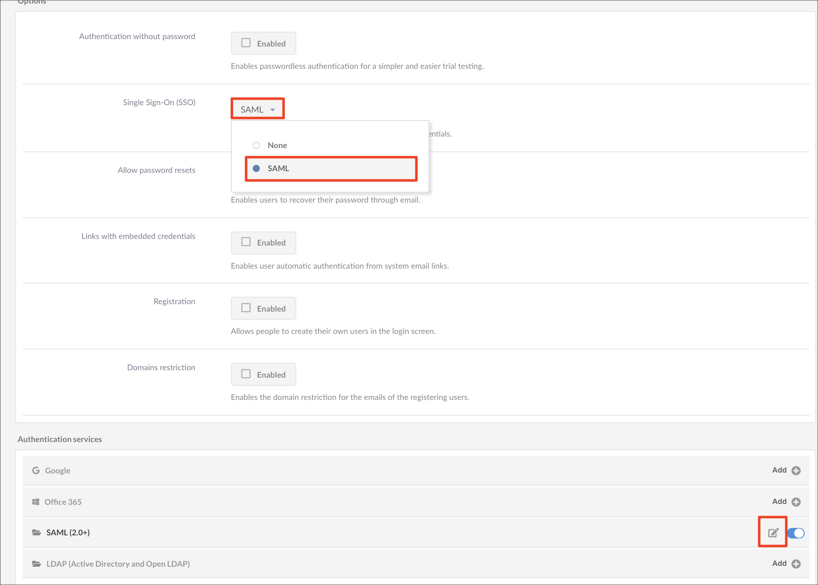
Select SAML from the Single Sign-on (SSO) dropdown, then click the SAML (2.0+) edit option:
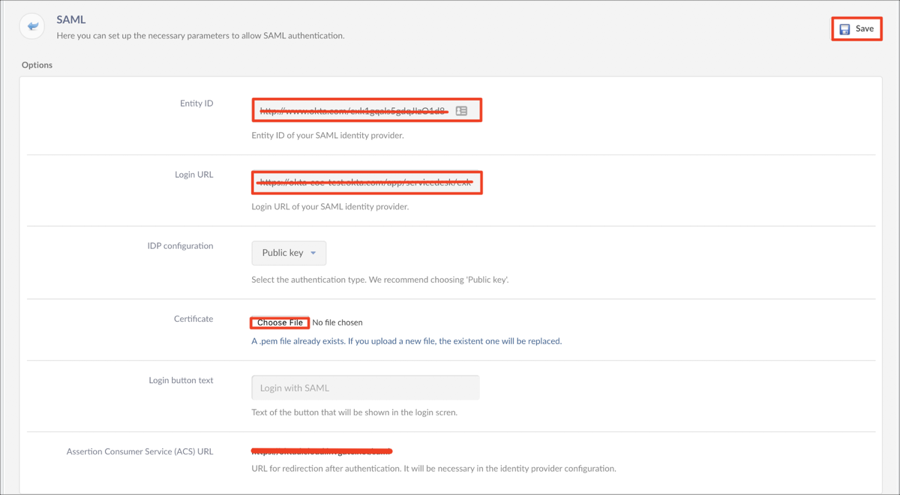
Enter the following information:
Entity ID: Copy and paste the following:
Sign into the Okta Admin Dashboard to generate this variable.
Login URL: Copy and paste the following:
Sign into the Okta Admin Dashboard to generate this variable.
Certificate: Save the following certificate, then click Choose File to locate and upload it to Service Desk:
Sign into the Okta Admin Dashboard to generate this variable.
Click Save:
Done!
Make sure that you entered the correct value in the Base URL field under the General tab in Okta. Using the wrong value will prevent you from authenticating via SAML to Service Desk InvGate.
The following SAML attributes are supported:
| Name | Value |
|---|---|
| user.userName | |
| firstname | user.firstName |
| lastname | user.lastName |
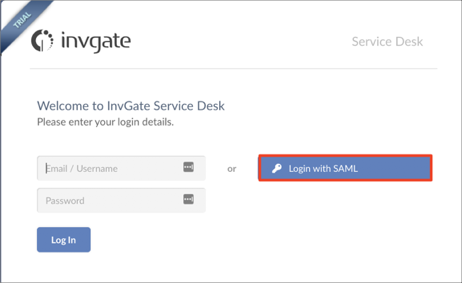
Go to your Base URL.
Click Login with SAML: