The Okta/Segment SAML integration currently supports the following features:
For more information on the listed features, visit the Okta Glossary.
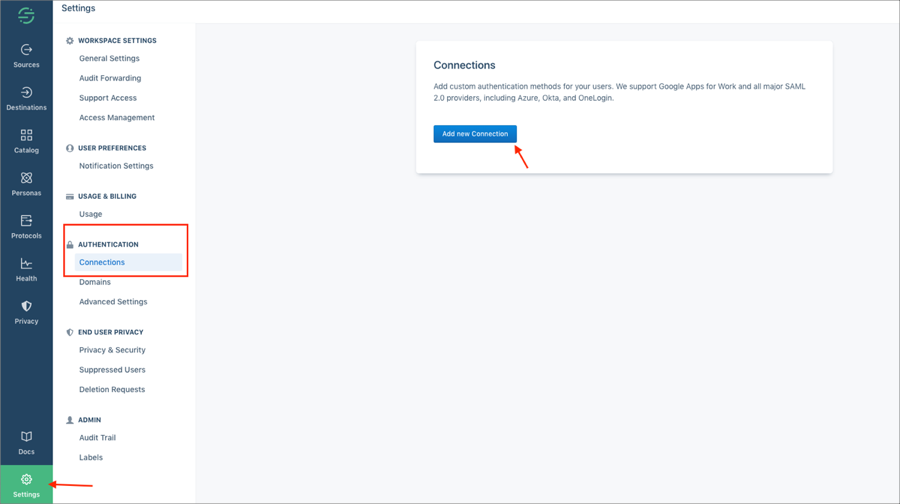
Log in to Segment as an administrator.
Go to Settings > Authentication > Connections, then click Add new Connection:
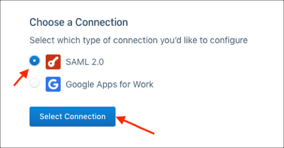
Select SAML 2.0, then click Select Connection:
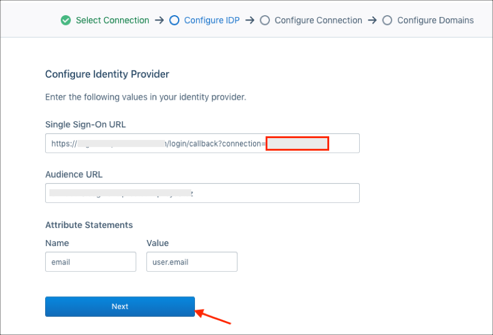
Enter the following:
Configure IDP
Single Sign-On URL: Make a copy of your Customer ID marked in red.
For example, if your Single Sign-On URL is https://acme.domen.com/login/callback?connection=a1b2c3d4, your Customer ID is a1b2c3d4.
Click Next:
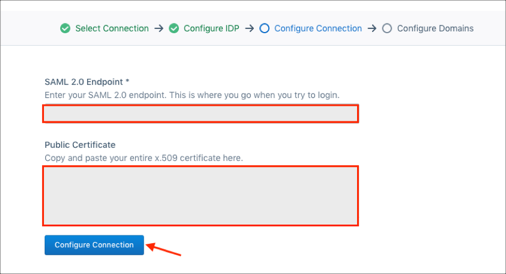
Configure Connection
SAML 2.0 Endpoint: Copy and paste the following:
Sign into the Okta Admin Dashboard to generate this variable.
Public Certificate: Copy and paste the following:
Sign into the Okta Admin Dashboard to generate this variable.
Click Configure Connection:
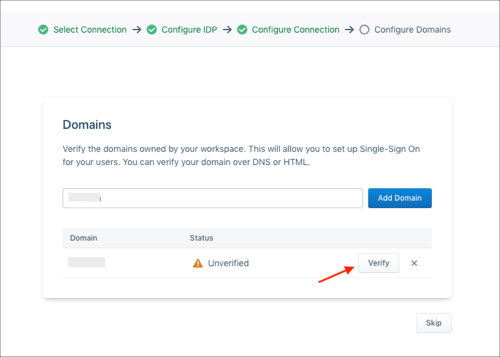
Domains (optional)
Note: This is required if you want to enable SP-initiated flow, otherwise click Skip.
Domains: Enter your domain.
Click Add Domain:

Click Verify.
Note: When you click verify, you’re given two options to verify your domain, either using a meta tag to add to your /index.html at the root, or a DNS txt record that you can add through your DNS provider (domain tokens expire 14 days after they are verified).
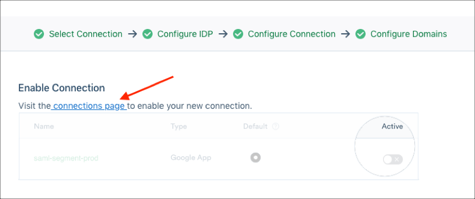
Enable Connection
Go back to the connections page:
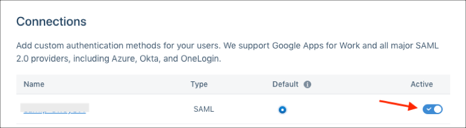
Select the switch button to enable your SAML configuration:
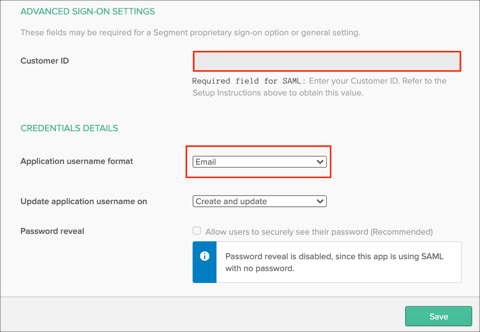
In Okta, select the Sign On tab for the Segment SAML app, then click Edit.
Enter your Customer ID (step 4) into the corresponding field.
Application username format: Select Email.
Click Save:
The following SAML attributes are supported:
| Name | Value |
|---|---|
| user.email |
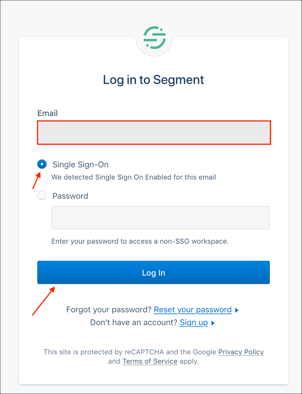
Go to: https://app.segment.com
Enter your email, select Single Sign-On, then click Log In: