The Okta/Saleo SAML integration currently supports the following features:
For more information on the listed features, visit the Okta Glossary.
Log in to Saleo.
Go to Settings -> Company Settings, select SAML Single Sign On, then follow the steps below:
Single Sign On Url: Copy and paste the following:
Sign into the Okta Admin Dashboard to generate this variable.
SAML Issuer: Copy and paste the following:
Sign into the Okta Admin Dashboard to generate this variable.
SAML Cert: Copy and paste the following:
Sign into the Okta Admin Dashboard to generate this variable.
Click Save Changes.
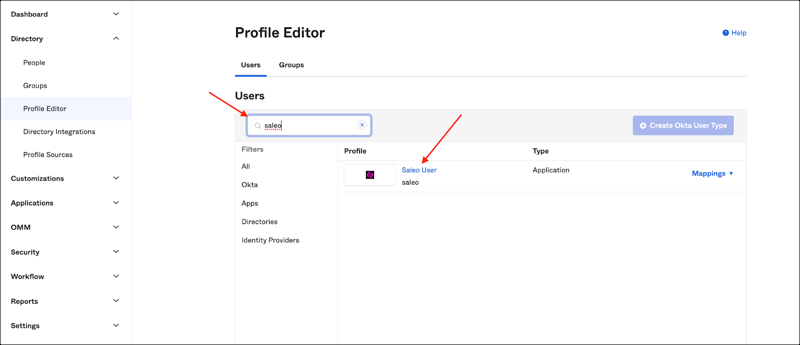
In Okta, go to Directory > Profile Editor.
Search for, then select the Saleo app.
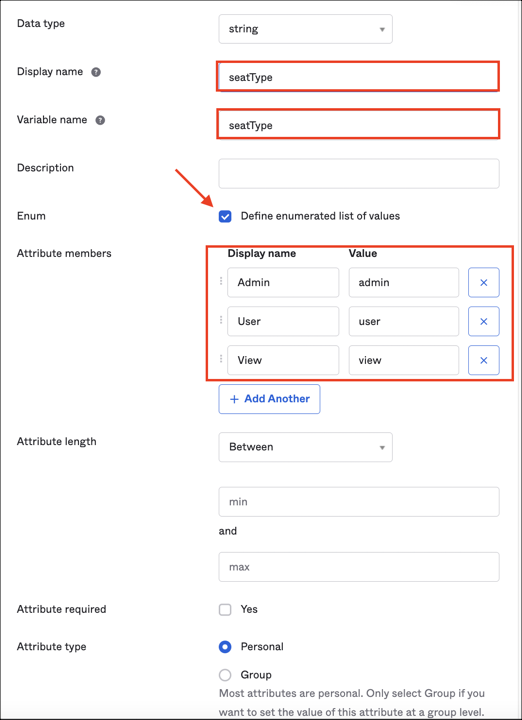
Click Add Attribute, then enter the following:
Display Name: seatType.
Variable Name: seatType.
Check Define enumerated list of values and enter the values as shown below.
Click Save.
Note: Attribute type: If you check Personal, it means the current attribute will be available once you assign the user to the application and will not be available once you assign the group to the app.
Now you can assign users to the app and select the preferred value for the seatType attribute:
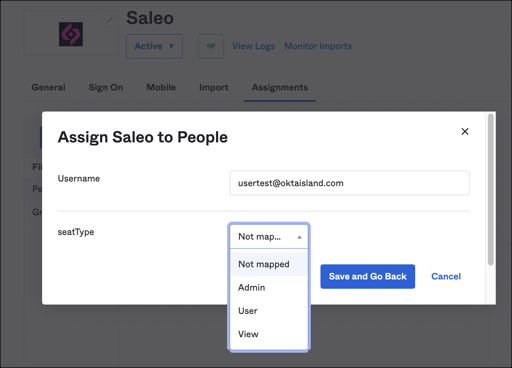
Notes:
Admim: Has elevated privileges to add and modify seat types.
User (Demo Creation): Has elevated privileges to modify demos that are created. For example to change data.
View (Sales): Can play a demo: This shows their own software with Saleo-modified data.
Done!
The following SAML attributes are supported:
| Name | Value |
|---|---|
| firstName | user.firstName |
| lastName | user.lastName |
| seatType | appuser.seatType |