The Okta/Samanage SAML integration currently supports the following features:
For more information on the listed features, visit the Okta Glossary.
Log into your Samanage tenant as an administrator.
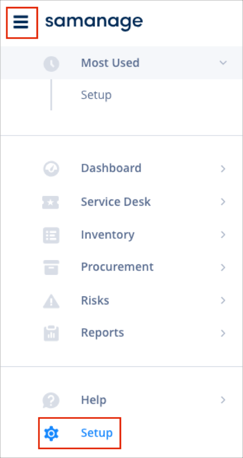
Navigate to Setup from the left navigational pane:
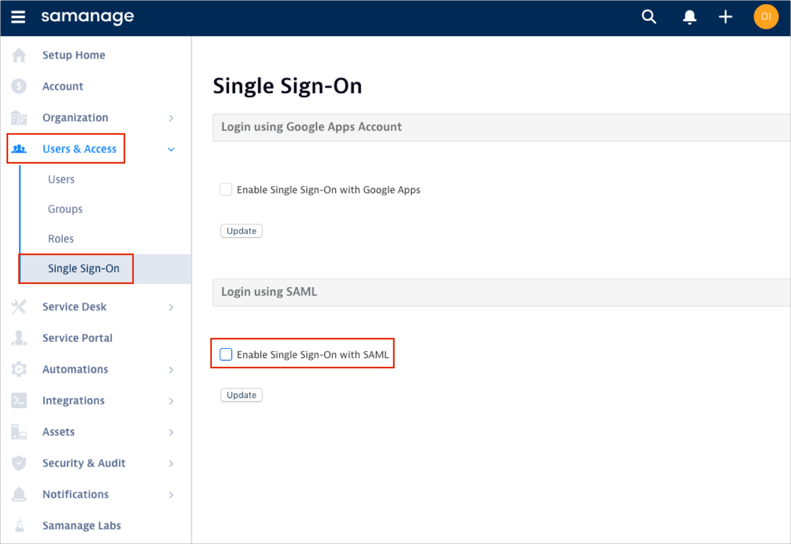
Scroll down and click the Users & Access > Single Sign-On.
Enable Single Sign-On with SAML: Check this box:
Enter the following:
Identity Provider URL: Copy and paste the following:
Sign into the Okta Admin app to generate this variable.Logout URL: Copy and paste the following:
Sign into the Okta Admin app to generate this variable.Error URL: Copy and paste the following:
Sign into the Okta Admin app to generate this variable.SAML Issuer: Copy and paste the last part of the following value:
Sign into the Okta Admin Dashboard to generate this variable.
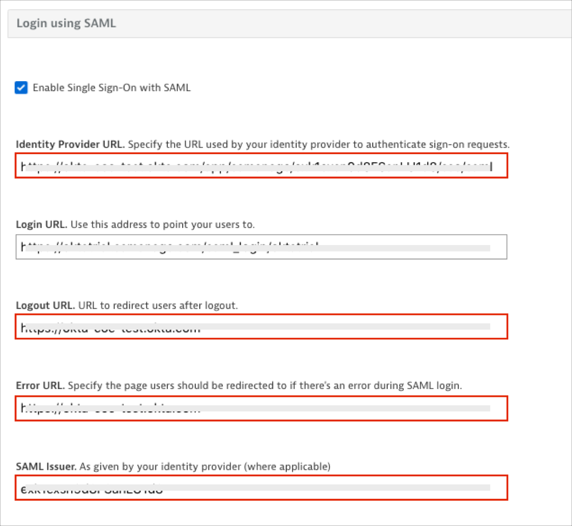
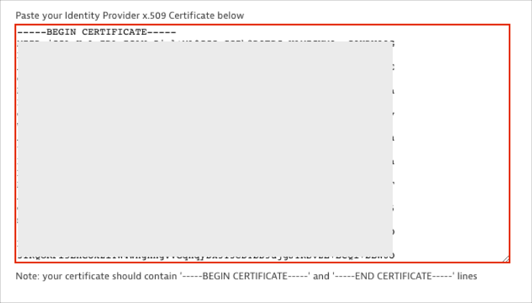
x.509 Certificate: Copy and paste the following:
Sign into the Okta Admin app to generate this variable.
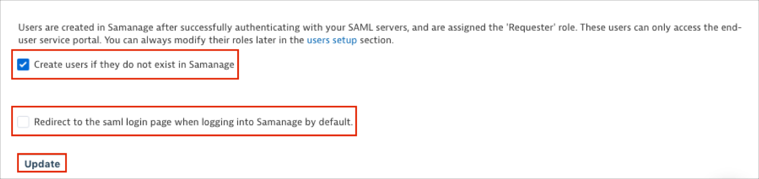
Create users if they do not exist in Samanage: Check this box if you want to enable Just In Time (JIT) Provisioning.
Redirect to the saml login page when logging into Samanage by default: Check this box if you are going to disable regular (username/password) login option.
NOTE: Do not check this box till SAML configuration tested successfully. You will not be able to login with your username/password anymore.
Click Update:
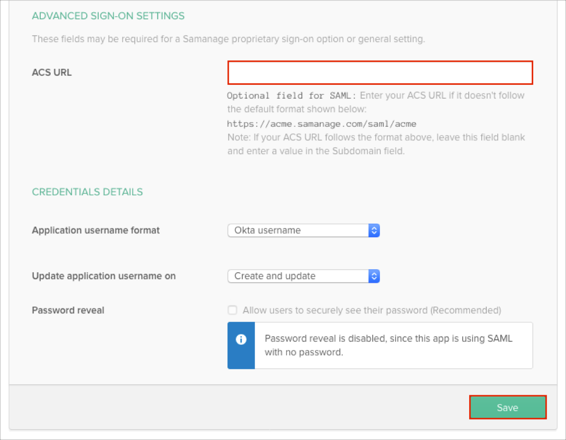
Optional: If you are using a custom Samanage URL, in Okta, select the Sign On tab for the Samanage app, then scroll down to the ADVANCED SIGN-ON SETTINGS section.
Enter the ACS URL value (see Custom Samanage URLs) into the corresponding field.
Click Save:
Done!
For Standard Samanage URLs: Make sure that you entered the correct value in the Subdomain field under the General application tab in Okta. Using the wrong value will prevent you from authenticating via SAML to Samanage.
If you have a custom Samanage URL, obtain your ACS URL value as follows:
Go to [CustomSamanageURL]/saml/metadata. An XML file like the following will appear once the page loads:

Locate and make a copy of your ACS URL value from the Location attribute.
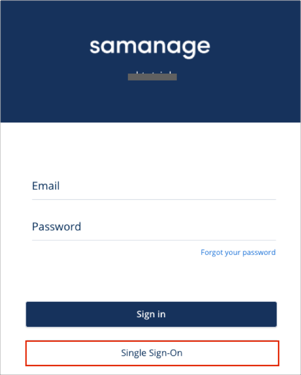
Go to your Samanage URL.
Click Single Sign-On: