The Okta/RFPIO SAML integration currently supports the following features:
For more information on the listed features, visit the Okta Glossary.
Login to your RFPIO account as an administrator.
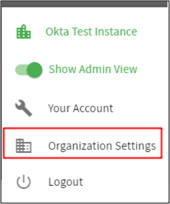
Click on your user name on the bottom left image.
Select Organization Settings:
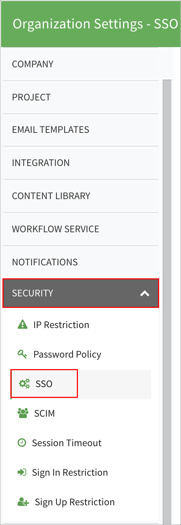
Navigate to SECURITY > SSO:
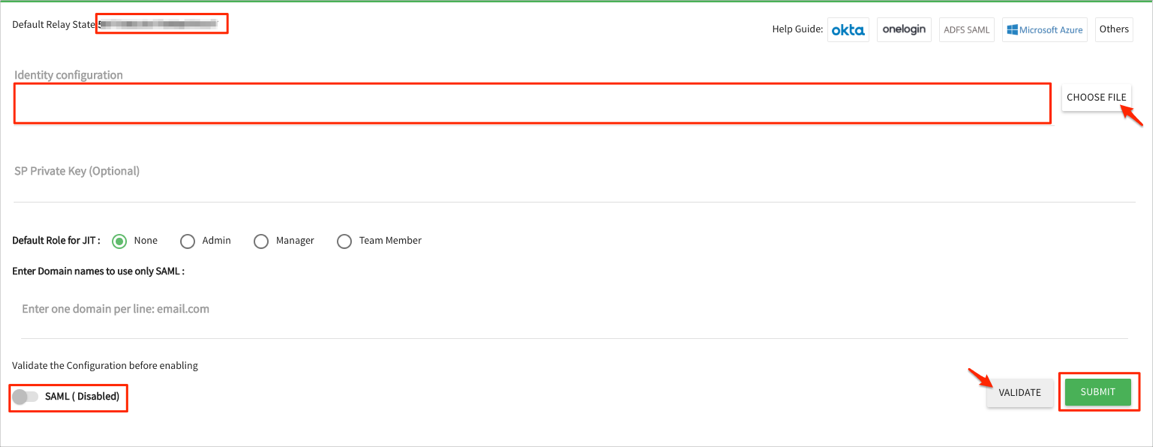
Enter the following information:
Default Relay State: Make a copy of this value.
Identity configuration: Download, save, then click CHOOSE FILE to select and upload it to RFPIO:
Sign into the Okta Admin dashboard to generate this value.
Click VALIDATE.
Once the metadata is validated, click toggle button to enable SAML.
Click SUBMIT:
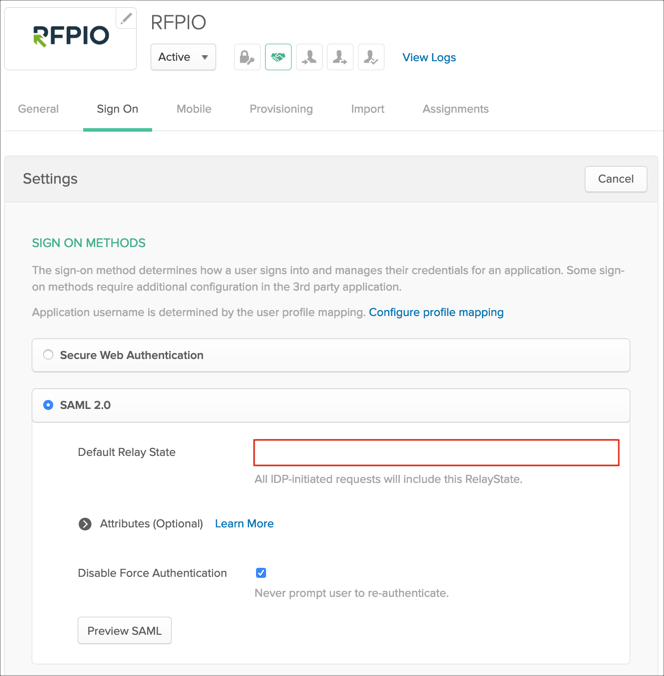
In Okta, select the Sign On tab for the RFPIO app, then click Edit.
Enter the value saved in step 5 into the Default Relay State field.
Click Save:
Done!
The following SAML attributes are supported:
| Name | Value |
|---|---|
| first_name | user.firstName |
| last_name | user.lastName |
| job_title | user.title |
| phone | user.mobilePhone |
| location | user.city |
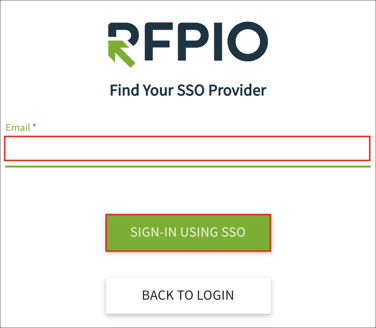
Enter your Email address.
Click SIGN-IN USING SSO: