The Okta/Prezi SAML integration currently supports the following features:
For more information on the listed features, visit the Okta Glossary.
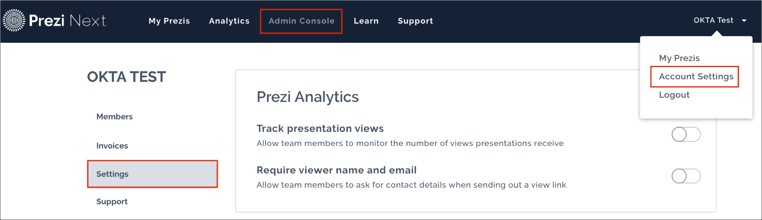
Sign in to your Prezi instance as a Team admin.
Navigate to Account Settings > Admin Console > Settings:
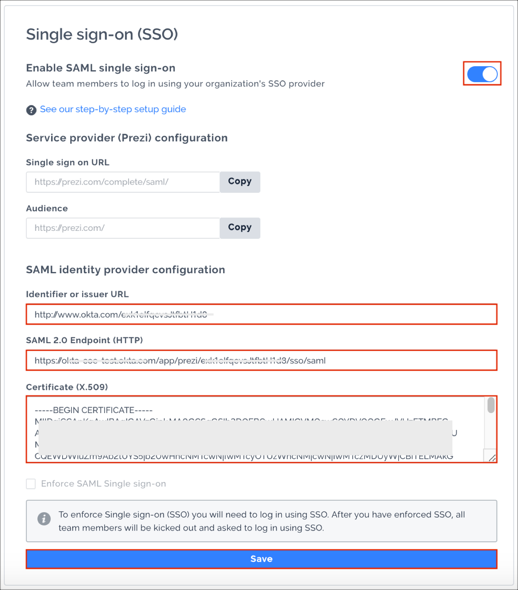
Switch Enable SAML single sign-on to ON, then enter the following:
Identifier or issuer URL: Copy and paste the following:
Sign into the Okta Admin Dashboard to generate this variable.
SAML 2.0 Endpoint (HTTP): Copy and paste the following:
Sign into the Okta Admin Dashboard to generate this variable.
Certificate (X.509): Copy and paste the following:
Sign into the Okta Admin Dashboard to generate this variable.
Click Save:
If you want to disable email/password login option, you need re log in into the application using SAML and check the Enforce SAML Single sign-on box.
Note: Your users will not be able to sign in through their regular log in page. They will only be able to access the app through the Okta service. Prezi does not provide backup log in URL where users can sign in using their normal username and password. You can contact Prezi support (https://support.prezi.com/) to turn off SAML, if necessary.

Done!
The following SAML attributes are supported:
| Name | Value |
|---|---|
| given_name | user.firstName |
| family_name | user.lastName |
Go to: https://prezi.com/login/sso/
Enter your E-mail, then click Log in with SSO:
