The Okta/PlanGrid SAML integration currently supports the following features:
Login to the PlanGrid Admin Console at: https://enterprise.plangrid.com/.
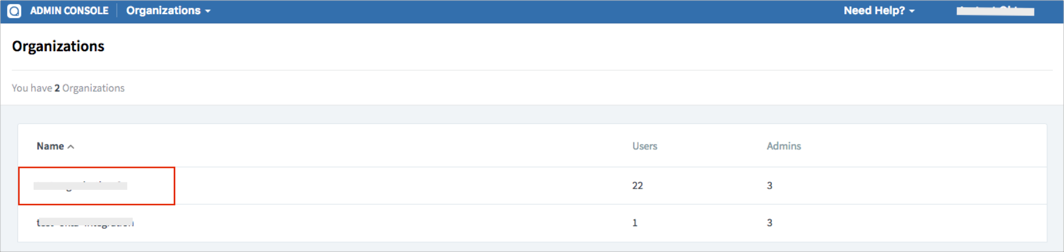
Select the organization for which you're setting up SSO:
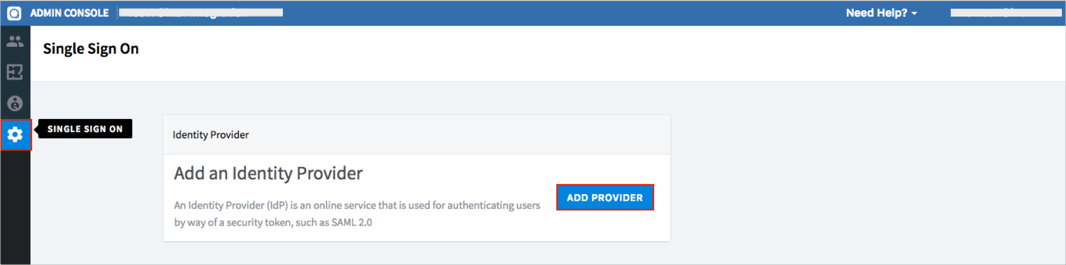
Select SINGLE SIGN ON from the left menu, then click ADD PROVIDER:
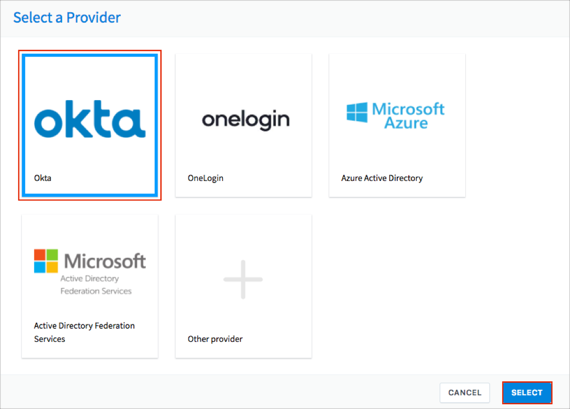
Select Okta as your Provider, then click SELECT:
Enter the following:
Identity provider single sign on URL: Copy and paste the following:
Sign into the Okta Admin Dashboard to generate this variable.
Identity provider issuer: Copy and paste the following:
Sign into the Okta Admin Dashboard to generate this variable.
Provide SAML XML metadata: Select Read from URL.
Metadata URL: Copy and paste the following:
Sign into the Okta Admin dashboard to generate this value.
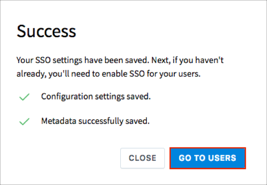
Click SAVE:

On the next screen, select GO TO USERS:
Select a required user(s), then click ENABLE SSO:
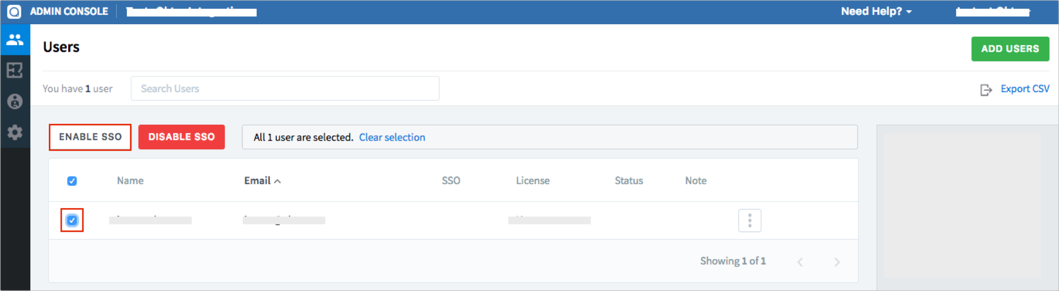
Done!
The following SAML attributes are supported:
| Name | Value |
|---|---|
| User.Email | user.userName |
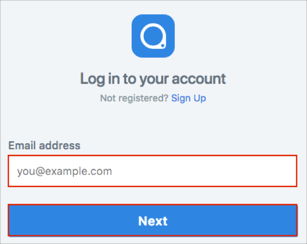
Open the PlanGrid login URL: https://app.plangrid.com/login.
Enter your Email address.
Click Next: