Enabling SAML will affect all users who use this application, which means that users will not be able to sign-in through their regular log-in page. They will only be able to access the app through the Okta service.
Backup URL
PerimeterX does not provide a backup log-in URL where users can sign-in using their normal username and password. You can contact PerimeterX support (support@perimeterx.com) to turn off SAML, if necessary.
The Okta/PerimeterX SAML integration currently supports the following features:
For more information on the listed features, visit the Okta Glossary.
Login to your PerimeterX tenant as an administrator.
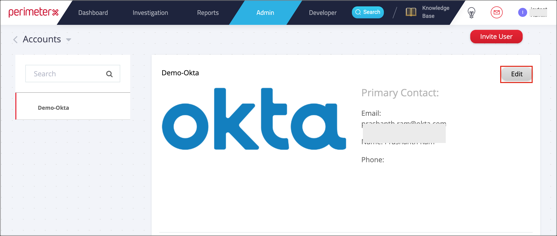
Navigate to Admin > ACCOUNTS:

Click Edit for your account:
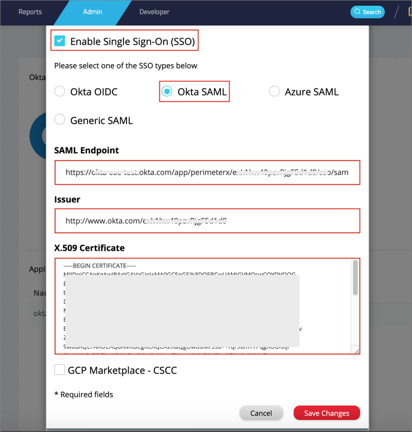
Scroll down and check Enable Single Sign-On (SSO).
Select the Okta SAML radio button.
Enter the following:
SAML Endpoint: Copy and paste the following:
Sign into the Okta Admin Dashboard to generate this variable.
Issuer: Copy and paste the following:
Sign into the Okta Admin Dashboard to generate this variable.
X.509 Certificate: Copy and paste the following:
Sign into the Okta Admin Dashboard to generate this variable.
Click Save Changes:
Navigate to Admin > Users and invite a new user. When accepting the invitation you will only see SSO option.
Important: PerimeterX does not have a backdoor flow, so the first user should re-invite himself (i.e delete the user and then invite in the Users view) in order to access the PerimeterX using SAML authentication.
Done!
Make sure that you entered the correct value in the Base URL field under the General application tab in Okta. Using the wrong value will prevent you from authenticating via SAML to PerimeterX.
The following SAML attributes are supported:
| Name | Value |
|---|---|
| firstName | user.firstName |
| lastName | user.lastName |
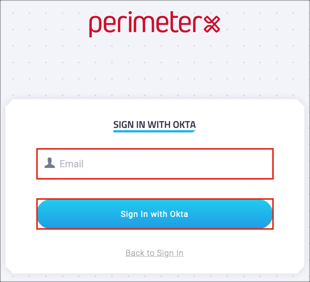
Open your PerimeterX login URL.
Click Sign In with Okta.
Enter your User Email.
Click Sign in with Okta: