The Okta/Oracle Hyperion EPM Cloud Services SAML integration currently supports the following features:
For more information on the listed features, visit the Okta Glossary.
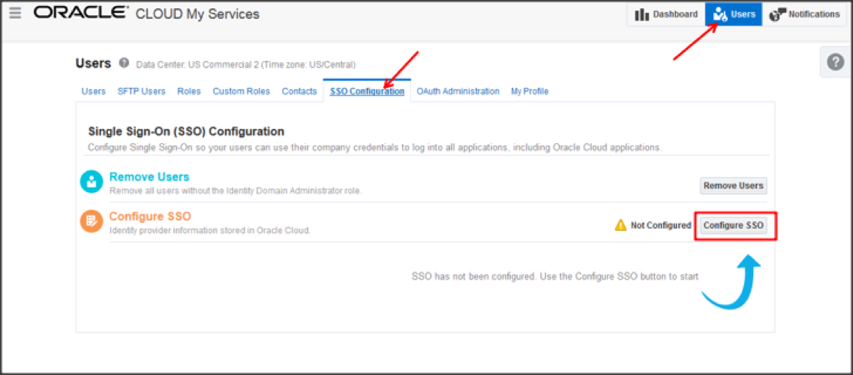
Login to your Oracle CLOUD My Services account as administrator.
Navigate to Users > SSO Configuration > Configure SSO:
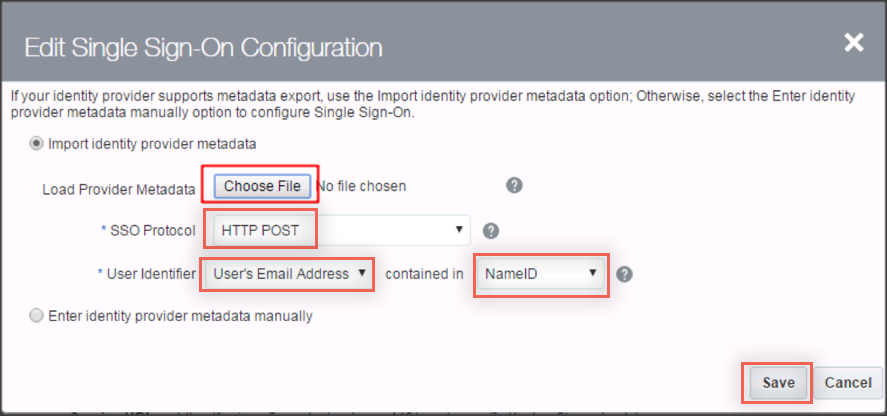
Select Import identity provider metadata, then perform the following (see screenshot at the end of step for reference):
Login Provider Metadata: Download, then select Choose File to upload the following:
Sign into the Okta Admin dashboard to generate this value.SSO Protocol: Select HTTP POST from the dropdown menu.
User Identifier: Select User's Email Address from the dropdown menu.
contained in: Select NameID from the dropdown menu.
Click Save.
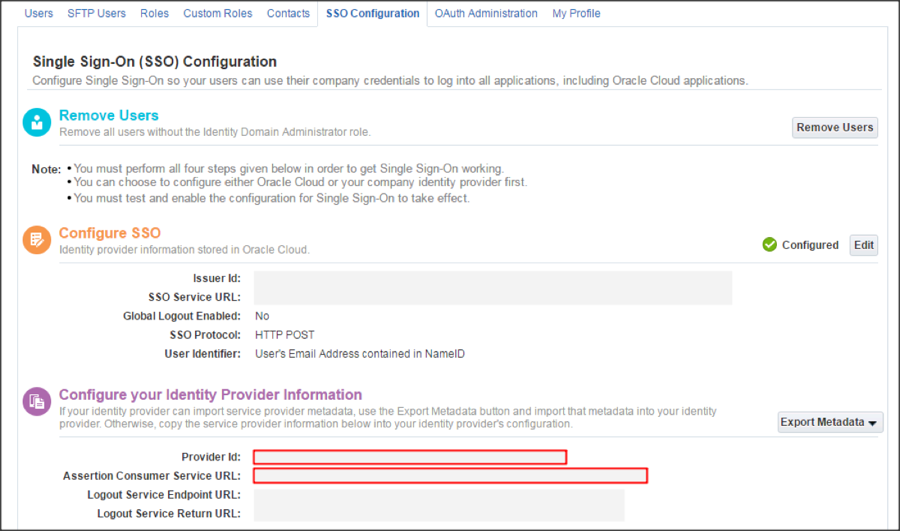
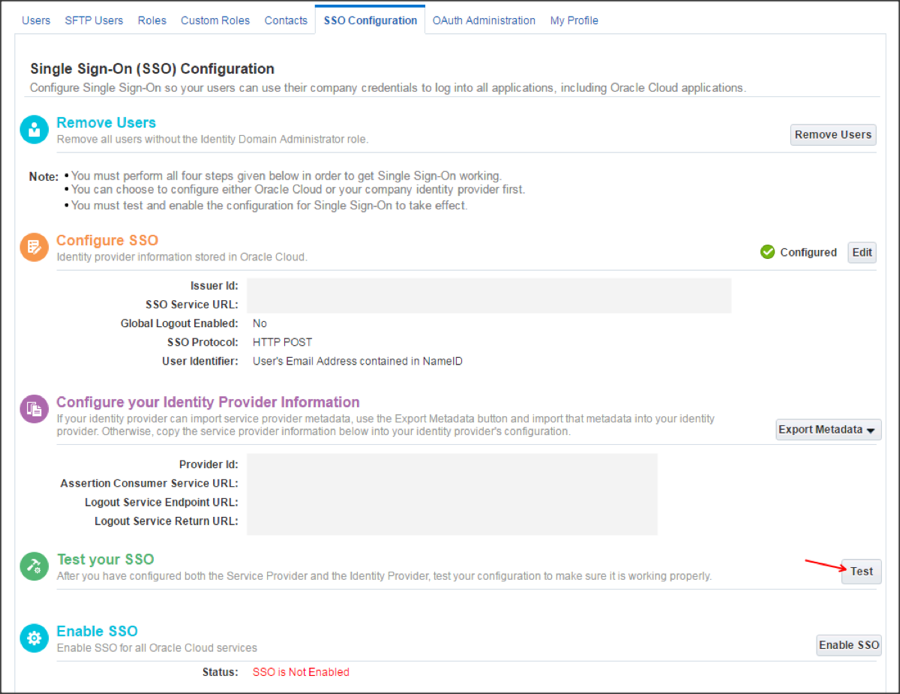
Make a copy of the value for Provider Id and Assertion Consumer Service URL:
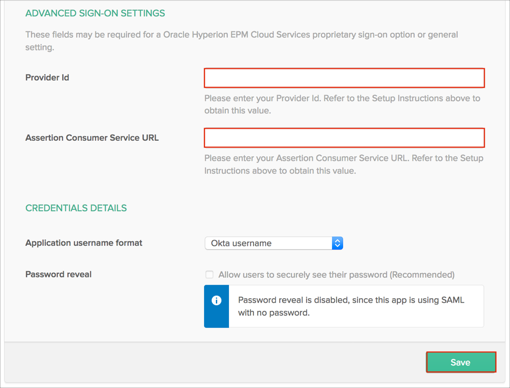
In Okta, select the Sign On tab for the Oracle Hyperion EPM Cloud Services app, then click Edit.
Scroll down to the ADVANCED SIGN-ON SETTINGS section.
Enter the Provider Id and Assertion Consumer Service URL values you copied earlier into the corresponding fields.
Click Save.
Go back to Oracle CLOUD My Services and click on Test your SSO:
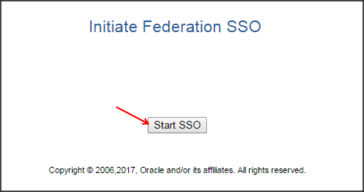
Click on Start SSO:
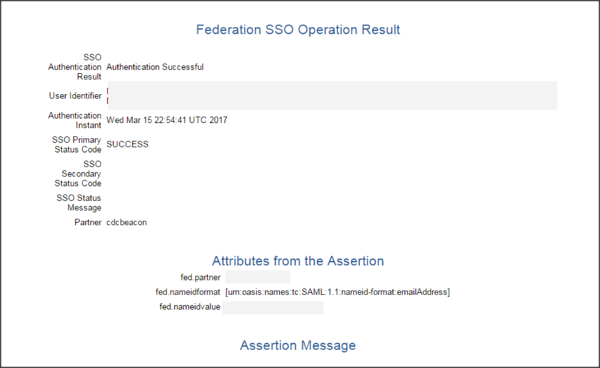
If you see the message below, the configuration is successful with Okta IdP.
Enable SSO by clicking Enable SSO
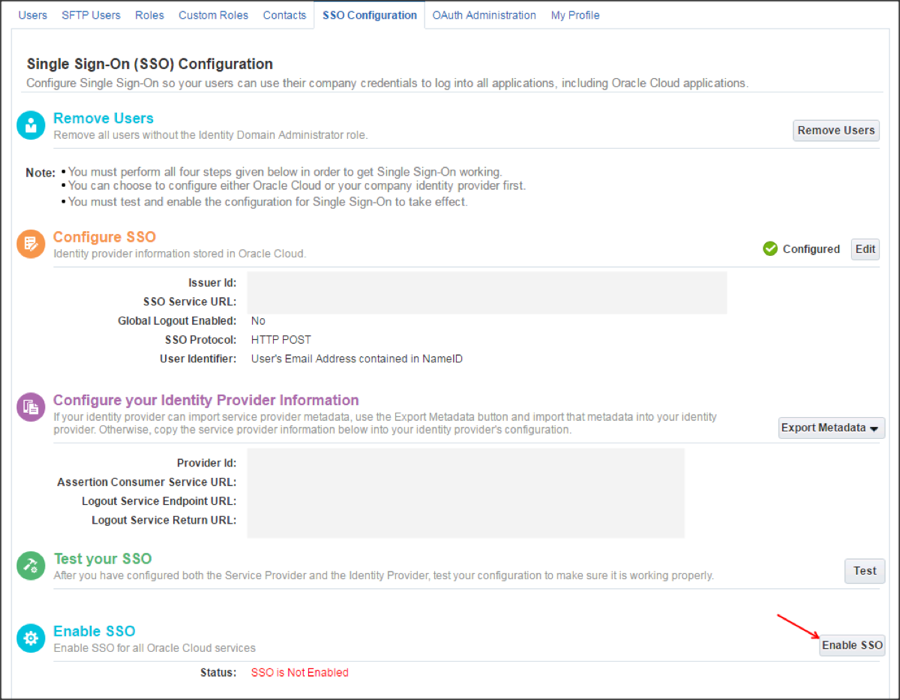
Done!
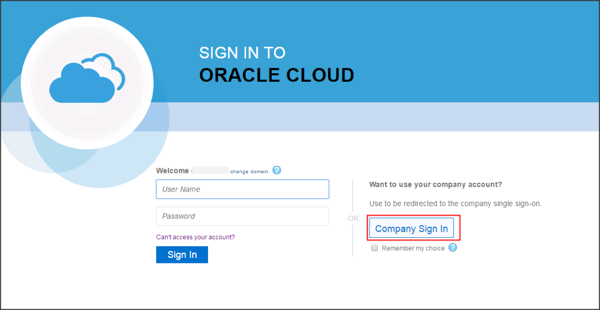
Go to https://[your-oracle-epm-environment]/workspace or https://[your-oracle-epm-environment]/epm and enter your Identity Domain.
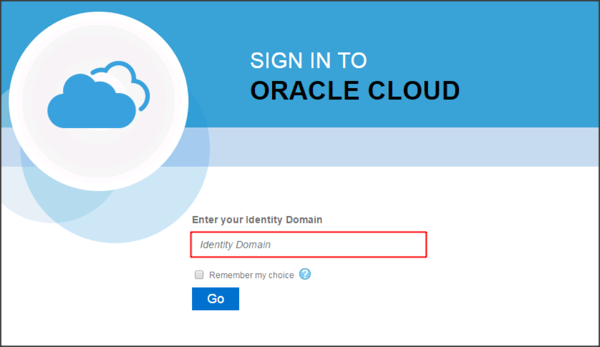
Click Company Sign In: