The Okta/Oomnitza SAML integration currently supports the following features:
Sign into your Oomnitza account.
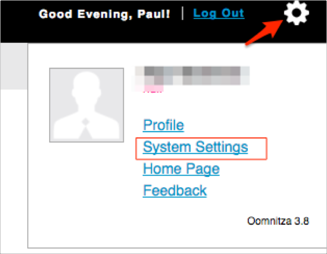
Click the gear icon, then select System Settings:
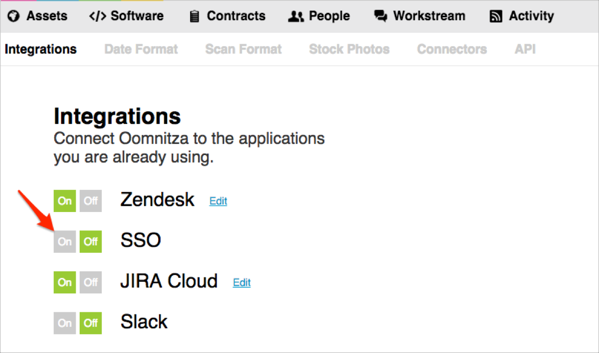
Under Integration, select On for SSO:
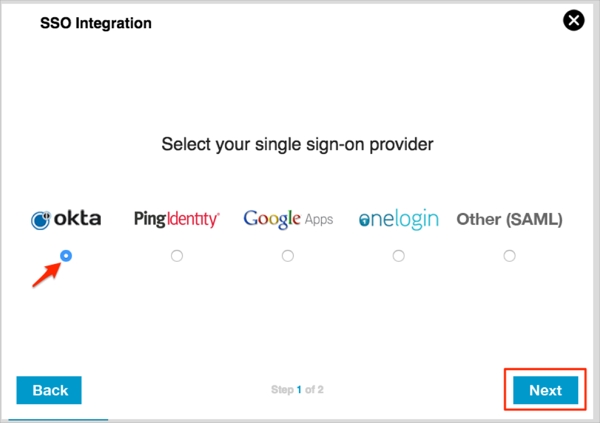
Select Okta, then click Next:
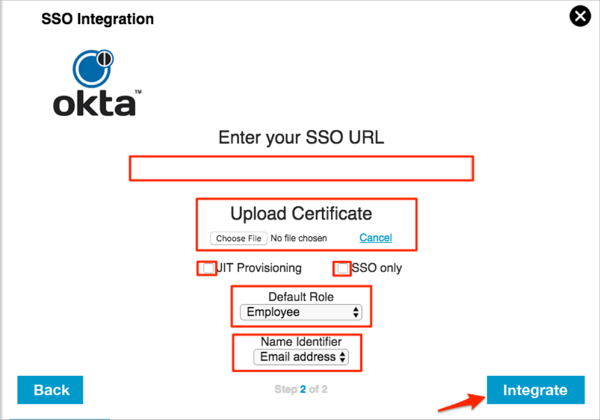
Enter the following information (see screen shot at end of step for reference):
Enter your SSO URL: Copy and paste the following:
Sign into the Okta Admin dashboard to generate this value.
Upload Certificate: Download, then upload the following certificate:
Sign into the Okta Admin dashboard to generate this value.
JIT Provisioning (optional): Check this if you want to support JIT provisioning.
SSO only (optional): Checking this prevents standard authentication to Oomnitza. We suggest leaving this off for now until you have tested the SSO feature and verified it works correctly.
Default Role: Select the role JIT provisioned users will be assigned at the time their account is created.
Name Identifier: Select Email address.
Click Integrate.
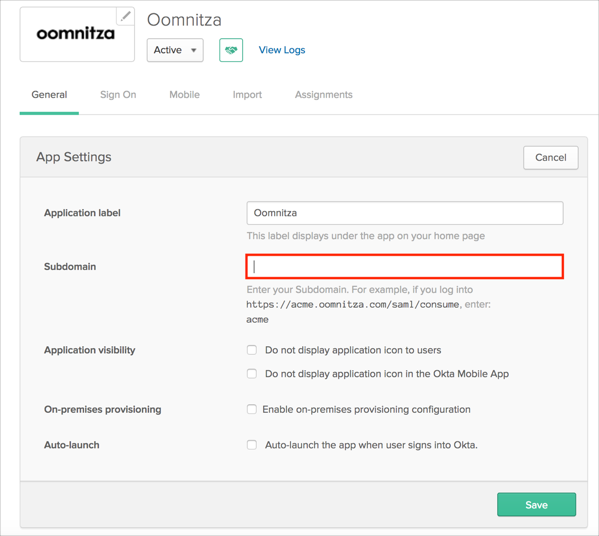
In Okta, select the General tab for the Oomnitza app, then click Edit.
Enter your Subdomain into the corresponding field.
Click Save.
Done!
Go to: https://[your-subdomain].oomnitza.com.
Click Single Sign-On (SSO):
