The Okta/Onshape SAML integration currently supports the following features:
For more information on the listed features, visit the Okta Glossary.
Sign in to your Onshape account as administrator.
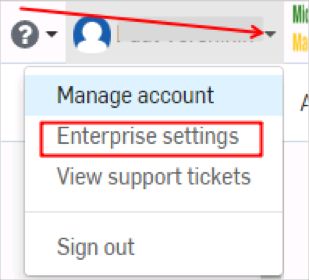
Click on your username, then select Enterprise settings from the dropdown menu:
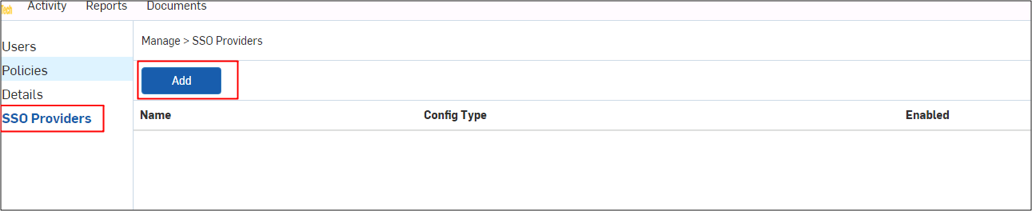
Navigate to SSO Providers > Add:
Download and save the following metadata:
Sign into the Okta Admin dashboard to generate this value.
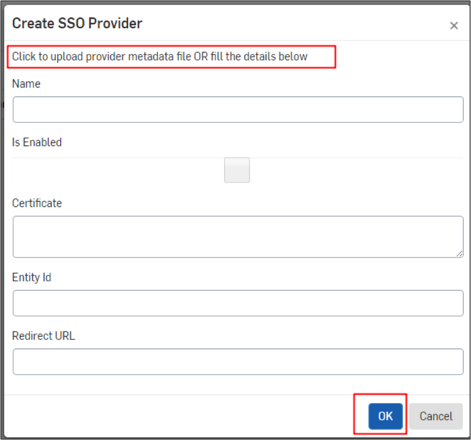
Enter the following values in the Create SSO Provider page (see screen shot at end of step for reference):
Name: Enter a preferred name.
Click Click to upload provider metadata file OR fill the details below: Locate and upload the metadata you saved in step 3.
Click OK.
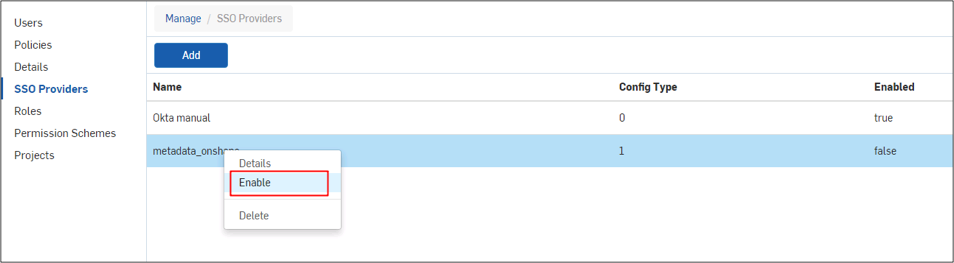
Right click on your new SSO provider, then select Enable:
Done!
Make sure that you enter the correct value in the Enterprise Domain Prefix field under the General tab in Okta. Using the wrong value will prevent you from authenticating via SAML to Onshape.
Go to https://[your-enterprise-domain-prefix].onshape.com.
Click External Sign In:
![go to: https://[your-enterprise-domain-prefix].onshape.com, click External Sign In](images/apps/onshape6.png)