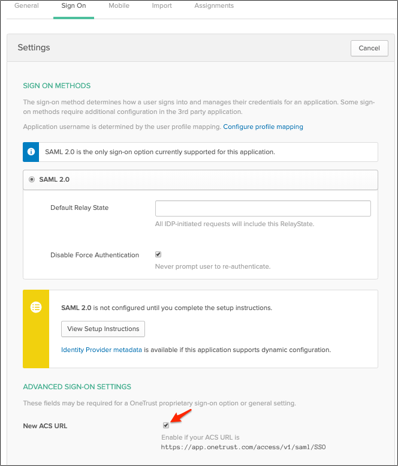
The OneTrust app now supports the new SSO URL:
SSO URL: https://app.onetrust.com/access/v1/saml/SSO
To switch the app to the new SSO URL, check New ACS URL on the Sign On tab in Okta:
The Okta/OneTrust SAML integration currently supports the following features:
For more information on the listed features, visit the Okta Glossary.
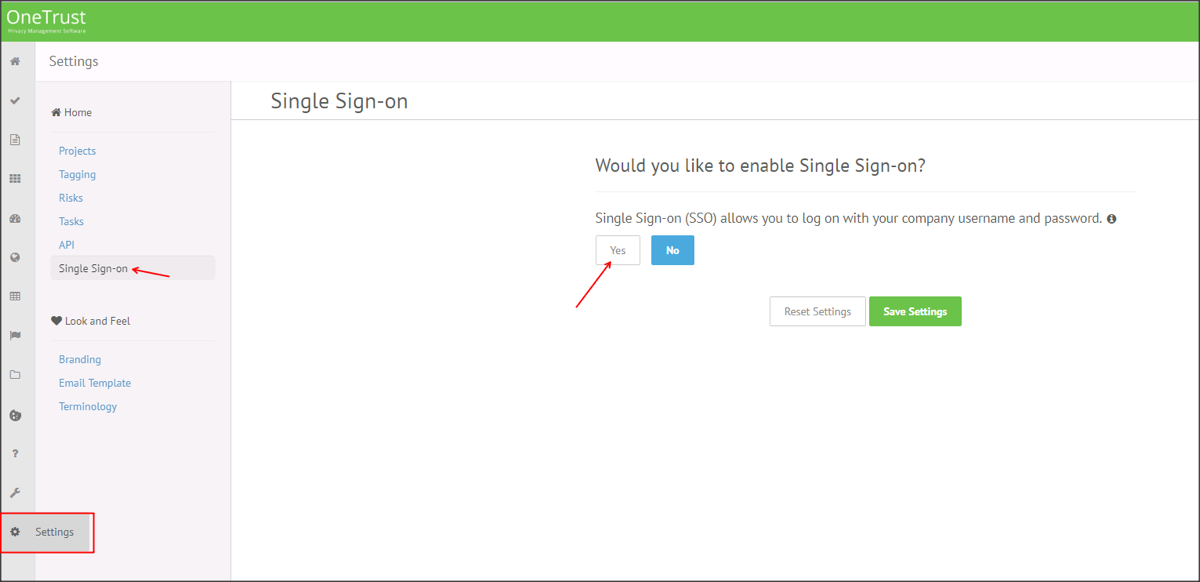
Login to your OneTrust account.
Navigate to Settings > Single Sign-on, then click Yes to enable SSO:
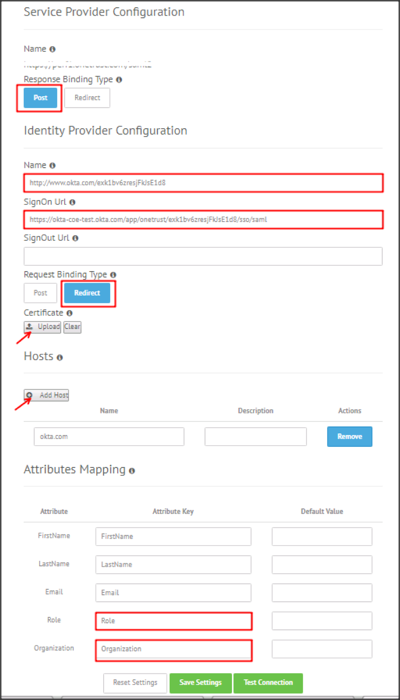
Enter the following (see screenshot at end of step for reference):
Service Provider Configuration section:
Response Binding Type: Select Post.
Identity Provider Configuration section:
Name: Copy and paste the following:
Sign into the Okta Admin Dashboard to generate this variable.
SignOn Url: Copy and paste the following:
Sign in to the Okta Admin app to have this variable generated for you.
Request Binding Type: Select Redirect.
Certificate: Download, then click Upload to upload the following certificate:
Sign into the Okta Admin Dashboard to generate this variable.
Hosts section:
Click Add Host and enter the hosts used within your environment.
Attributes Mapping section:
Specify the Attribute Key to the following attributes:
| Attribute | Attribute Key | Notes |
|---|---|---|
| FirstName | FirstName | Required |
| LastName | LastName | Required |
| Required | ||
| Role | Role | Optional |
| Organization | Organization | Optional |
Note: For instructions how to add this attribute, see here.
Click Save Settings.
Done!
The following SAML attributes are supported:
| Name | Value |
|---|---|
| FirstName | user.firstName |
| LastName | user.lastName |
| user.email | |
| Organization | user.organization |
| Role | appuser.role |
Here is an example describing how to add and use Role attribute:
By default Okta only sends the following four SAML attributes in a SAML assertion: FirstName, LastName, Email and Organization. To send the custom attribute Role, follow the steps below:
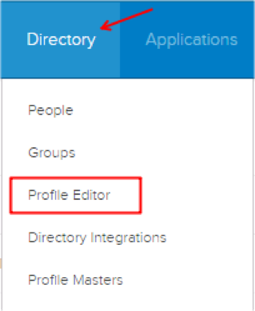
In Okta, navigate to Directory > Profile Editor:
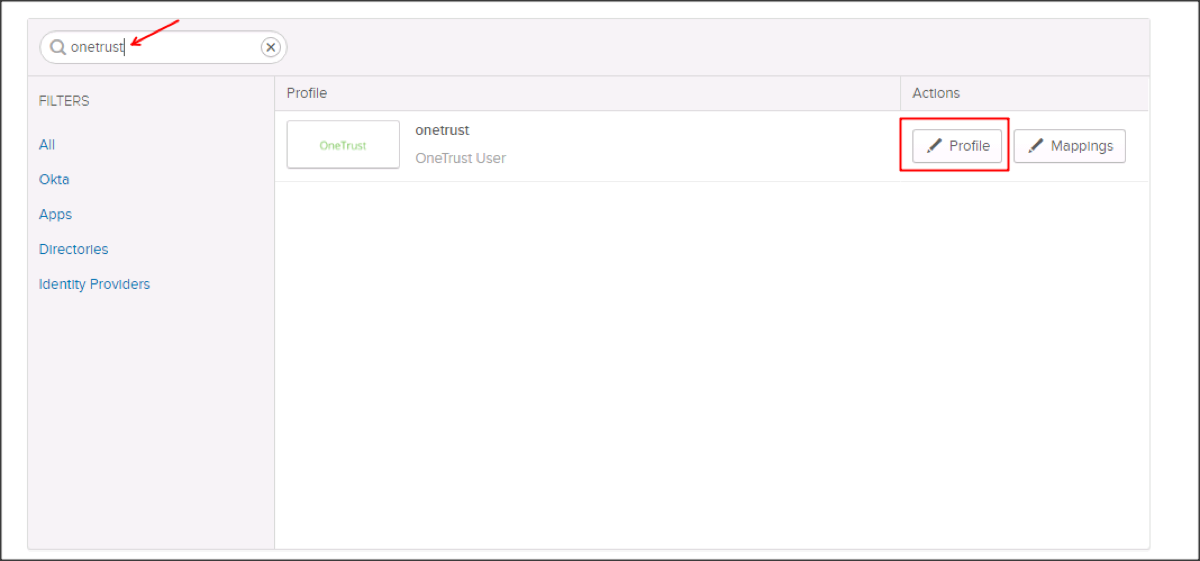
Search for the OneTrust app, then click Profile:
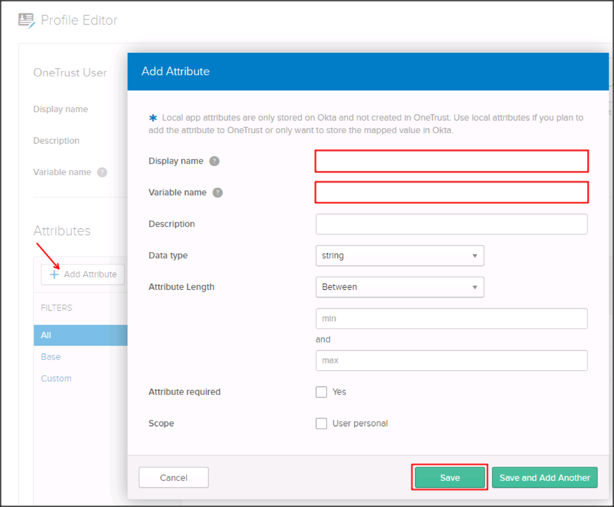
Click Add Attribute, then enter the following information:
Display Name: Enter Role.
Variable Name: Enter role.
Click Save.
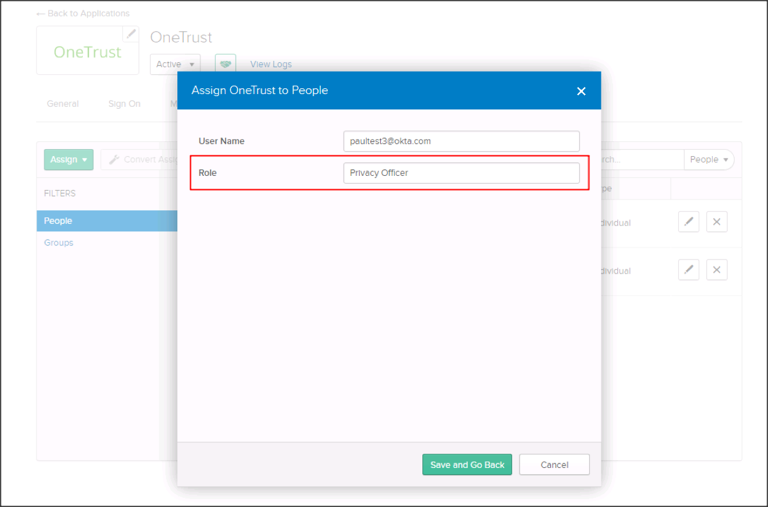
Now, when you assign users to the OneTrust app, you can specify the Role for them:
Done!
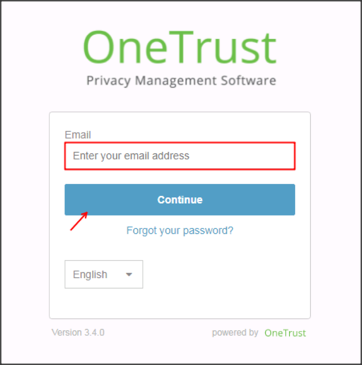
Type your email address, then click Continue: