How to Configure SAML 2.0 for Newton Software
This setup might fail without parameter values that are customized for your organization. Please use the Okta Administrator Dashboard to add an application and view the values that are specific for your organization.
Contents
Supported Features
The Okta/Newton Software SAML integration currently supports the following features:
- SP-initiated SSO
- IdP-initiated SSO
For more information on the listed features, visit the Okta Glossary.
Configuration Steps
- Email Newton Software at Support@newtonsoftware.com and request the postback URL of your account in order to setup SAML with Okta.
The postback URL will look like this: https://newton.newtonsoftware.com/saml/acs/{clientId}
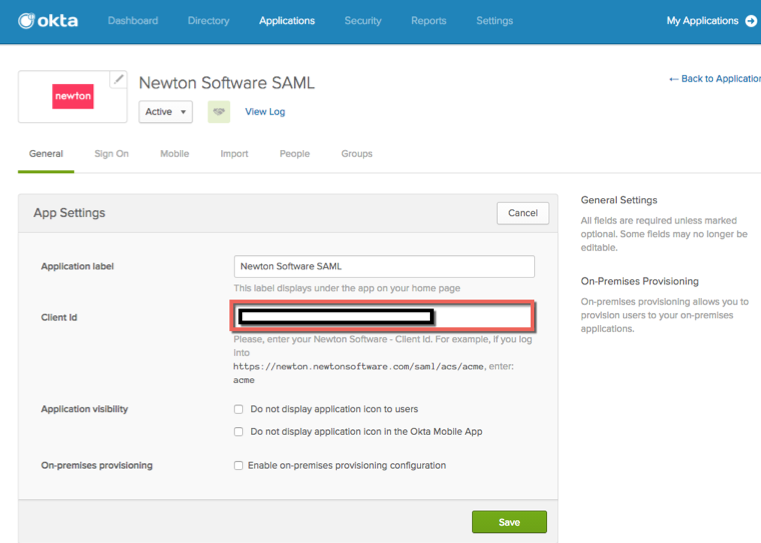
- Once you receive the postback URL, in Okta, open the General tab for the Newton Software app, and paste your Client ID (identified from the postback URL) into the corresponding field:
- Send an email to Newton Software at Support@newtonsoftware.com and request that they enable SAML. Provide the following information:
- Done!
Notes
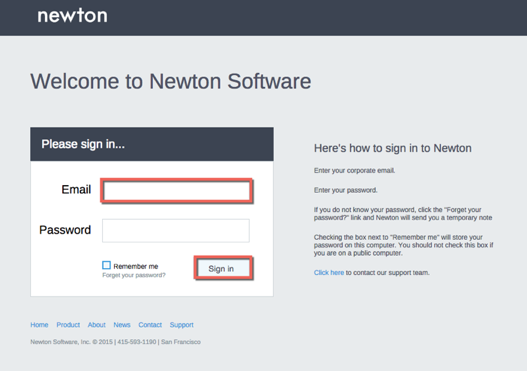
SP-initiated SSO
Go to the Newton Software login page http://newton.newtonsoftware.com/login.html.
Enter your Email, then click Sign In: