The Okta/MongoDB Cloud SAML integration currently supports the following features:
For more information on the listed features, visit the Okta Glossary.
Log in to MongoDB Cloud.
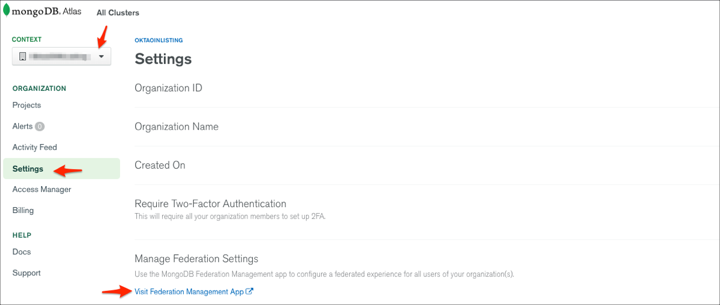
From the Context dropdown in the left navigation, select the organization for which you want to manage federation settings. Then navigate to Settings > Manage Federation Settings, then click Visit Federation Management App:
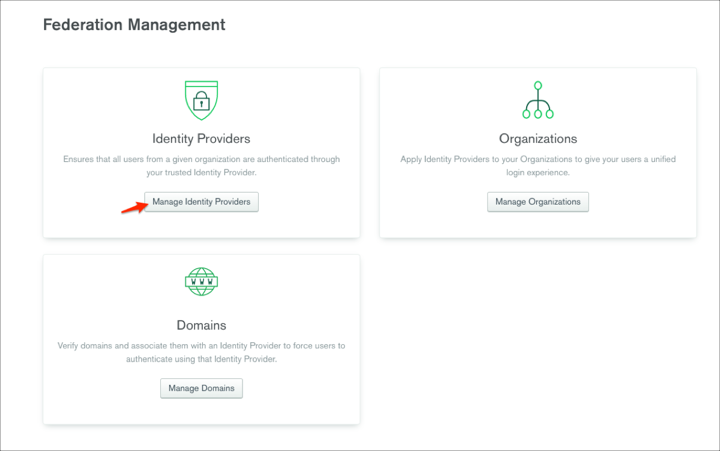
Click Manage Identity Providers:
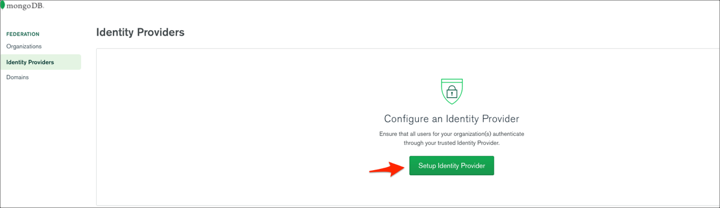
Click Setup Identity Provider:
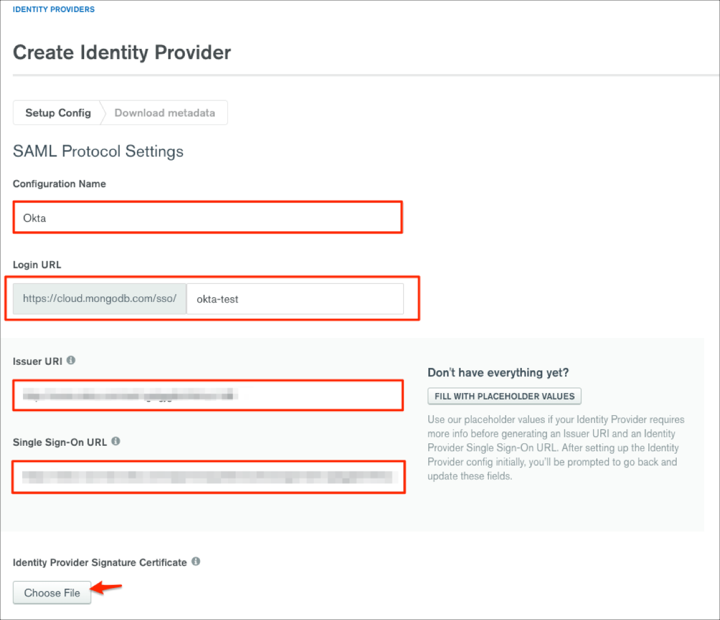
Scroll down to SAML Single Sign-On and follow the steps below:
Configuration Name: Enter Okta.
Login URL: Enter the appropriate value to the missing part of the Login URL. This Login URL will be used for the SP-initiated flow.
Issuer URI: Copy and paste the following:
Sign into the Okta Admin Dashboard to generate this variable.
Single Sign-On URL: Copy and paste the following:
Sign into the Okta Admin Dashboard to generate this variable.
Identity Provider Signature Certificate: Save the following certificate as okta.cert, then click Choose File to locate and upload it to MongoDB:
Sign into the Okta Admin Dashboard to generate this variable.
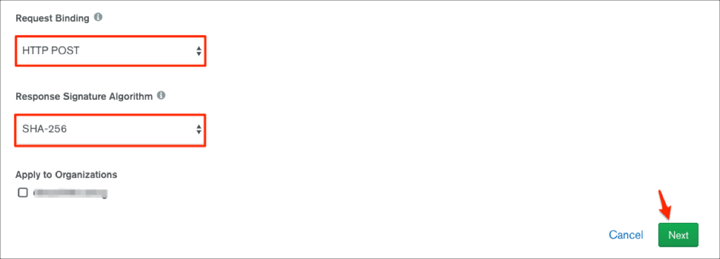
Request Binding: Select HTTP POST.
Response Signature Algorithm: Select SHA-256.
Apply to Organizations: Organizations to connect to this IdP. When users authenticate through the IdP for the first time, MongoDB grants them membership in the selected organizations. Manage organization mapping to choose what role these users have within the selected organizations.
Click Next:
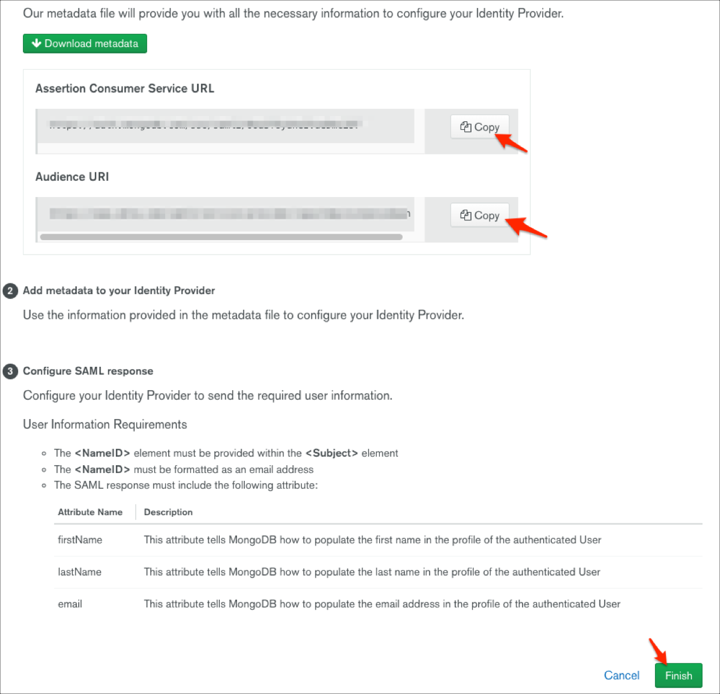
Make a copy of your Assertion Consumer Service URL and Audience URI values, then click Finish:
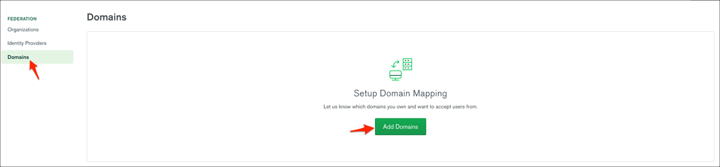
To verify your domain, go to Domains and click Add Domains:
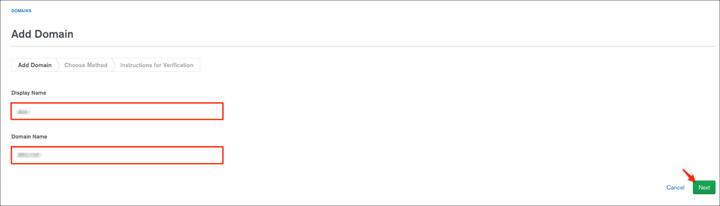
Enter the Display Name and your Domain Name, then click Next:
Choose how to verify your domain. You can choose the verification method once. It cannot be modified. To select a different verification method, delete and recreate the domain mapping. Select the appropriate tab based on whether you are verifying your domain by uploading an HTML file or creating a DNS TXT record:

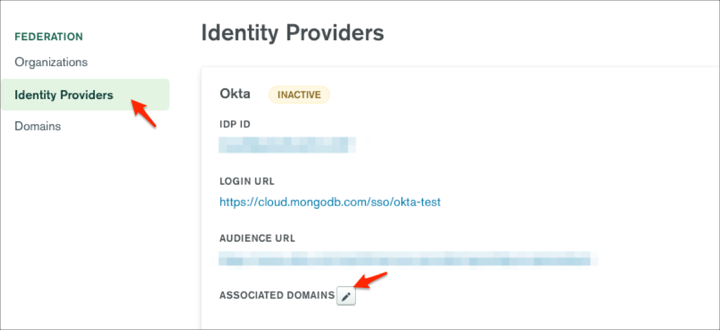
After successfully verifying your domain, go to Identity Providers and click the edit icon next to ASSOCIATED DOMAINS:
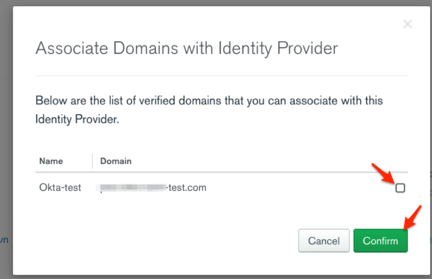
Select the domain you want to associate with Okta, then click Confirm:
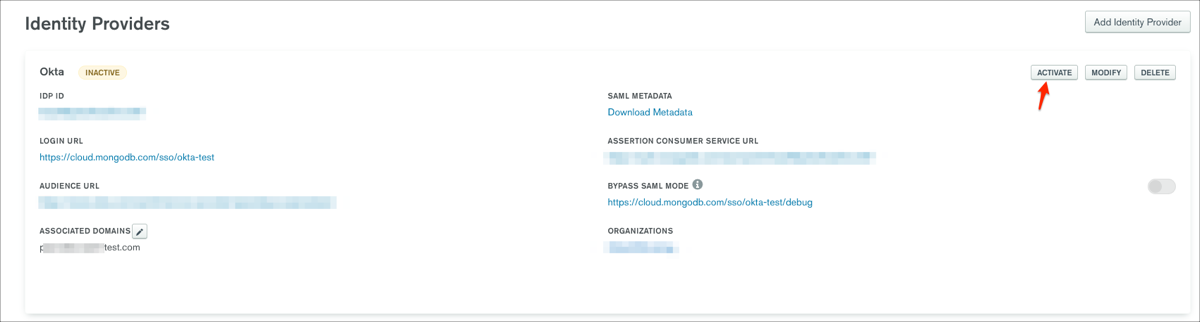
Click ACTIVATE for your integration:
Group Attribute Steps (optional):
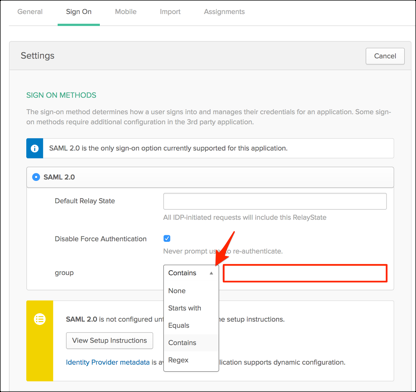
To send groups as part of a SAML assertion, in Okta, select the Sign On tab for the MongoDB SAML app, then click Edit.
Select Regex from the group drop-down menu, then enter .*.*
Click Save.
In Okta open the Sign On tab for the MongoDB SAML app, then click Edit.
Enter your Assertion Consumer Service URL and Audience URI values you made a copy of in step 6 into the corresponding fields.
Application username format: Select Email.
Click Save.
Done!
The following SAML attributes are supported:
| Name | Value |
|---|---|
| user.userName | |
| firstName | user.firstName |
| lastName | user.lastName |
Go to your Login URL from step 5.