The Okta/Mixpanel SAML integration currently supports the following features:
Sign in to your Mixpanel account. On the main screen, select the gear icon at the bottom of the menu bar on the left:
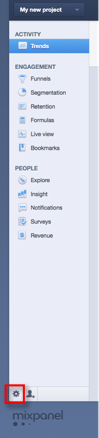
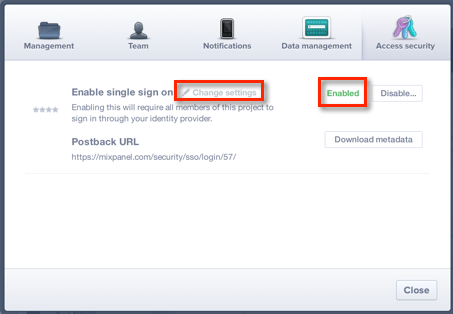
In the window that opens, select Access Security:

Be sure Enable single sign on is enabled. Then, select Change settings.
If prompted, enter the password you used to sign in again.
Download the following certificate:
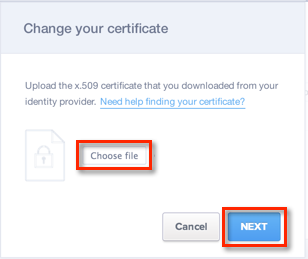
Sign into the Okta Admin dashboard to generate this value.In the Change your certificate window that opens, select Choose file. Choose the file you just downloaded in step 5. After you choose a file, the file name displays next to the Choose file link. When done, select Next:
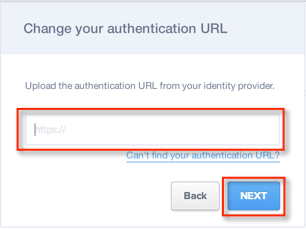
In the Change your authentication URL window that opens, copy the following data into the Authentication URL field, and then, select Next:
Sign into the Okta Admin dashboard to generate this value.
You may receive the message shown below that indicates you have updated your settings. If you receive this message, select Done.
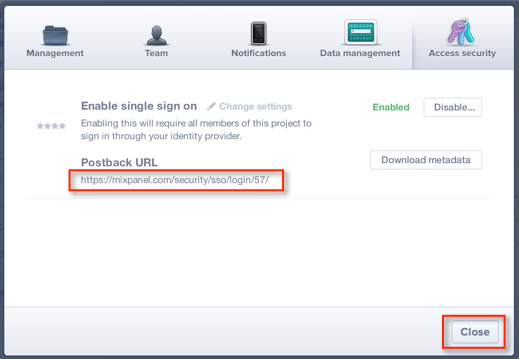
In the Access Security window that reopens, copy the Postback URL that is displayed, as shown below. Then, select Close:
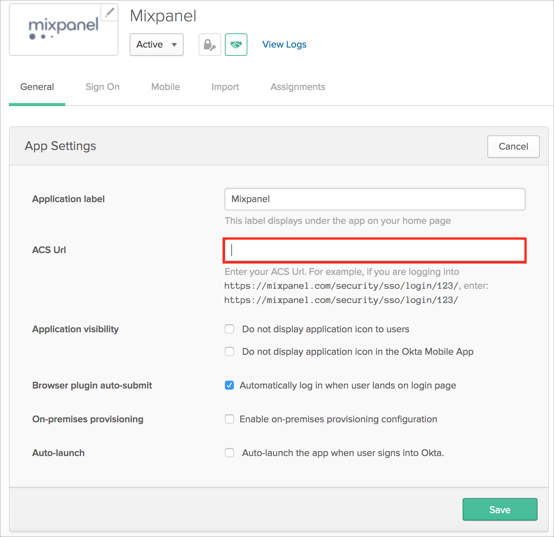
Enter the Postback URL you copied in step 9 in the ACS URL field.
Click Save.
Done!
Go to: https://mixpanel.com/security/sso/login/[your-company-ID].