The Okta/MaaS360 SAML integration currently supports the following features:
For more information on the listed features, visit the Okta Glossary.
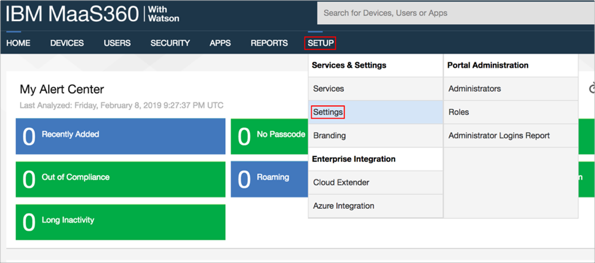
Login to your MaaS360 account as an administrator.
Navigate to SETUP > Settings:
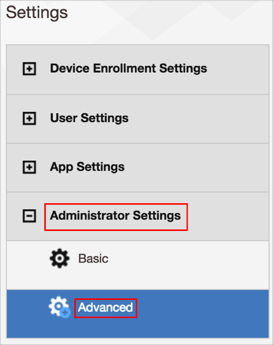
In the next window, expand Administrator Settings, then click Advanced:
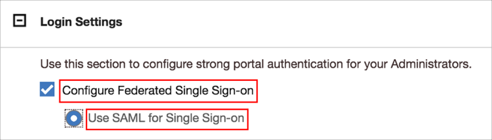
Under Login Settings, check the Configure Federated Single Sign-on checkbox, then click Use SAML for Single Sign-on:
Enter the following SAML settings:
Identity Provider Name: Copy and paste the following:
Sign into the Okta Admin Dashboard to generate this variable.
Sign-in Page URL: Copy and paste the following:
Sign into the Okta Admin Dashboard to generate this variable.
Verification Certificate: Upload the following:
Sign in to the Okta Admin app to have this variable generated for you.
Custom login URL for your administrators: Make a copy of this value. This will be used to perform an SP-initiated SAML login to MaaS360.
Click Save.
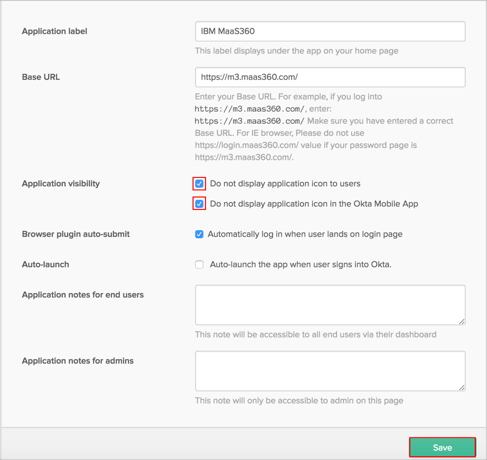
Since the application only supports an SP-initiated flow, we need to simulate an IDP-initiated flow with the Bookmark app (for more information, see Simulating an IdP-initiated Flow with the Bookmark App). Still in Okta, go to the General tab, then click Edit:
Check Do not display application icon to users and Do not display application icon in the Okta Mobile App options.
Click Save:
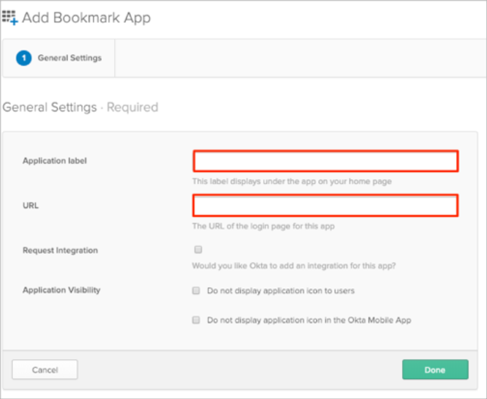
Add a Bookmark app:
Application label: Enter a preferred name.
URL: Enter the Custom login URL you copied in step 5.
Click Done:
Assign people to the Bookmark application.
Done!
Go to the Custom login URL you copied in step 5.