The Okta/Logic Monitor SAML integration currently supports the following features:
Sign in to your Logic Monitor account.
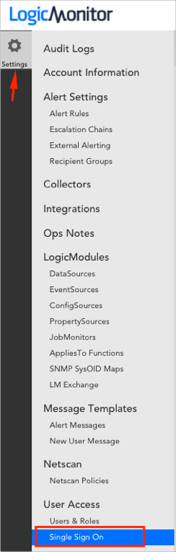
Navigate to Settings > Single Sign On:
Enter the following (see screen shot at end of step for reference):
Check Enable Sign Sign On.
Default Role Assignment: Select an appropriate role from the drop down menu.
Identity Provider Metadata: Download and save the following metadata file. Then click Upload to upload it to Logic Monitor.
Sign into the Okta Admin dashboard to generate this value.
Click Save.

In Okta, select the General tab for the Logic Monitor SAML app, then click Edit.
Enter your Subdomain into the corresponding field.
Click Save.

Done!
The following SAML attributes are supported:
| Name | Value |
|---|---|
| http://schemas.xmlsoap.org/ws/2005/05/identity/claims/givenname | user.firstName |
| http://schemas.xmlsoap.org/ws/2005/05/identity/claims/surname | user.lastName |
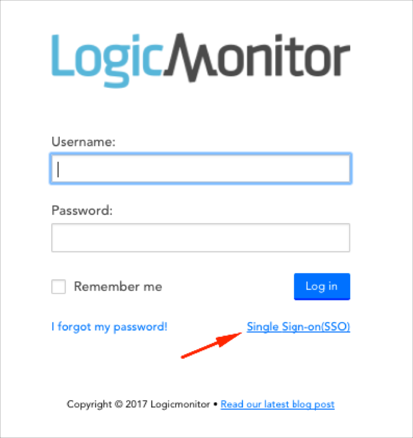
Go to https://[your-logicmonitor-subdomain].logicmonitor.com.
Click Single Sign-on(SSO).