The Okta/LearnUpon SAML integration currently supports the following features:
Login to your LearnUpon account as an administrator.
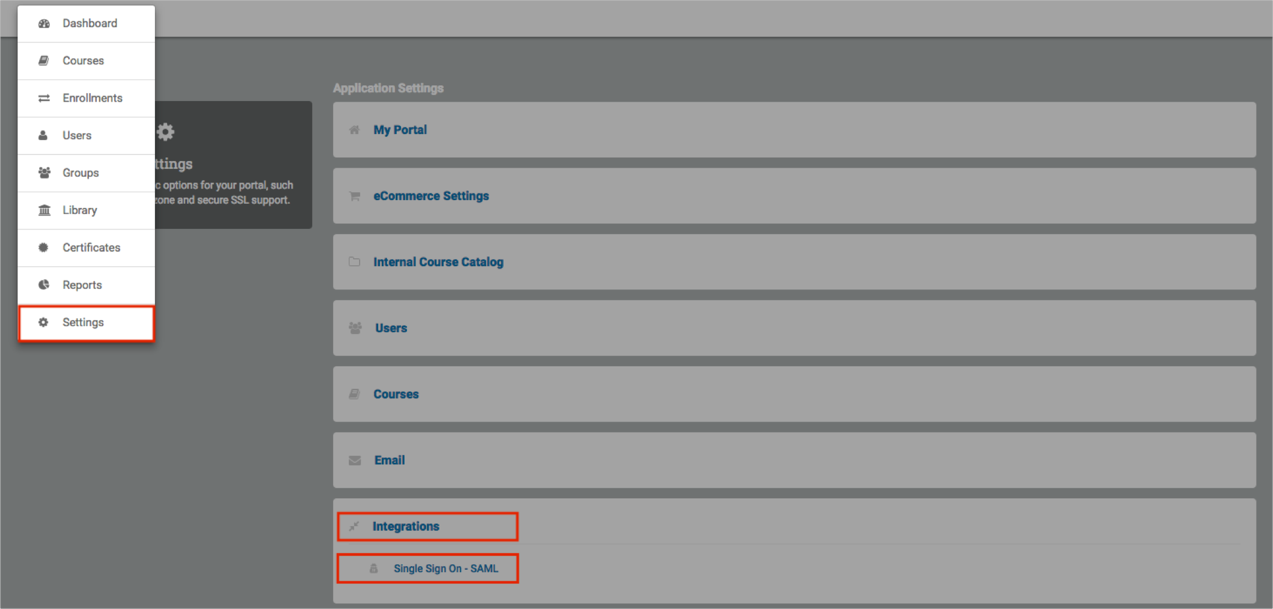
Navigate to Settings > Integrations.
Click Single Sign On - SAML:
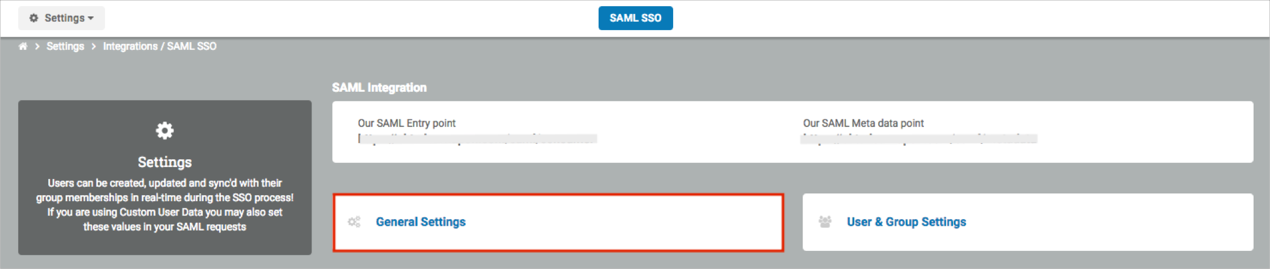
Select General Settings:
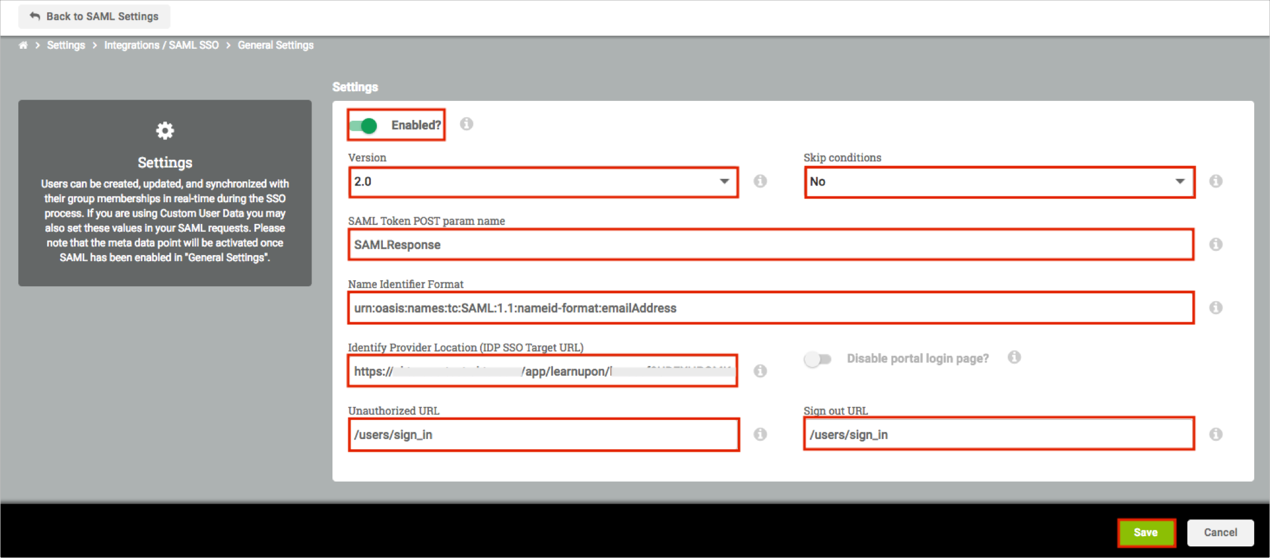
Enter the following:
Switch the trigger to Enabled.
Version: Select 2.0.
Skip conditions: Select No.
SAML Token POST param name: Enter SAMLResponse.
Name Identifier Format: Enter urn:oasis:names:tc:SAML:1.1:nameid-format:emailAddress.
Identify Provider Location (IDP SSO Target URL): Copy and paste the following:
Sign into the Okta Admin dashboard to generate this value.
Unauthorized URL: Enter /users/sign_in.
Sign out URL: Enter /users/sign_in.
Disable portal login page?: Select a required option. We did not enable this feature in our example.
Note: This switch disables the login page that is available on the portal. Once enabled, when your users try to access the portal’s login page, they will instead be redirected to the URL, which has been entered into the IDP SSO Target URL field. You can still access the portal login page by entering users/sign_in?no_sso=true at the end of the standard portal URL.
If you have enabled this feature, then please change Sign out URL to the following (instead of /users/sign_in):
Sign into the Okta Admin Dashboard to generate this variable.
Click Save:
Scroll down to the Certificate Finger Prints section.
Click Manage Finger Prints:

Finger Print Value: Copy and paste the following:
Sign into the Okta Admin Dashboard to generate this variable.
Click Save:
OPTIONAL: If you want to enable Just In Time (JIT) provisioning:
Go back to the Settings -> Integrations -> Single Sign On – SAML page.
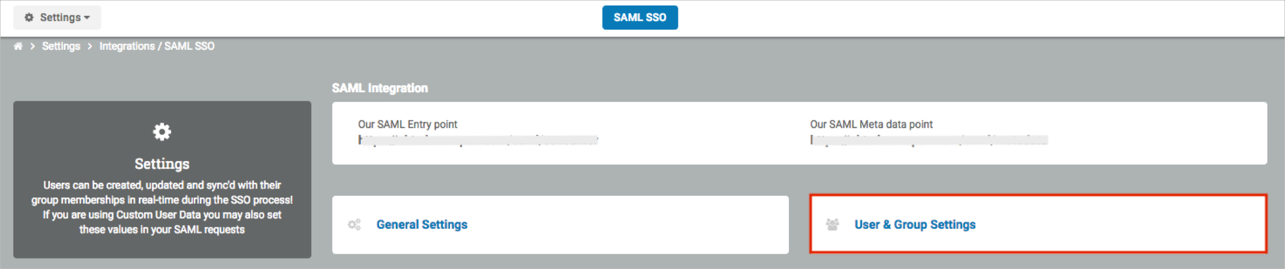
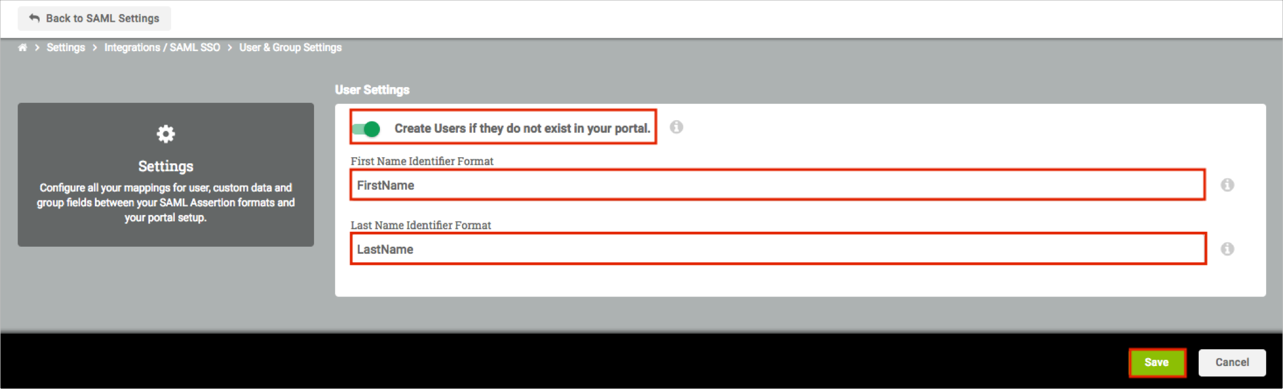
Select User & Group Settings:
Enable Create Users if they do not exist in your portal.
First Name Identifier Format: Enter FirstName.
Last Name Identifier Format: Enter LastName.
Click Save:
Done!
Make sure that you entered the correct value in the Site URL field under the General tab in Okta. Using the wrong value will prevent you from authenticating via SAML to LearnUpon.
The following SAML attributes are supported:
| Name | Value |
|---|---|
| FirstName | user.firstName |
| LastName | user.lastName |
SP-initiated SSO is available if the Disable portal login page? feature is activated (step 5).
Open your Site URL value.