Read this before you enable SAML
Enabling SAML will affect all users who use this application, which means that users won't be able to sign in with their regular usernames and passwords. They'll only be able to access the app through the Okta service.
Backup URL
LaunchDarkly doesn't provide a backup sign-in URL where users can sign in using their regular username and password. You can contact LaunchDarkly Support (support@launchdarkly.com) to turn off SAML, if necessary.
The Okta/LaunchDarkly SAML integration currently supports the following features:
For more information on the listed features, visit the Okta Glossary.
Login to your LaunchDarkly account as an administrator (account owner).
Go to Account settings > Security, then under SSO management click Configure SAML.
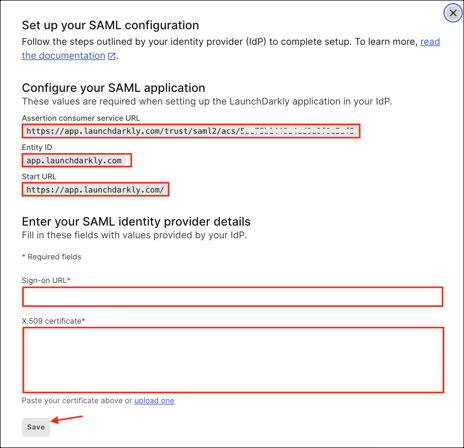
Do the following:
Make a copy of the Assertion consumer service URL, Entity ID, and Start URL values.
Sign-on URL: Copy and paste the following:
Sign into the Okta Admin Console to generate this variable.
X.509 certificate: Copy and paste the following:
Sign into the Okta Admin Console to generate this variable.
Click Save.
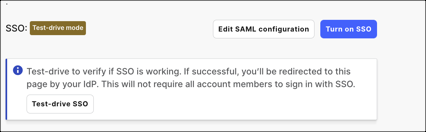
For now you are in the test-drive mode. Your team members can still sign on with their LaunchDarkly passwords.
In Okta, select the Sign On tab for the LaunchDarkly app, then click Edit.
Scroll down to Advanced Sign-on Settings.
Enter the Assertion consumer service URL and Entity ID values (step 4) into the corresponding fields.
Click Save.
Configure the role and customRole attributes (for instructions, see Notes, below).
Assign a required user/group to the application.
Try to sign in with a required user using the application icon on the Okta Console in order to make sure that SAML configuration works properly.
After successful testing, select Turn on SSO on the Single sign-on configuration page in LaunchDarkly:
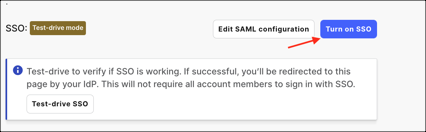
SAML configuration is now fully enabled, which means that users will not be able to sign-in through their regular log-in page using their normal username and password.
Done!
| Name | Value |
|---|---|
| firstName | user.firstName |
| lastName | user.lastName |
| role | appuser.role |
| customRole | appuser.customRole |
| teamKey | appuser.teamKey |
About Roles:
role: One of the built-in LaunchDarkly roles: reader, writer, admin, and for some customers, no_access. If unspecified, the default role is reader. To learn more about LaunchDarkly's built-in roles, see LaunchDarkly's built-in roles.
customRole: A list of keys for custom roles to give to the account member. These replace the member's existing custom roles. If a member has any custom roles, they supersede the built-in role. The elements of the customRole list are case-sensitive and must match a custom role key in LaunchDarkly exactly. To learn more about LaunchDarkly's custom roles, see LaunchDarkly's Custom roles.
teamKey: A list of keys for teams that the account member belongs to. These replace the member's existing teams. The elements of the teamKey list are case-sensitive and must match a team key in LaunchDarkly exactly. To learn more about LaunchDarkly's teams, see LaunchDarkly's Teams.
Here is an example describing how to add and use the additional role, customRole and teamKey attributes:
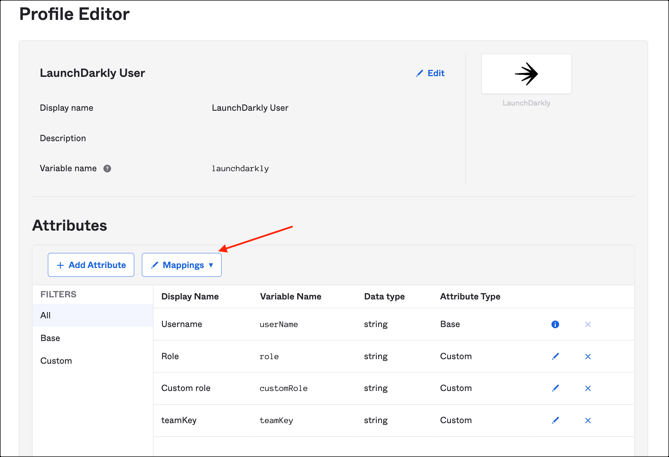
In Okta, navigate to Directory > Profile Editor.
Search for the LaunchDarkly app, then click Profile:

Click Add Attribute, then add the following attributes:
| Display name | Variable name |
|---|---|
| Role | role |
| Custom role | customRole |
| teamKey | teamKey |
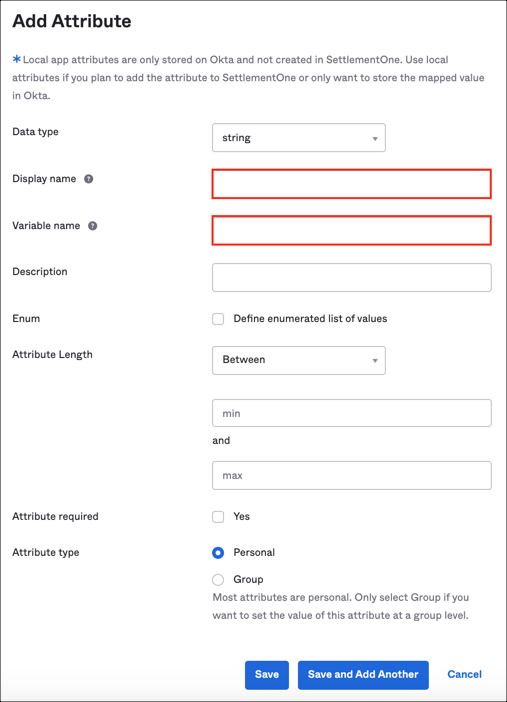
Note: Scope (optional): If you check User personal, it means that the current attribute will be available once you assign the user to the LaunchDarkly application and will not be available once you assign the group to the app.
Now you can map these attributes to required fields in Okta:
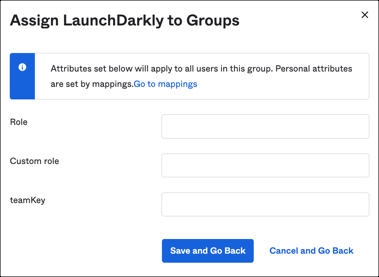
Or provide a required values during application assignment (Assignments application tab):
Open the Start URL (Configuration step 3).
Enter your Email Address.
Click NEXT.