Read this before you enable SAML
The Okta/Jobcan SAML integration currently supports the following features:
For more information on the listed features, visit the Okta Glossary.
Sign in to Jobcan.
On the left side panel select Settings, then click Add external ID (Idp).
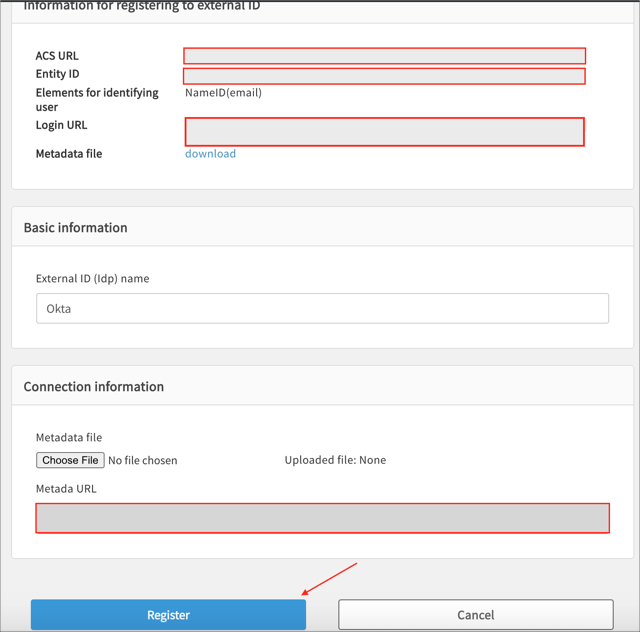
Enter the following:
External ID (Idp) name: Enter Okta.
Click Register.
Make a copy of your ACS URL, Entity ID, and Login URL.
Metada URL: Copy and paste the following:
Sign into the Okta Admin dashboard to generate this value.
Click Register.
In Okta select the Sign On tab for the Jobcan SAML app, then click Edit.
Enter your ACS URL and Entity ID values you made a copy of in step 3 into the corresponding fields.
Click Save.
Done!
Go to your Login URL (step 3).