
The Okta/IBM SmartCloud for Social Business SAML integration currently supports the following features:
Email IBM Connections Cloud at cloudcsg@us.ibm.com and request that they enable SAML.
Include the following information with your request:
IDP Metadata: Copy and paste the following and then save as an .xml file.
CustomerID: You can find this from your IBM Connections Cloud Account Settings.
The Data Centre/Environment you are hosted on. Go to step 4 below for guidelines.
IBM Connections Cloud will process your request. After receiving a confirmation email, you can start assigning people to the application.
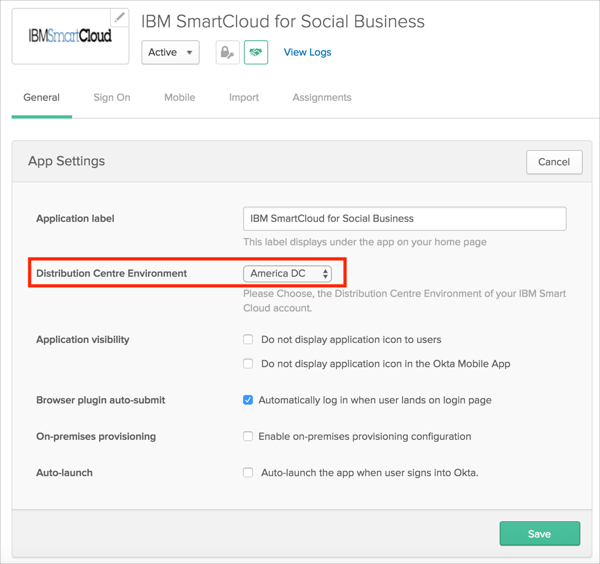
In Okta, select the General tab for the IBM SmartCloud for Social Business SAML app, then click Edit.
Select your Distribution Centre Environment.
Guidelines for your Data Centre/Environment:
https://apps.na.collabserv.com: Select America DC
https://apps.ce.collabserv.com: Select Europe DC
https://apps.ap.collabserv.com: Select Asia Pacific DC
https://apps.scniris.com: Select IR3 test
Click Save.

Go to your Cloud Service login page.
Click Use My Organization's Login.
Enter your email address.