The Okta/Fulcrum SAML integration currently supports the following features:
For more information on the listed features, visit the Okta Glossary.
Login to Fulcrum as an administrator.
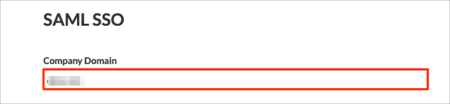
Navigate to the Authentication tab in settings (https://web.fulcrumapp.com/settings/authentication), then enter the following:
Company Domain: Enter your Company Domain.
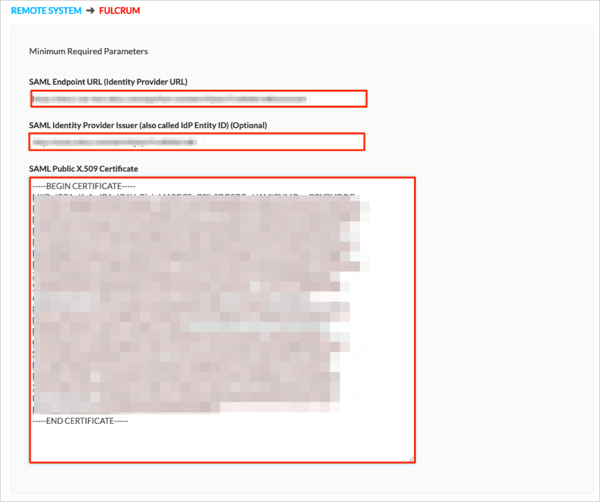
Scroll down to the REMOTE SYSTEM > FULCRUM section.
SAML Endpoint URL (Identity Provider URL): Copy and paste the following:
Sign into the Okta Admin Dashboard to generate this variable.
SAML Identity Provider Issuer (also called IdP Entity ID) (Optional): Copy and paste the following:
Sign into the Okta Admin Dashboard to generate this variable.
SAML Public X.509 Certificate: Copy and paste the following:
Sign into the Okta Admin Dashboard to generate this variable.
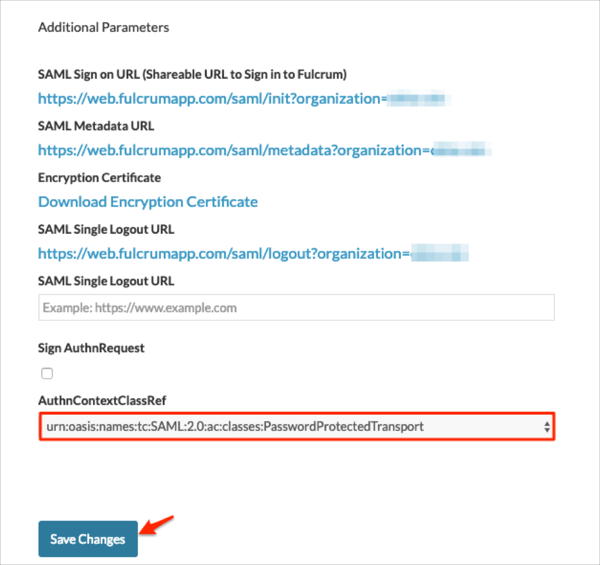
AuthnContextClassRef: Select urn:oasis:names:tc:SAML:2.0:ac:classes:PasswordProtectedTransport.
Click Save Changes:
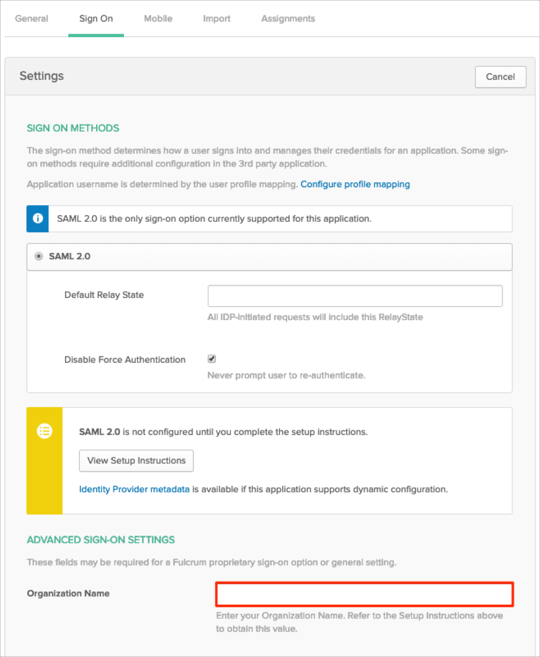
In Okta, select the Sign On tab for the Fulcrum SAML app, then click Edit.
Enter your Company Domain value you specified in step 3 into the Organization Name field.
Click Save:
The following SAML attributes are supported:
| Name | Value |
|---|---|
| first_name | user.firstName |
| last_name | user.lastName |
| user.userName |
Enter your Domain value, then click Sign In:
