The Okta/Expensify SAML integration currently supports the following features:
For more information on the listed features, visit the Okta Glossary.
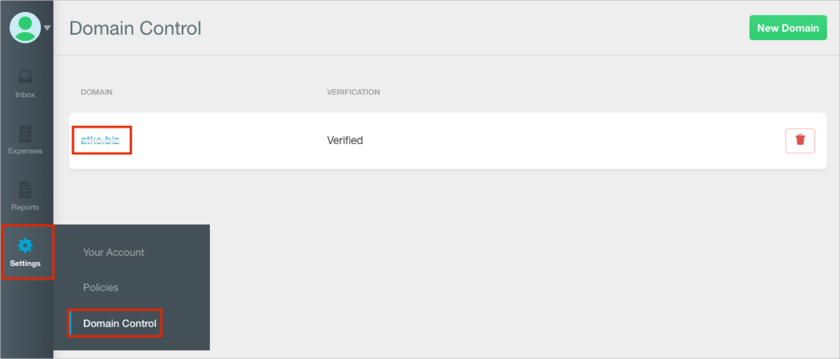
Log on to your Expensify instance as domain administrator.
Navigate to Settings > Domain Control.
Click on the required domain.
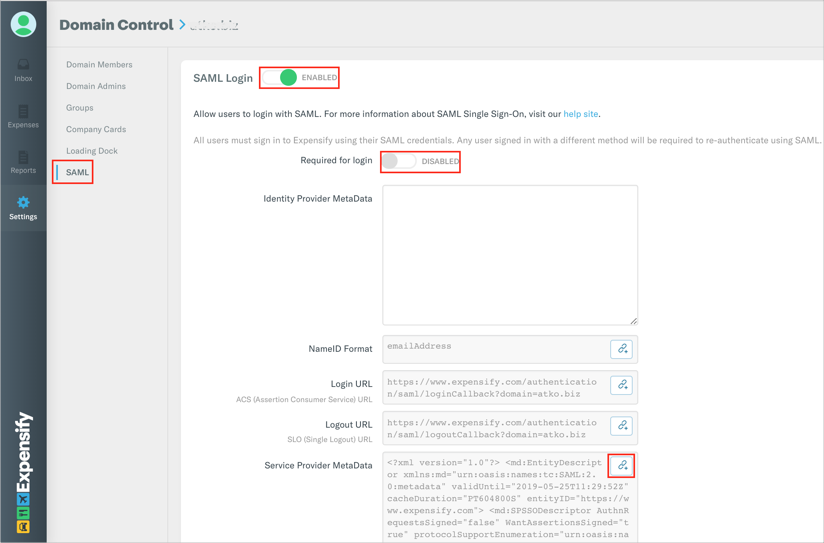
Select the SAML menu item.
Switch SAML Login option to ENABLED.
[OPTIONAL] Enable the Required for login option.
Note: After choosing this options, users can only sign in with SSO and cannot use an Expensify password. Please make sure the SAML configuration works properly before enabling this option.
Scroll down to Service Provider MetaData and copy the Service Provider MetaData value:
Paste the Service Provider MetaData into the text editor and copy the X509Certificate value:
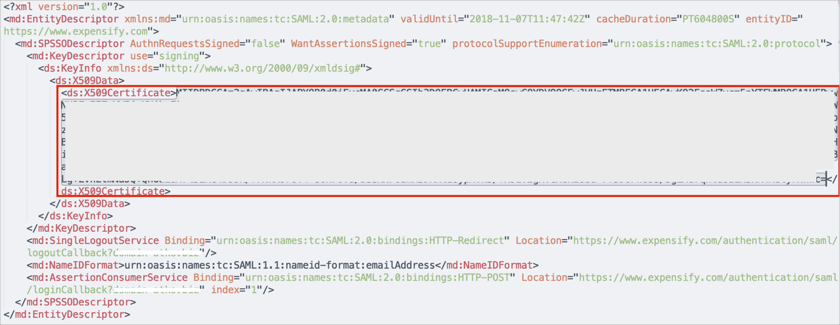
Create a file in a text editor in the following format:
-----BEGIN CERTIFICATE-----
[your X509Certificate value] (step 8)
-----END CERTIFICATE-----
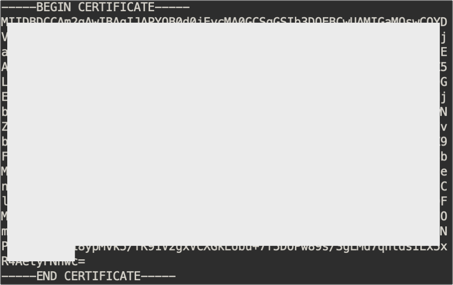
Save the text file as expensify_slo.cert.
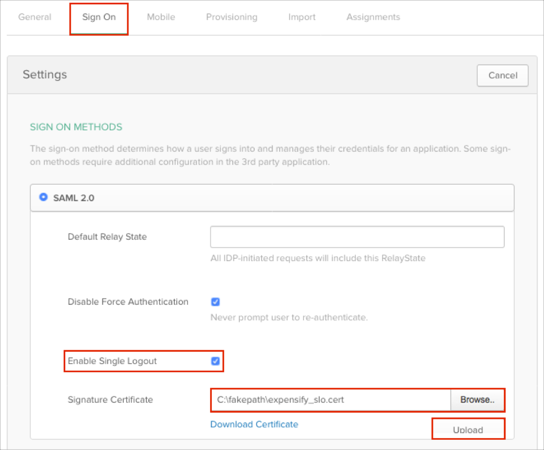
In Okta, select the Sign Ontab for the Expensify app, then click Edit.
Check the Enable Single Logout box.
Signature Certificate: Click Browse to locate and upload the expensify_slo.cert certificate file you saved earlier (step 10).
Click Save.
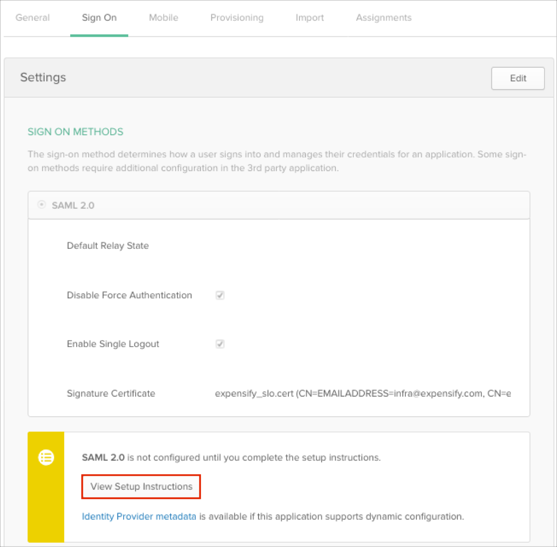
Important: Close this instruction page, click View Setup Instructions again and proceed from step 13.
Go back to the Expensify SAML configuration page.
Enter the following Identity Provider MetaData value into the corresponding field:
Done!
Make sure that you entered the correct value in the Company Domain field under the General tab in Okta. Using the wrong value will prevent you from authenticating via SAML to Expensify.
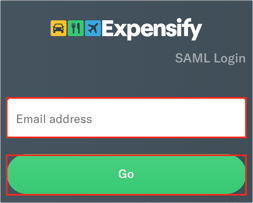
Open the following URL in your browser: https://www.expensify.com/authentication/saml/login.
Enter your email address. then click Go: