The Okta/ExpenseIn SAML integration currently supports the following features:
For more information on the listed features, visit the Okta Glossary.
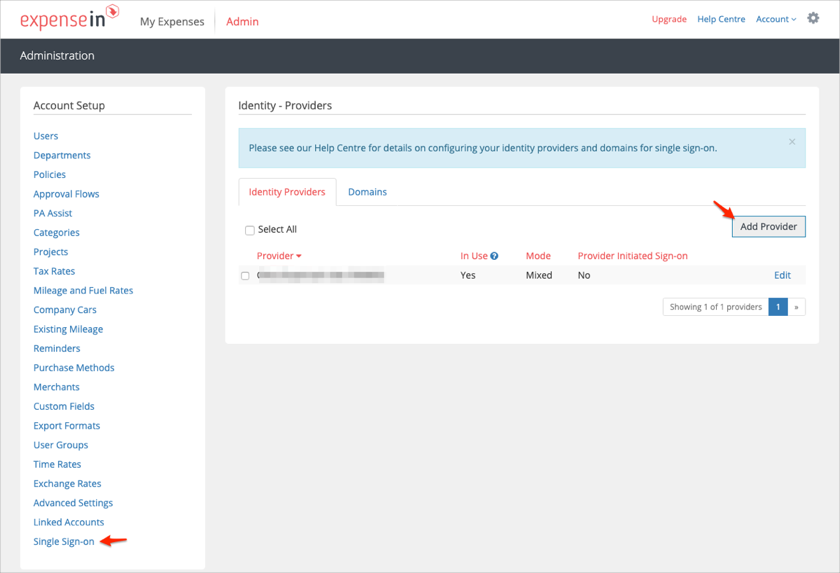
Log in to ExpenseIn as an administrator.
Click Admin:

Navigate to Single Sign On, then click Add Provider:
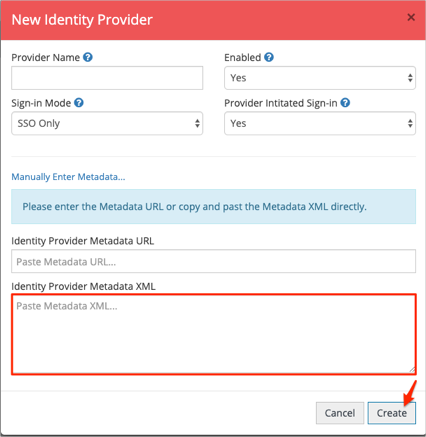
Enter the following:
Provider Name: Enter a preferred name.
Enabled: Select Yes.
Sign-in Mode: Select either Mixed Mode or SSO Only.
Provider Initiated Sign-in: Select Yes.
Click Load from Metadata....

Identity Provider Metadata: Copy and paste the following:
Sign in to Okta Admin app to have this variable generated for you.
Click Create:
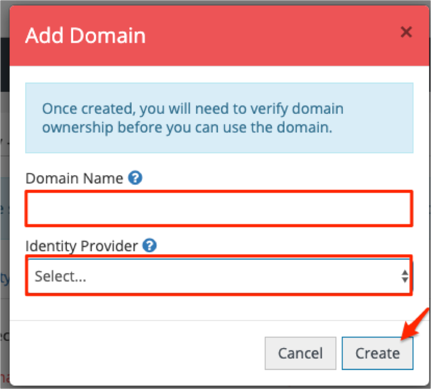
Still in ExpenseIn, select the Domains tab, then click Add Domain:
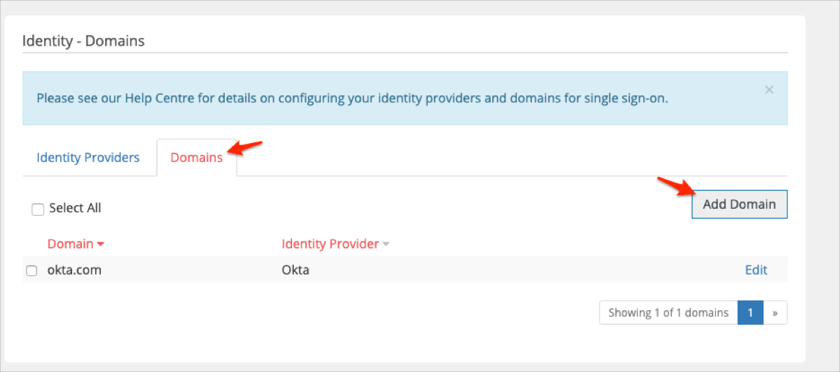
Enter the following:
Domain Name: Enter the domain name you wish to configure SSO for.
Identity Provider: Select the Identity Provider you created in step 5.
Click Create:
Done!
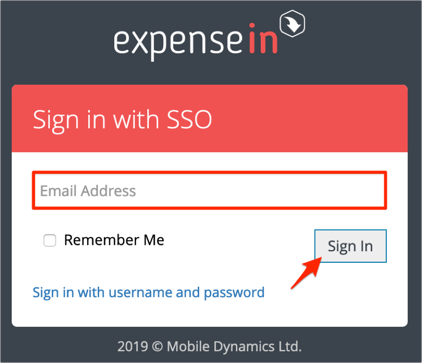
Go to: https://app.expensein.com.
Click Sign in with SSO:
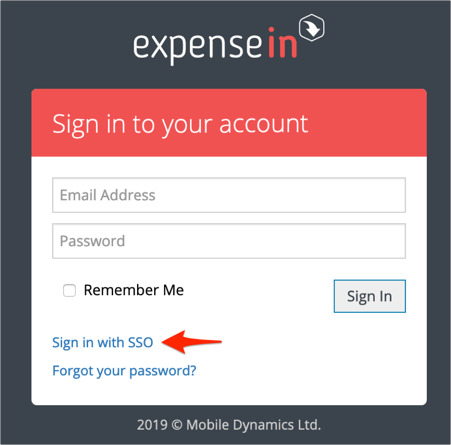
Enter your email, then click Sign In: