The Okta/Emburse SAML integration currently supports the following features:
For more information on the listed features, visit the Okta Glossary.
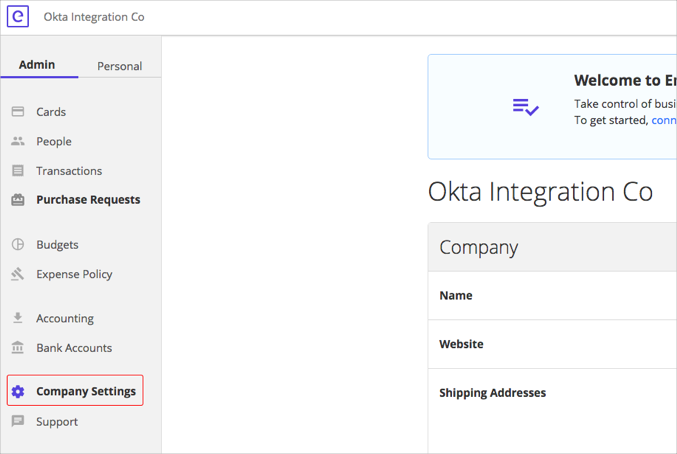
Login to your Emburse tenant using an Admin account.
Select Company Settings from the left sidebar:
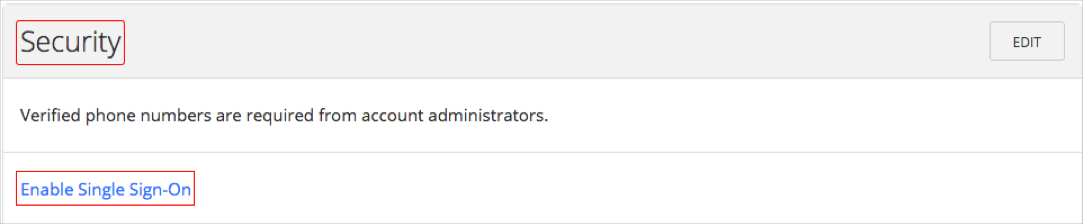
Scroll down until you see the Security box and click Enable Single Sign-On:
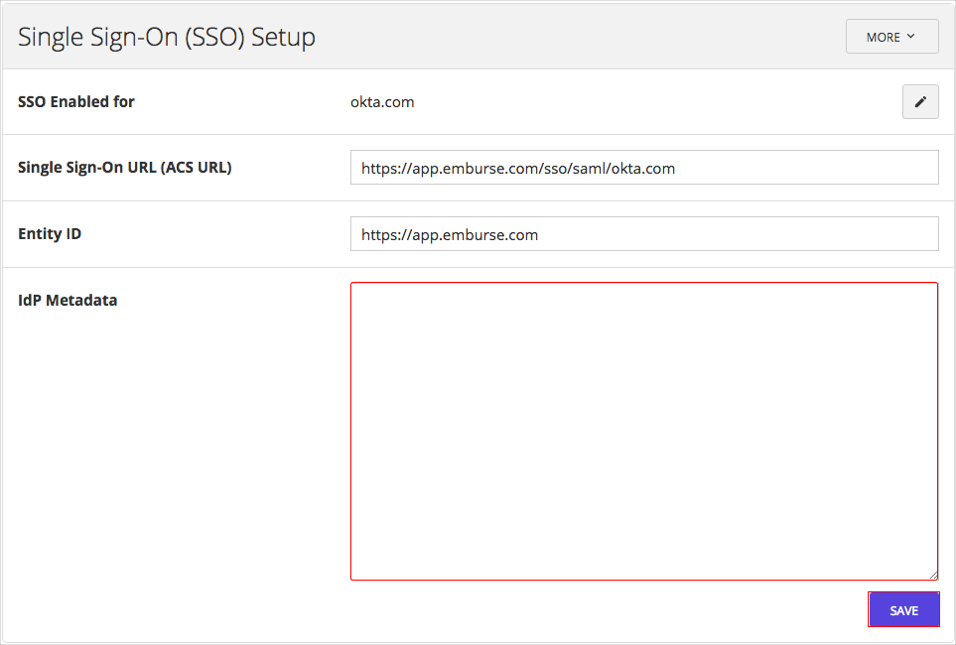
Under the Single Sign-On (SSO) Setup box, enter the domain that you would like to use, then click NEXT:

On the next screen copy and paste the following into the IdP Metadata field, then click SAVE:
Sign in to Okta Admin app to have this variable generated for you.
The SAML activation will be sent to Emburse for approval. Emburse will contact you once SAML is enabled.
In Okta, select the Sign On tab for the Emburse app, then click Edit.
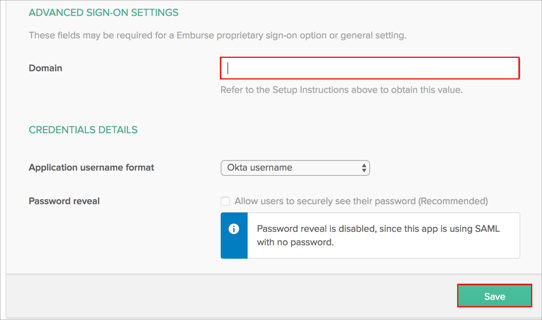
Scroll down to the ADVANCED SIGN-ON SETTINGS section.
Enter the same domain you entered in Step 4 in the Domain field.
Click Save.
Done!
The following SAML attributes are supported:
| Name | Value |
|---|---|
| firstname | user.firstName |
| lastname | user.lastName |
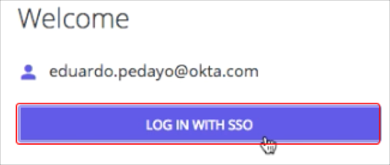
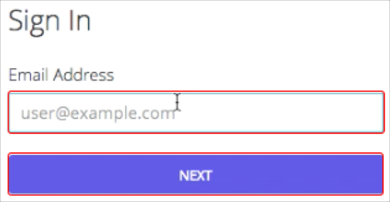
Enter your email address and then click NEXT.
Click LOG IN WITH SSO.