The Okta/Elements.cloud SAML integration currently supports the following features:
For more information on the listed features, visit the Okta Glossary.
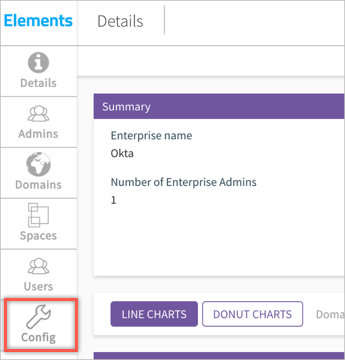
Sign in to Elements.cloud and click on the Enterprise Administration link:

Navigate to the Config page:
Enter the following:
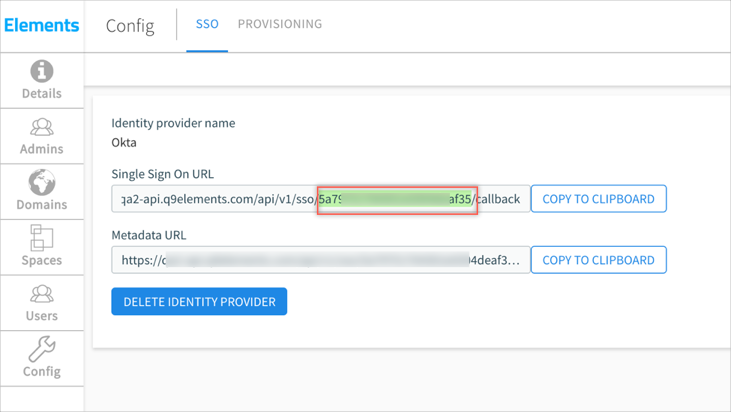
Identity provider name: Enter Okta.
Upload certificate: Copy and save the following Metadata file as Metadata.xml. Click Choose File to locate then upload it to Elements.cloud.
Sign in to Okta Admin app to have this variable generated for you.
Click Submit.

Copy and save your Enterprise ID value. This is the portion of the Single Sign On URL value highlighted in the screen shot below:
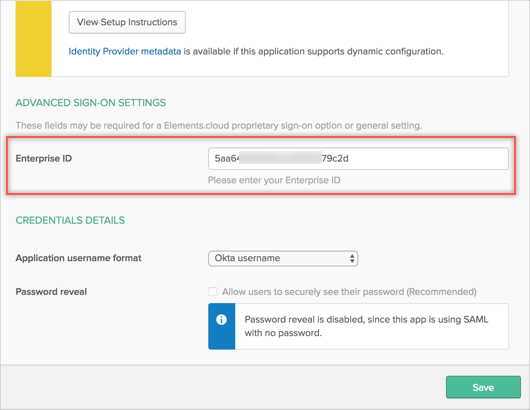
In Okta, select the Sign On tab for the Elements.cloud app, then click Edit.
Enter the Enterprise ID value you copied in step 4 into the corresponding field.
Click Save.
Done!
The following SAML attributes are supported:
| Name | Value |
|---|---|
| givenName | user.firstName |
| surName | user.lastName |
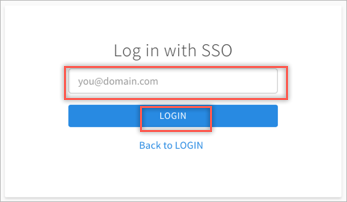
Go to https://app.q9elements.com/signin URL and click Log in with SSO.
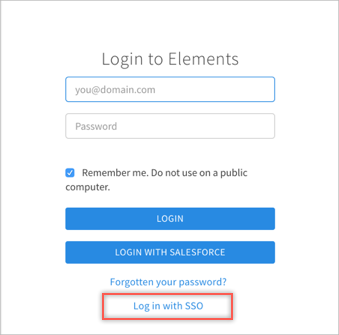
Enter your username, then click Login.
Done!